This bow is my attempt at a bow trade at the Primitive Archer forum. I really felt honored being invited to take part at the “1. Annual Primitive Archer Invitational”.
This bow is thought to be a hunting bow, and in a take down version.
My thoughts about a bushbow are: not too long, dull finish with natural colors or camo, low stress design to allow leaving the bow braced the hunting session long – so no reflex or just a bit, a fast design – a static or a r/d, no fancy things – it should be a working horse.
Here we go:
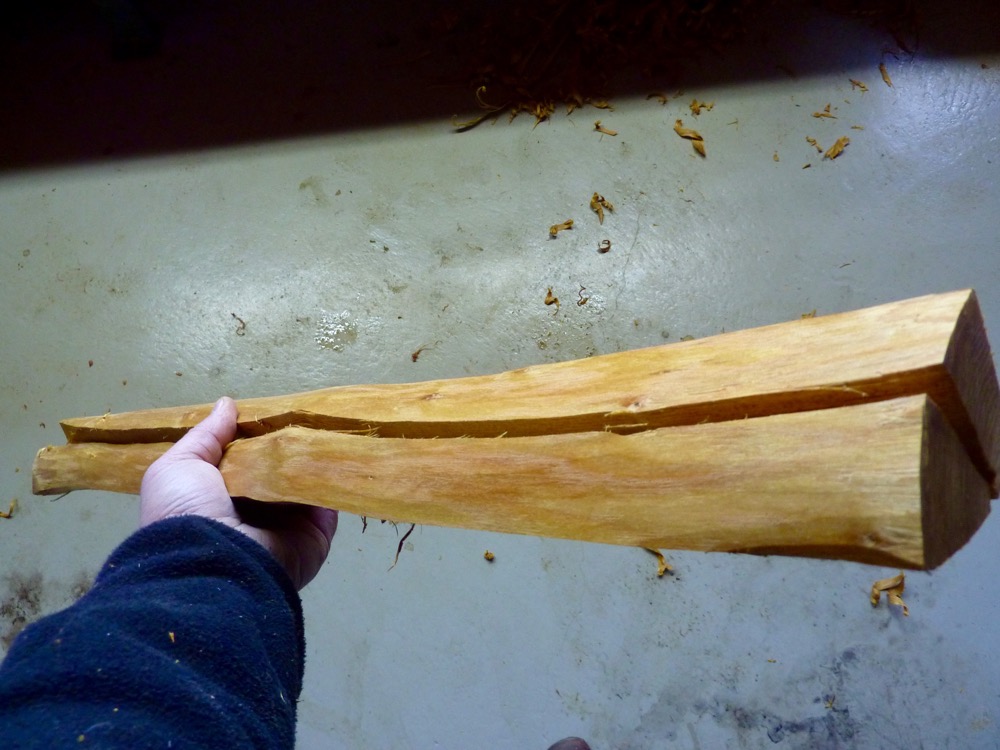
This is my last suitable short stave, if it don’t work I need to cut a lfull length stave.
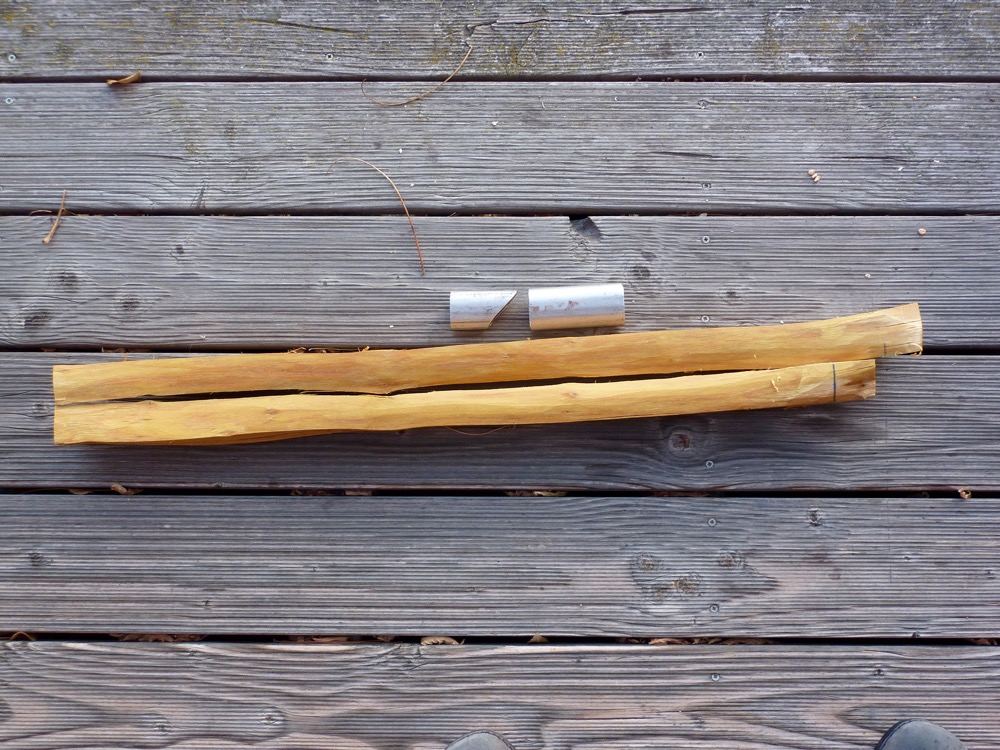
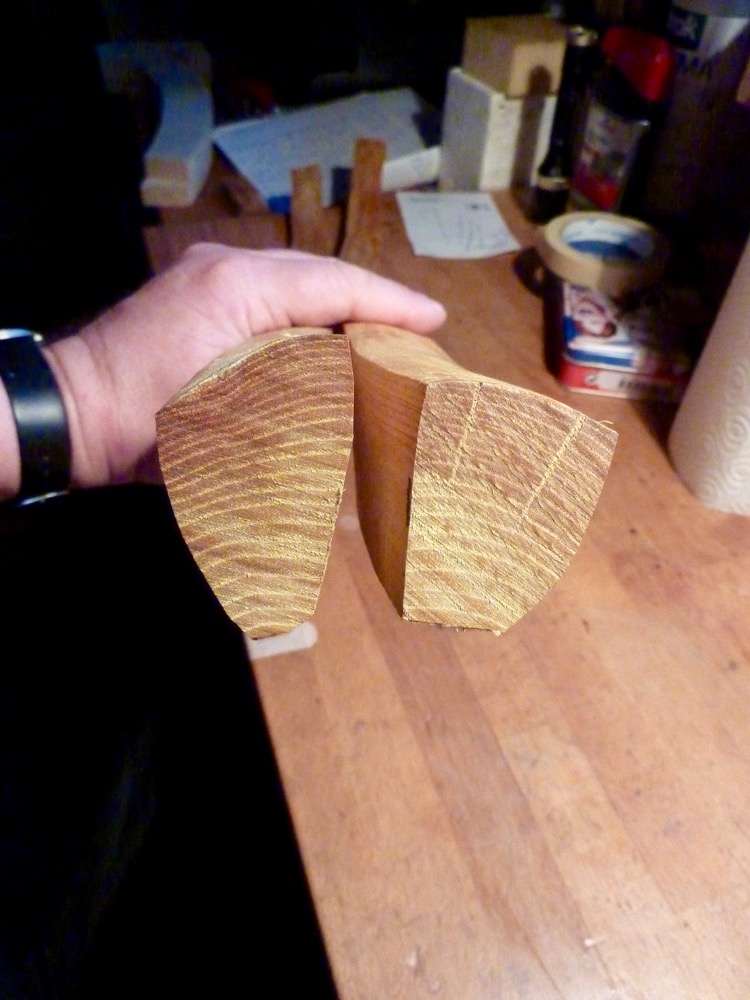
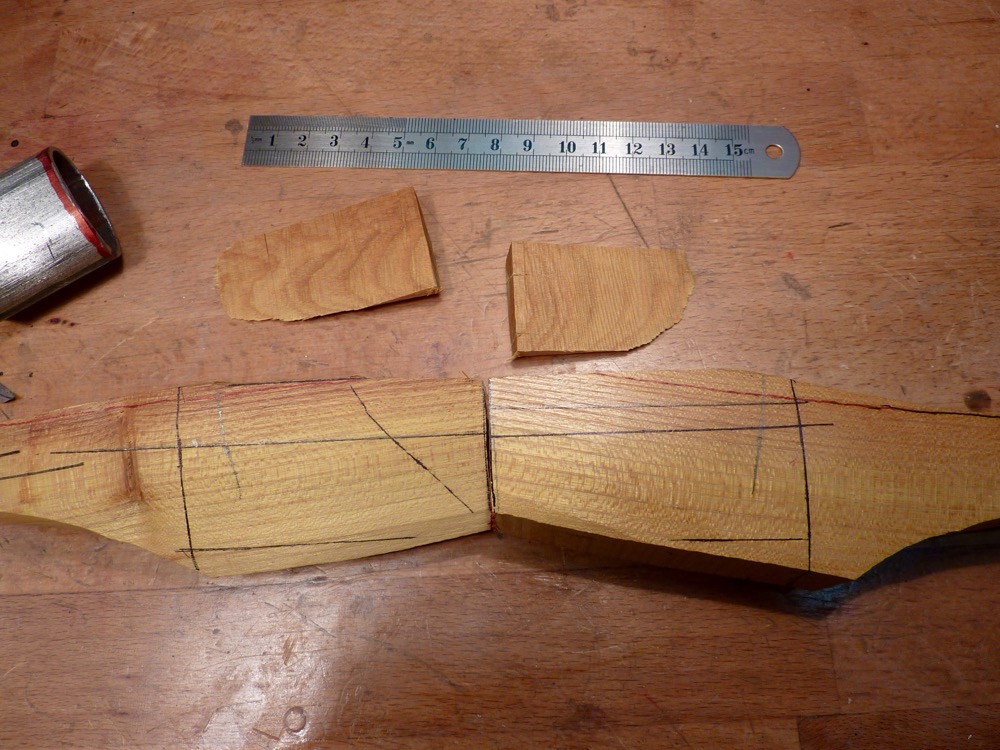
Splitting into sister billets went without problems, the piece is nearly straight
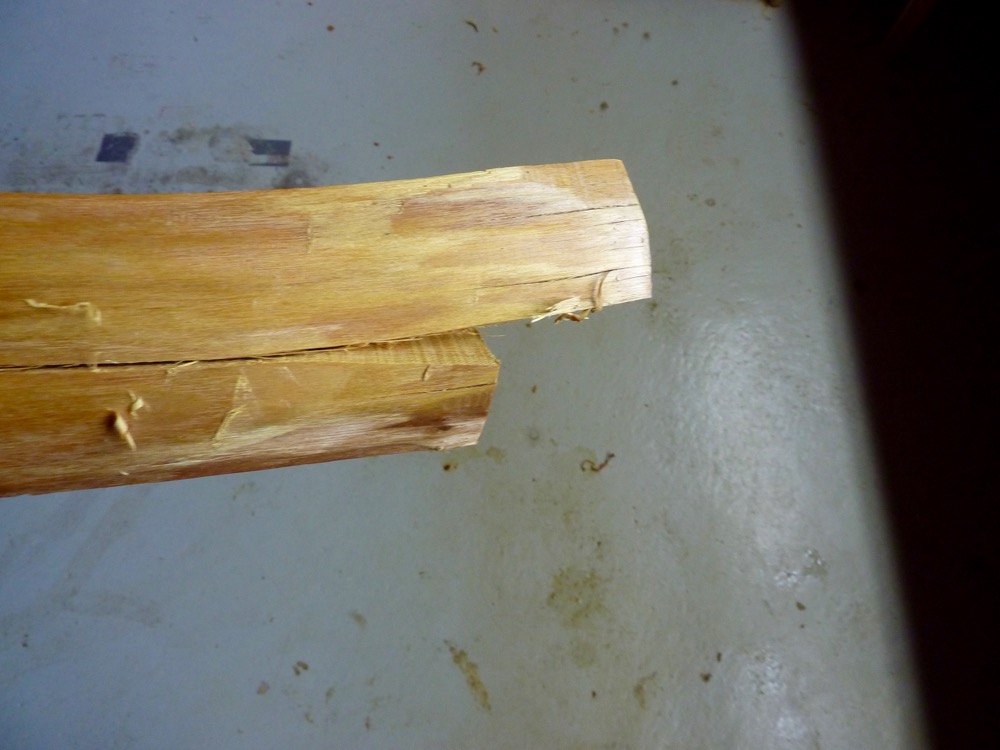
Shortened the lower limb 2”
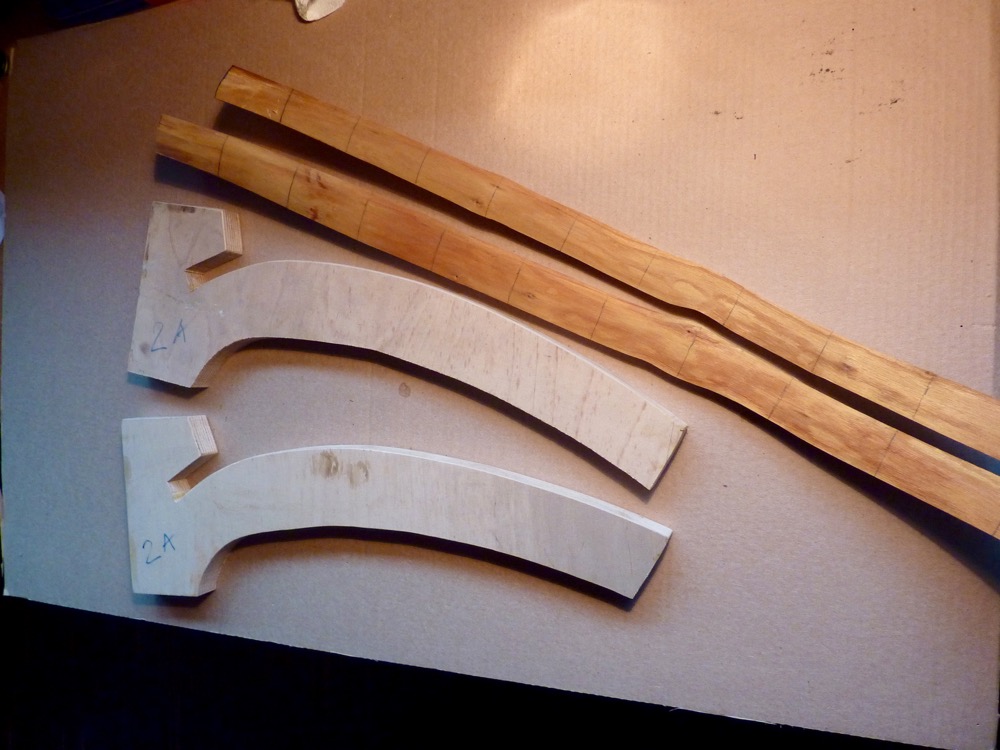
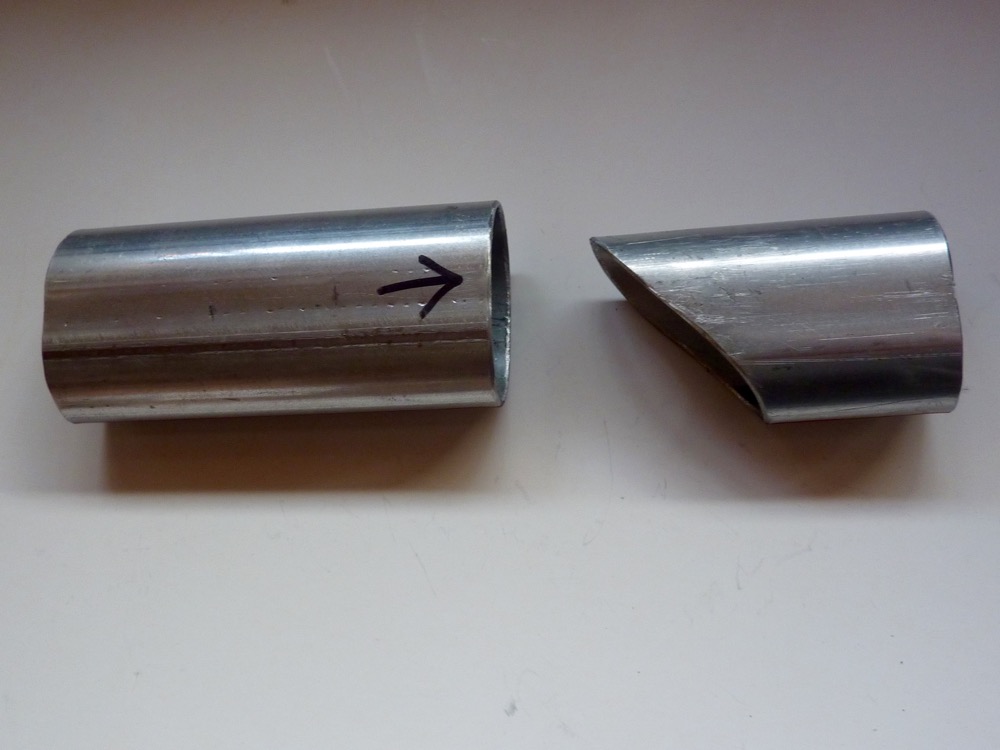
the billets with the prepared homemade sleeves. As you can see I have improved the sleeves by cutting an angle at the joint. This allows a longer way inside and gives a lot more of stability. I really don’t like if the limbs are waggly when unbraced.

Also made new cauls for the steaming
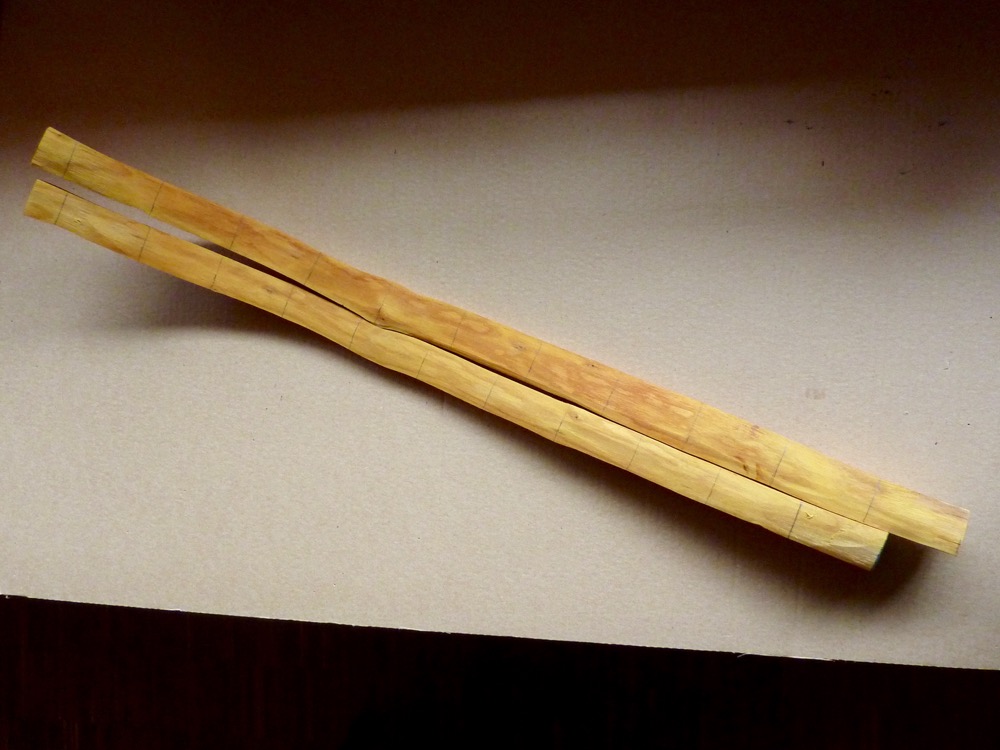
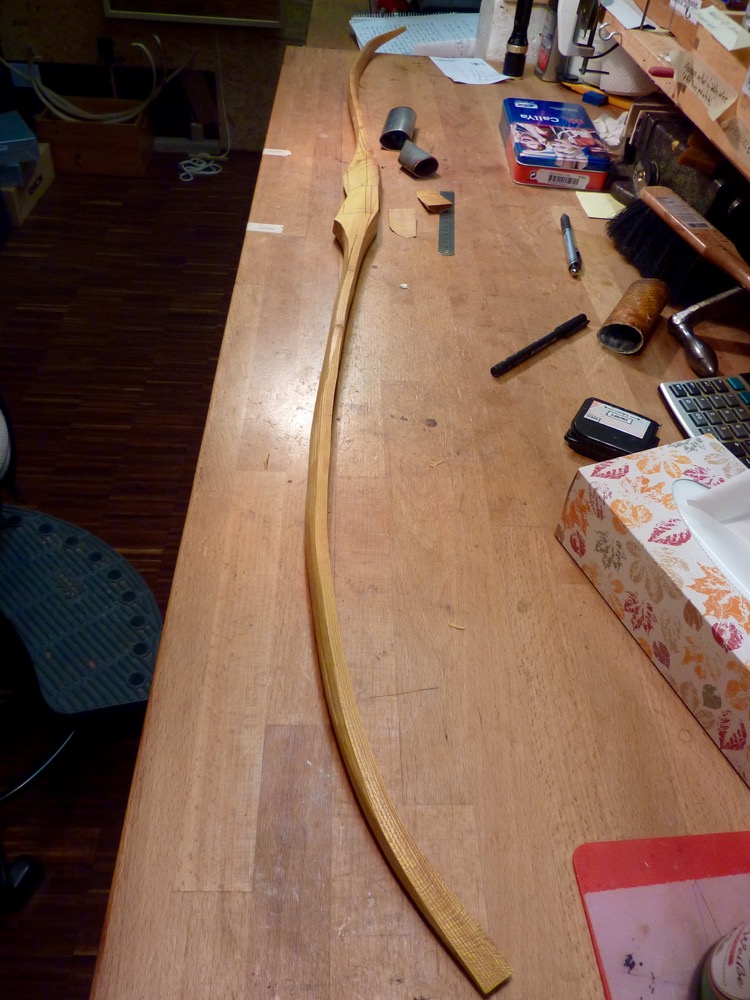
here already steamed and laying together in the desired shape r/d
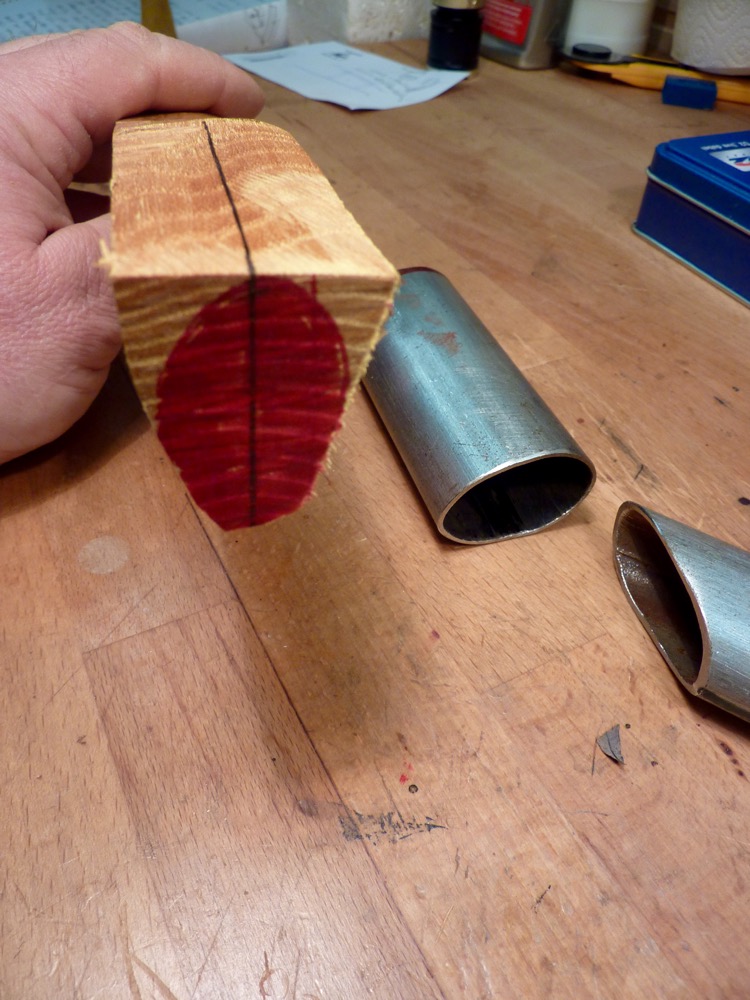
The inner ends
The back with guide lines for side taper
Side
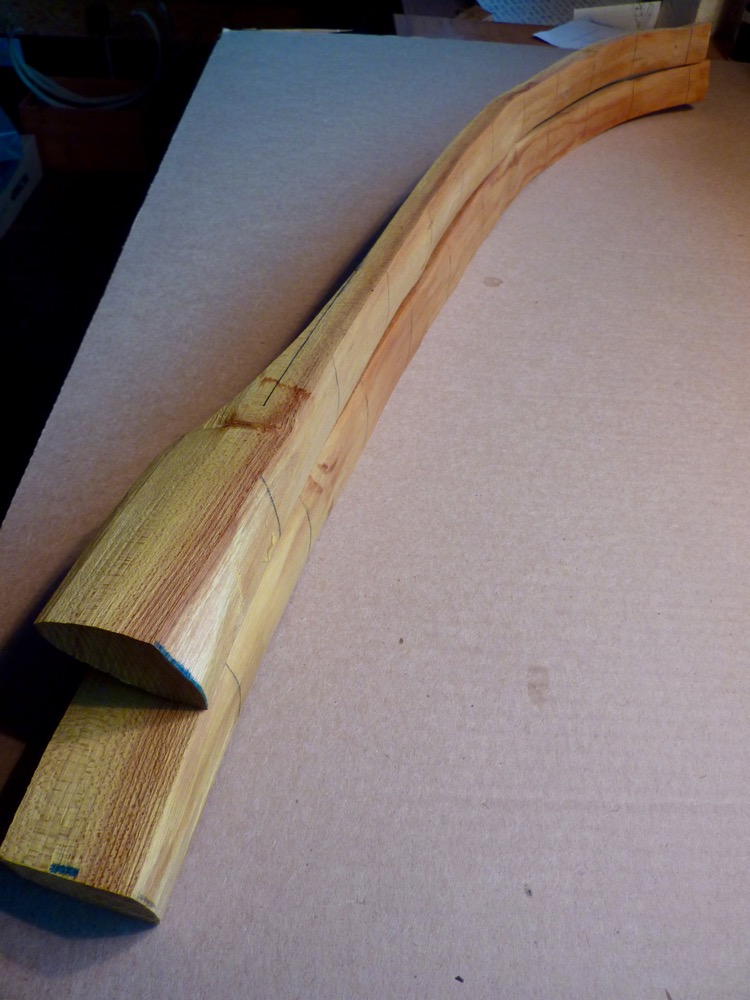
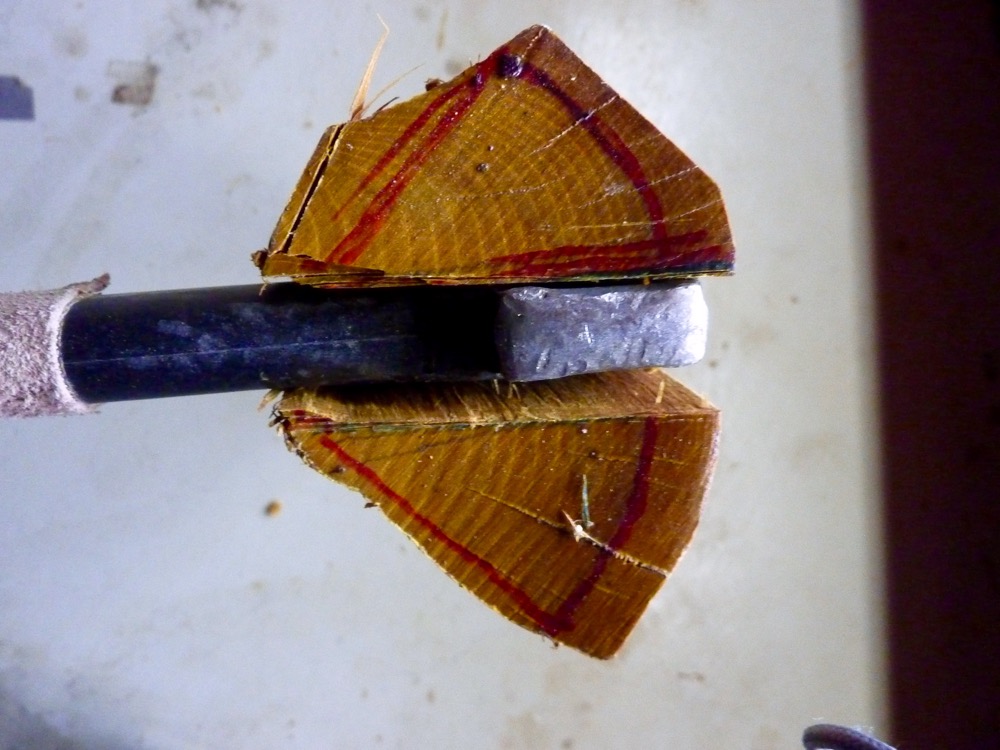
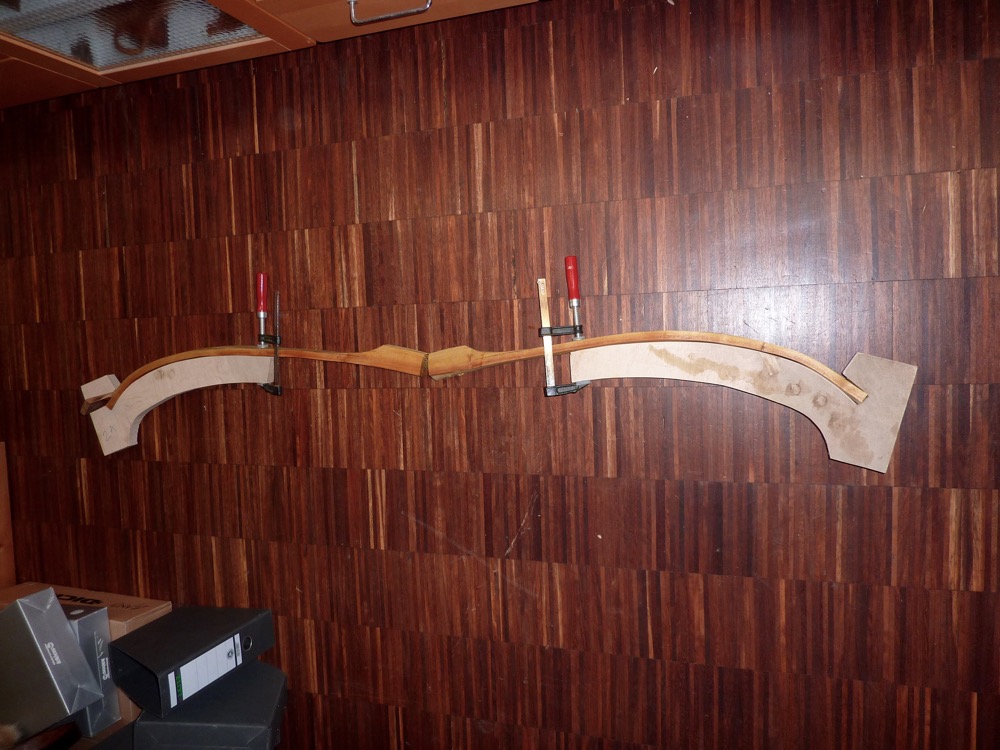
Now for the funky part. As said I will try r/d design. So the limbs should reach the sleeves in an angle, not parallel to the back ring. Next challenge is to get the 45° joint matching,. You can see some lines a s guide for sawing and shaping. The red line is the chased back ring, near the handle I have left some additional rings to have some wood to play with. Or in other words the room in the sleeves must be filled to get a good fit and the back ring (here is the most stress) must have to lay deeper to avoid cutting off in front of the sleeve. The sawline of the two cut off shims is the direction the sleeves will have. Parallel to the black guide line in the middle. Hope you can follow my crude words …
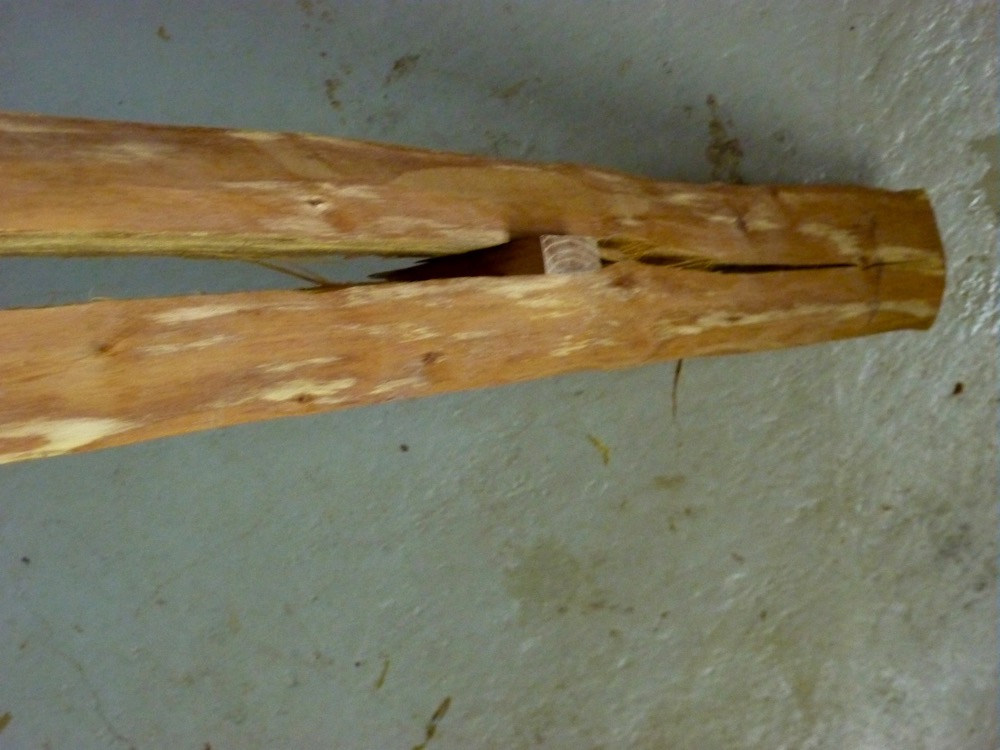
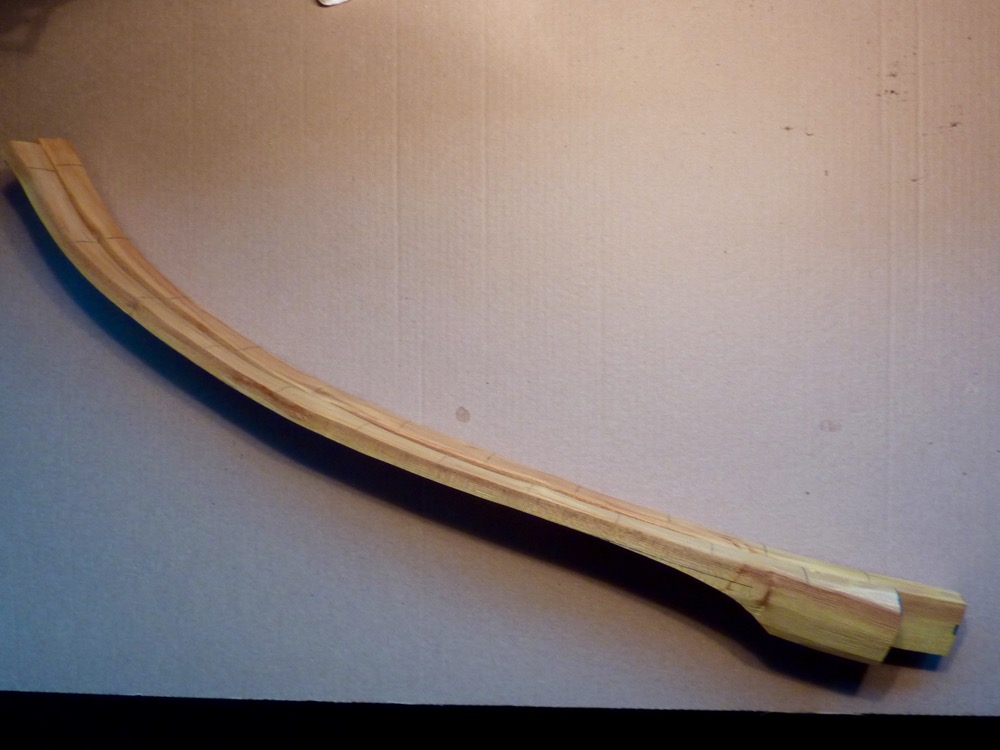
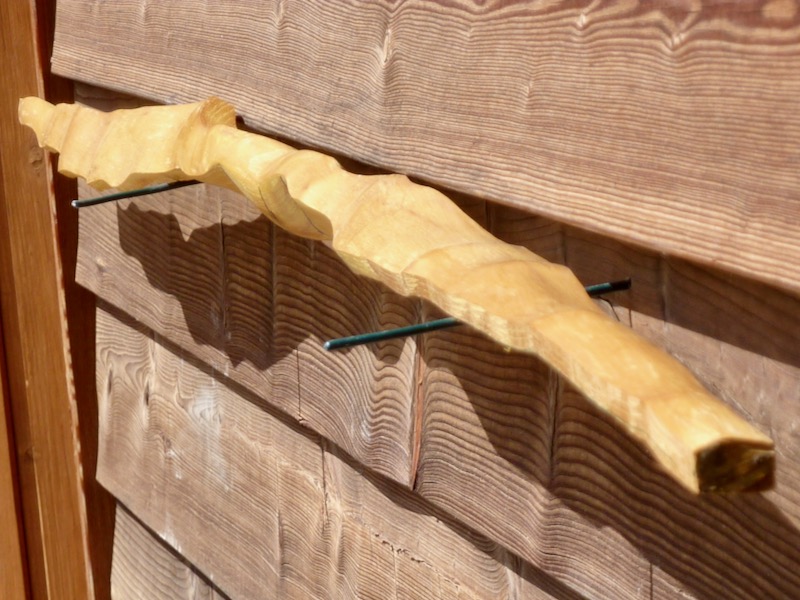
Here you see the desired design, the limbs laying in position. If you look close you can see that the sleeve direction isn’tt parallel to the string. The plan is to let the upper limb coming in the sleeve in a bit steeper angle than the bottom. This allows to hold the handle canted a bit forward on the upper end, or short: a more recurve grip. Background is the sleeves are always a bit boring, a non shaped geometric thing looking non natural.
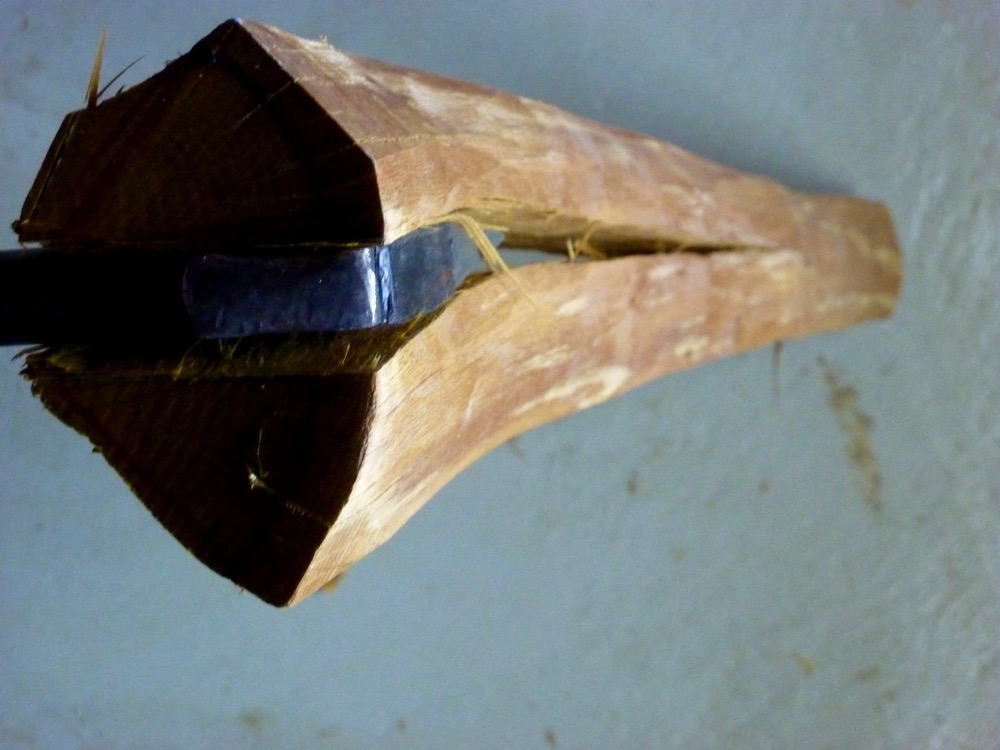
working on the 45° cut
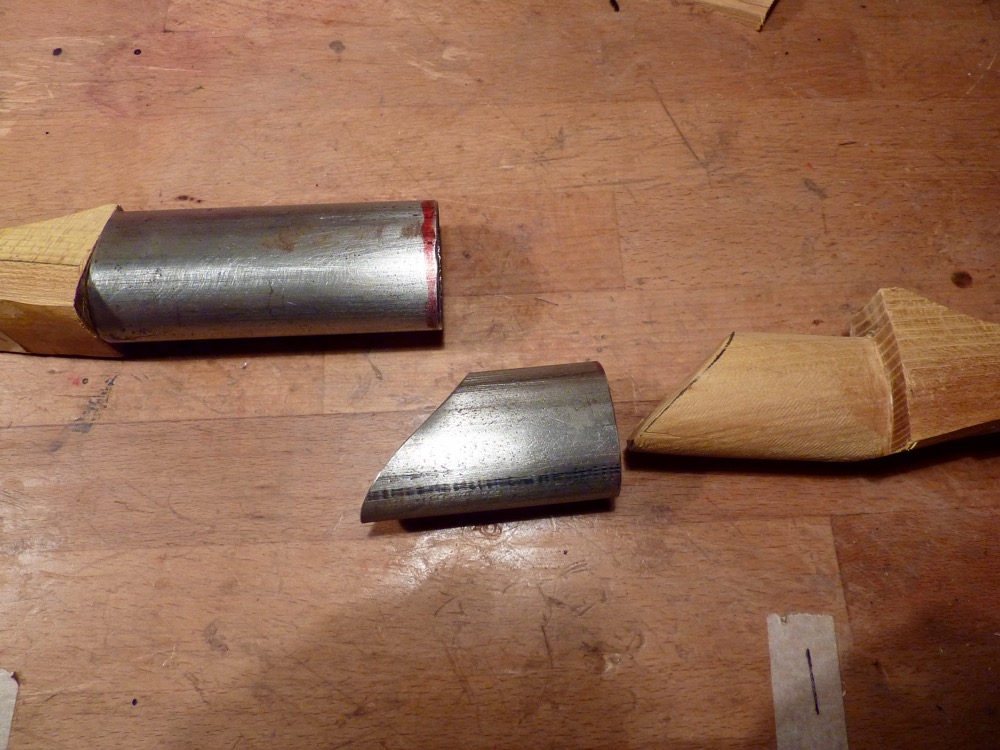
the lower limb, fitting the large sleeve

checking the joint
the upper ready, perfect fit
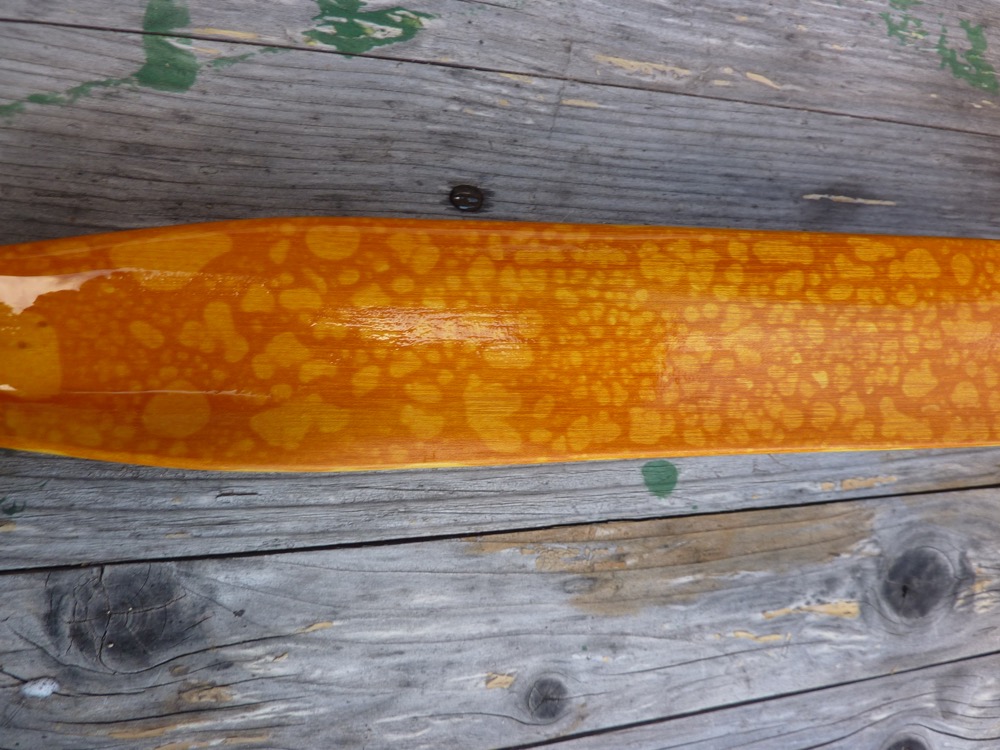
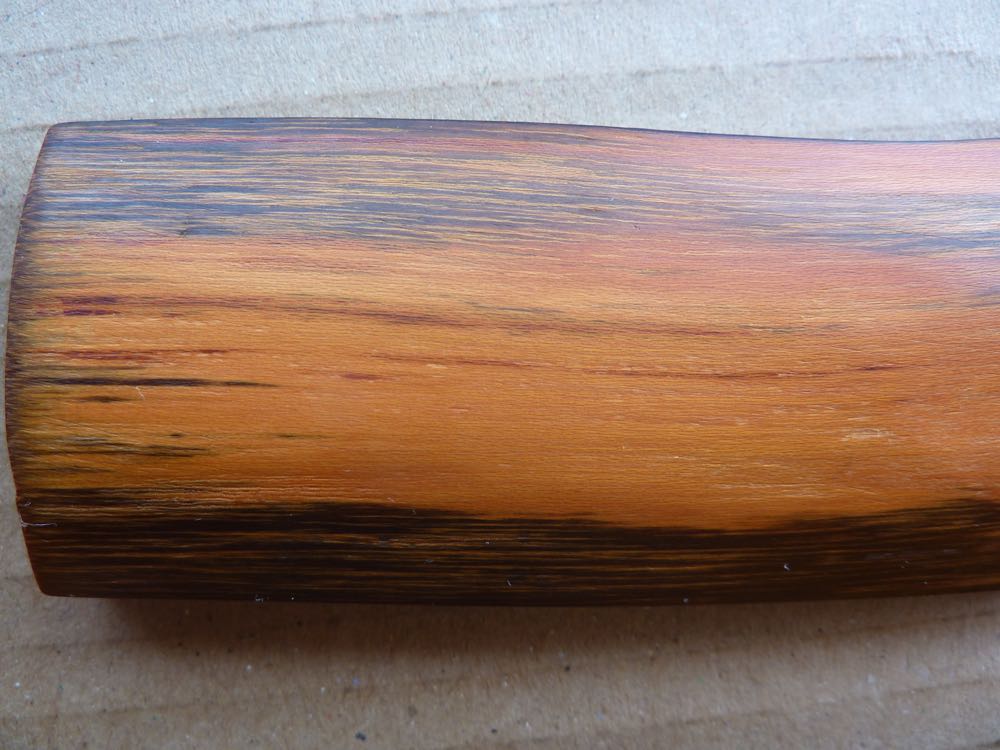
Next steps (no pics) were taper side, taper thickness, tiller, and into the fuming pipe – will try a faded coloring again
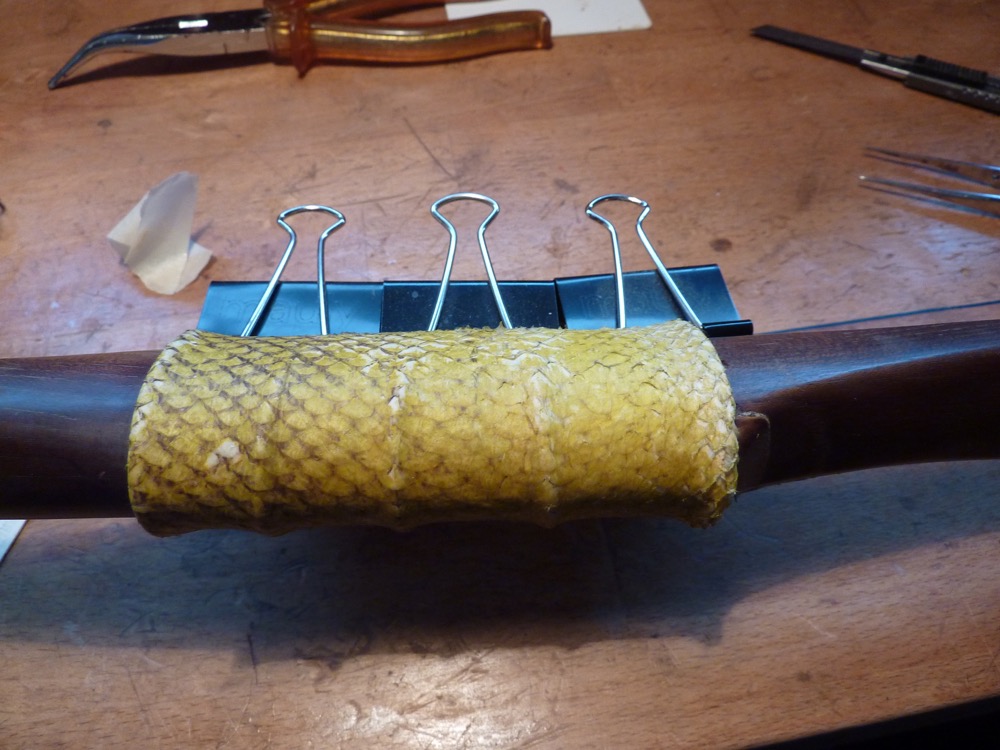
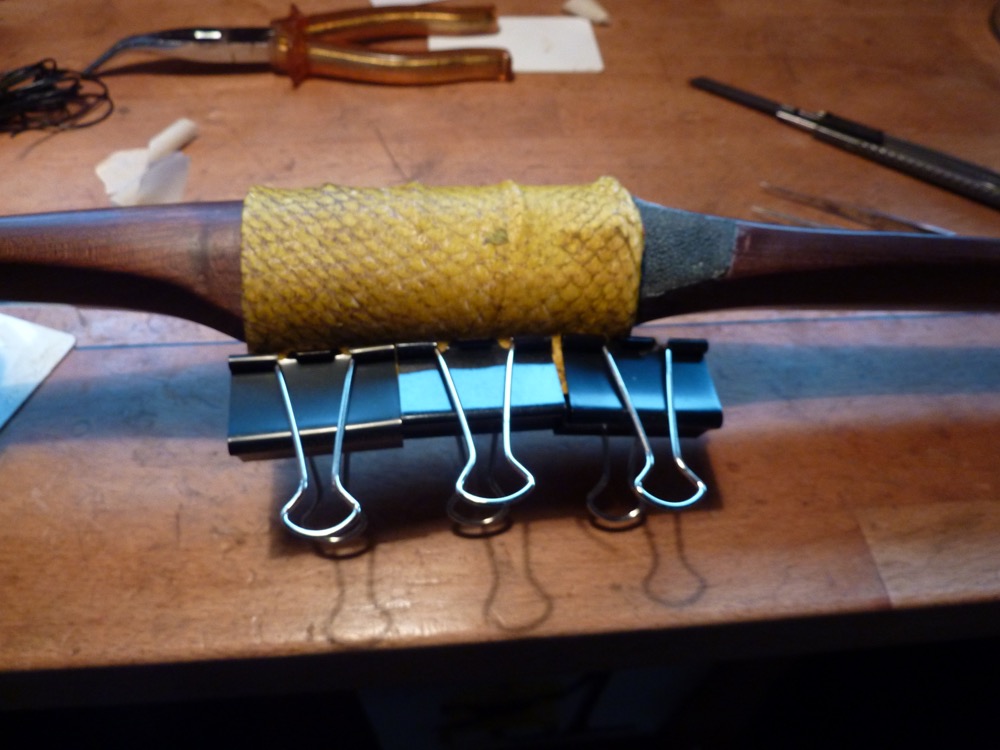
The stick was tillered, sanded and put in the fuming pipe for five days. I tried again to get a faded coloring and this time it went much better than in my recurve project (Nr. 70). I always let the stick damp out at least so long as it was in the pipe. In the meantime I worked on the handle. I didn’t like the straight geometric lines of the handle and did several glued on pieces of leather for a mor sculpural look. But it all came out very bulky, so I decided for a extra thin salmon leather and some pieces leather laces to work out some finger grooves. The leather is more or less white, you can see the first layer of yellow color. Later more colors were applied to make it matching with the tips.The handle leather is soaked for 20 min and simple glued on. No stitching to remain as slim as possible. I use steel clamps from the bureau, these are wonderful tools – I use them often.

You can find the finished bow here
2 Comments
It looks like you cut wood from the back of one billet, where you put the bigger sleeve on. I conclude that it isnt absolutely necessary to let the latest growth ring flow into the sleeve uncut. I have yew billets and i want to join them in a way that would also make it necessary to have a cut back growth ring at the connection point to the sleeve…What do you think?
Yep Klaus, I have cut away a wedge on both limbs. Intention was to get a deflex out of the handle. You can only do this if you have non bending fades.
I wouldn’t hesitate to do the same with yew.
Good luck with your project!
Simon