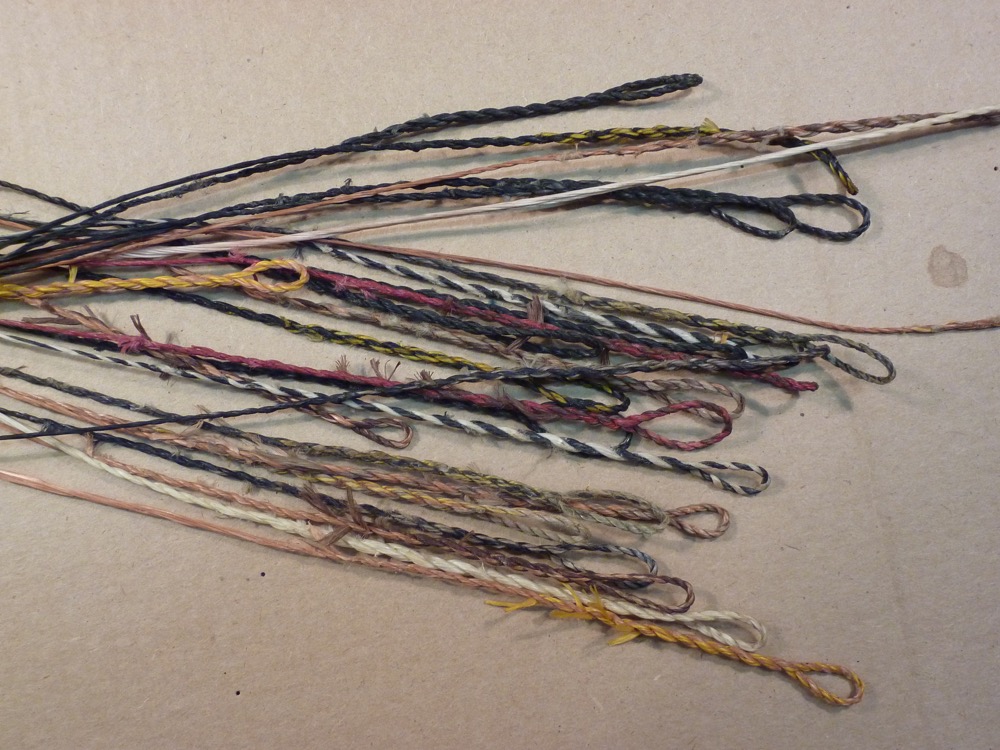
All my bows are strictly made out of natural materials. The only admission is the use of metal for take down sleeves, modern glue (epoxy, ca, pva) and modern string material on my bows. Of course, I’ve made strings out of natural materials, as hemp, linen, sinew, rawhide and other stuff. But these materials do not have constant qualities and are a lot more heavier than a modern ff string, which can be produced much faster and are easy available (at least for me) than the natural. So I reserve the natural string materials for selected replica bows and use the ff for the majority of my bows.
After testing some different products with different characteristics and searching in the net for specs my choice is BCY 452 X. Why? It is made out of a mixture of two different fibers, Dynema and Vectran. This compound allows no creep (non-recoverable elongation), but a little stretch (elastic, recoverable elongation). This stretch is an important effect for the longevity of our primitive bows.
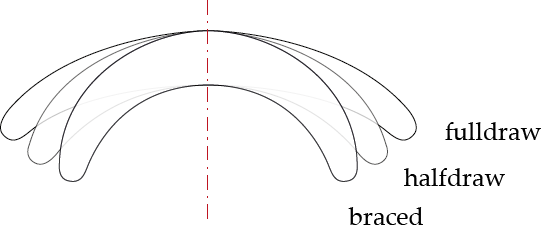
Most people think string tension is biggest at full draw, but this not true. String tension is about 2,5x draw weight at brace or nearby and scale down while drawing the bow. This is the reason why most strings break at brace and not at full draw. A single strand of BCY452X holds 70 pounds. Let’s say we go for a 6x secure, so we just need a string made out of 6 strands for a bow up to 70 pounds of draw weight.
As most of my bows are between 40 – 70 pounds, the most strings are made usually out of 2×3 strands – a very thin and light construction. This allows more speed compared to a Dacron string and has a cleaner definite release. I do a double serving where my fingers touch the string for more comfort. The ears are padded with 2×2 pieces of Dacron about 8” long (made out of my old Dacron strings).
The reason for using only 6 strands up to 70 pound bows is the intended stretch of the string when returning to brace. Imagine a single strand of rubber – you can stretch it easily. Now think of 100 strands of parallel rubber – no way to stretch out. The same principle works in a string construction; if you use too many strands you eliminate the intended stretch. I’ve seen breaks even on glass bows, because people made strings out of 18 strands ff – this construction is stiff like a steel cable!!!
There are some good side effects too. First, it saves money, no waste of material. Second, a light string cause higher arrow speed. I have compared B50 strings (14 strands) with 452X (6 strands) and got a difference of about 5 fps, on some higher weight bows even a little more. Third, I like the more definite release on that strings, I feel shooting is much more precise.
To say it short: there are only disadvantages, when using more strands than necessary!
String material:
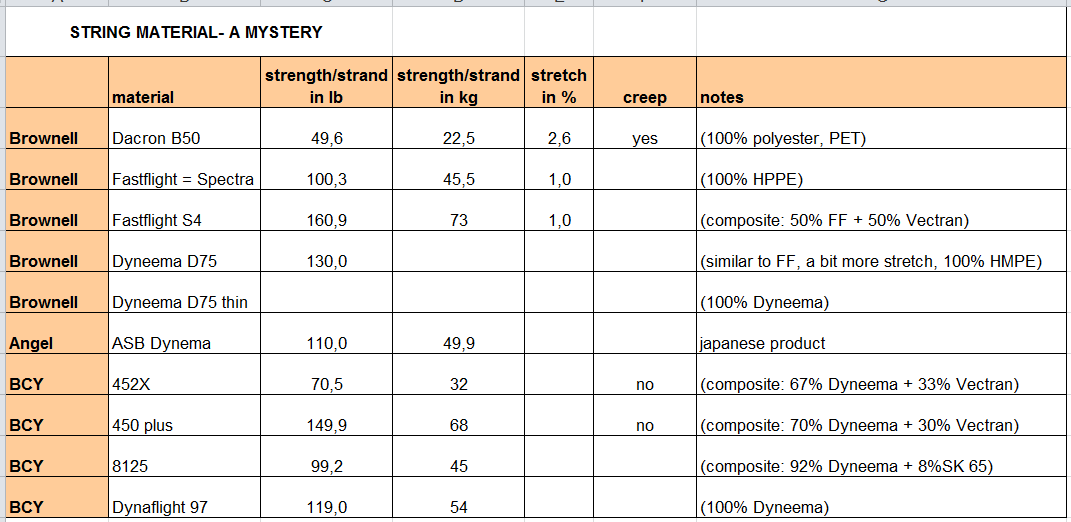
There are many types of string materials from different companies on the market. They all have different properties, but often there is nothing to read about that on the package. I don’t know why the companies make such a mystery about that.
Here is a sheet about what I found or what I could test out by myself. It is not completed as you see – I simply couldn’t find the missing specs. However, I think you can get a good overview about the common materials.
As said in the string article:
Creep = non-recoverable elongation
Stretch = elastic, recoverable elongation
In a string construction (for selfbows) we have to consider these two different elongations. Creep is what we don’t like. It is the reason for several shortening on Dacron strings when new. Stretch, or better a little stretch is good for our wooden bows when the string comes back from release at fulldraw to brace. In other words, the stretch dampens the string kick.
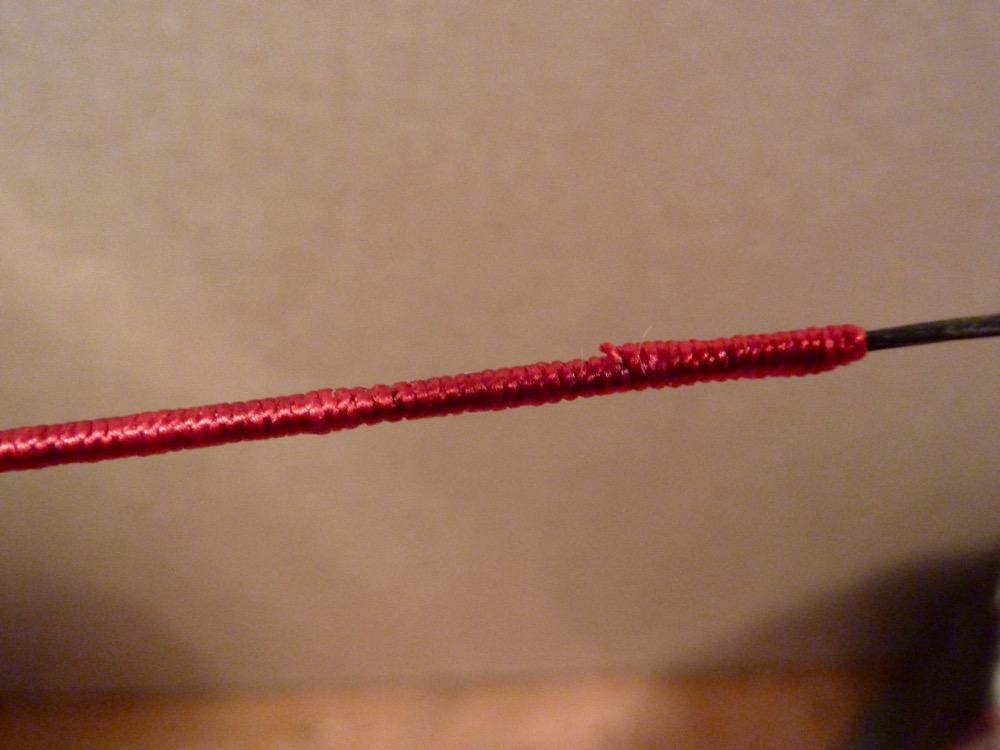
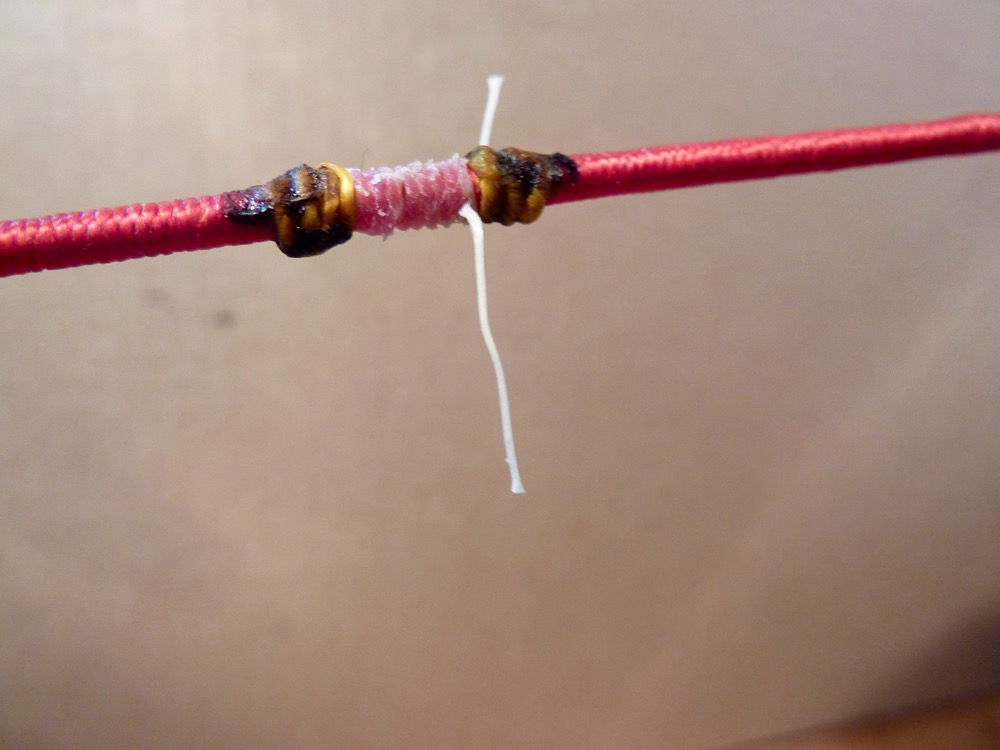
Serving:
As said above in the main article I do a double serving (but only where fingers are touching the string). The other half of the serving is only one run (secure for the punching bracelet). My intention is of course to make the string as light in construction as possible.
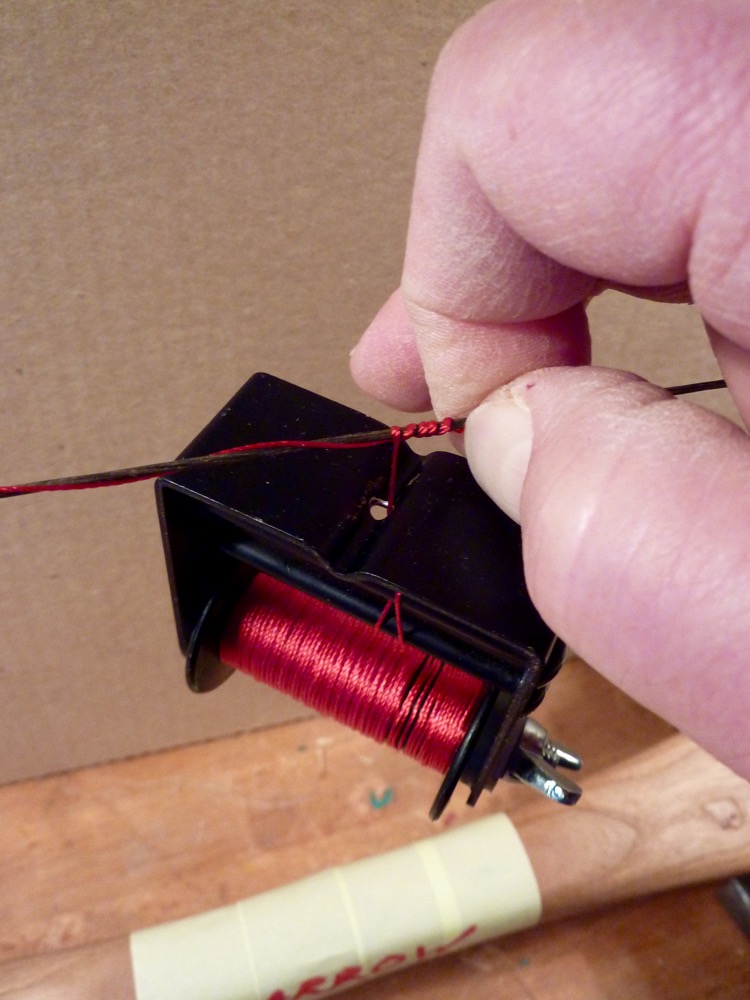
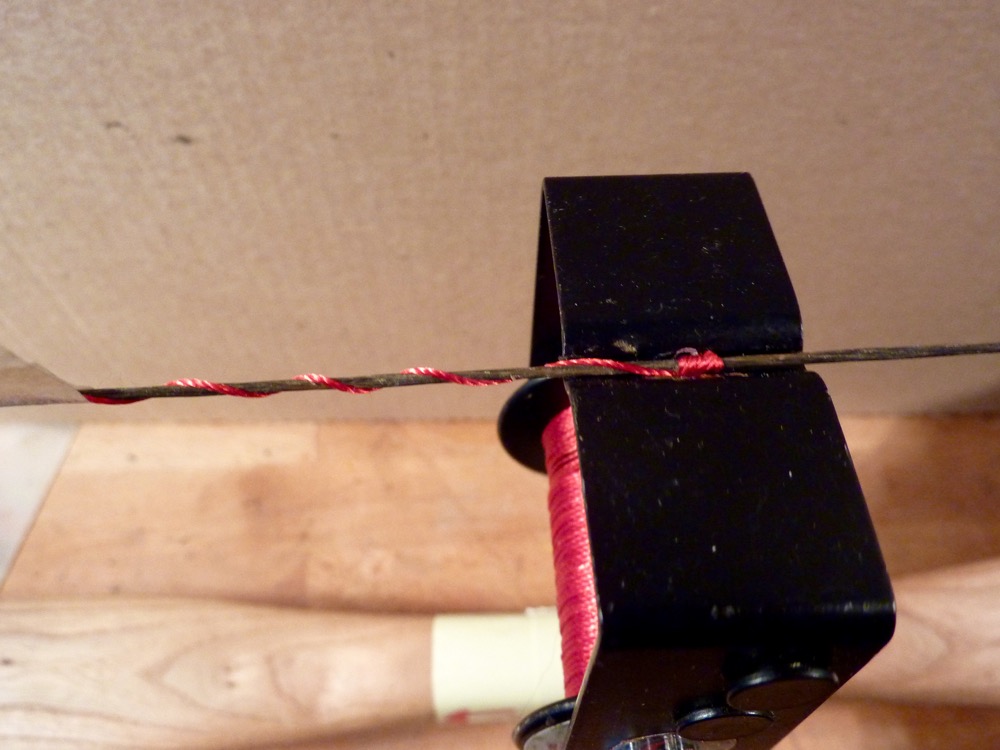
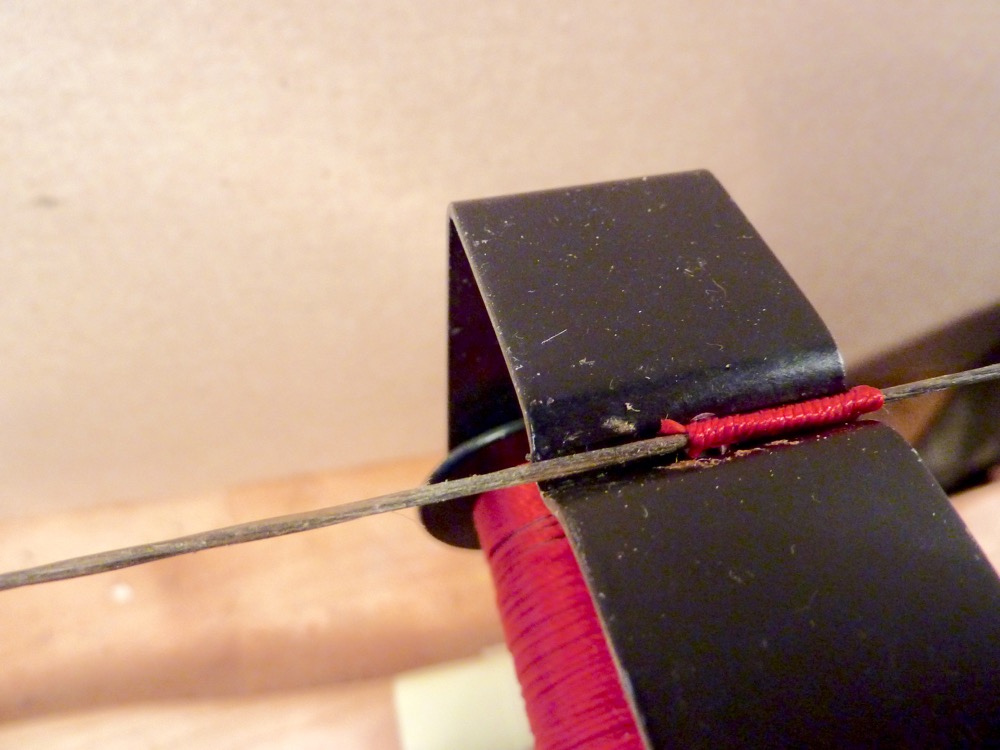
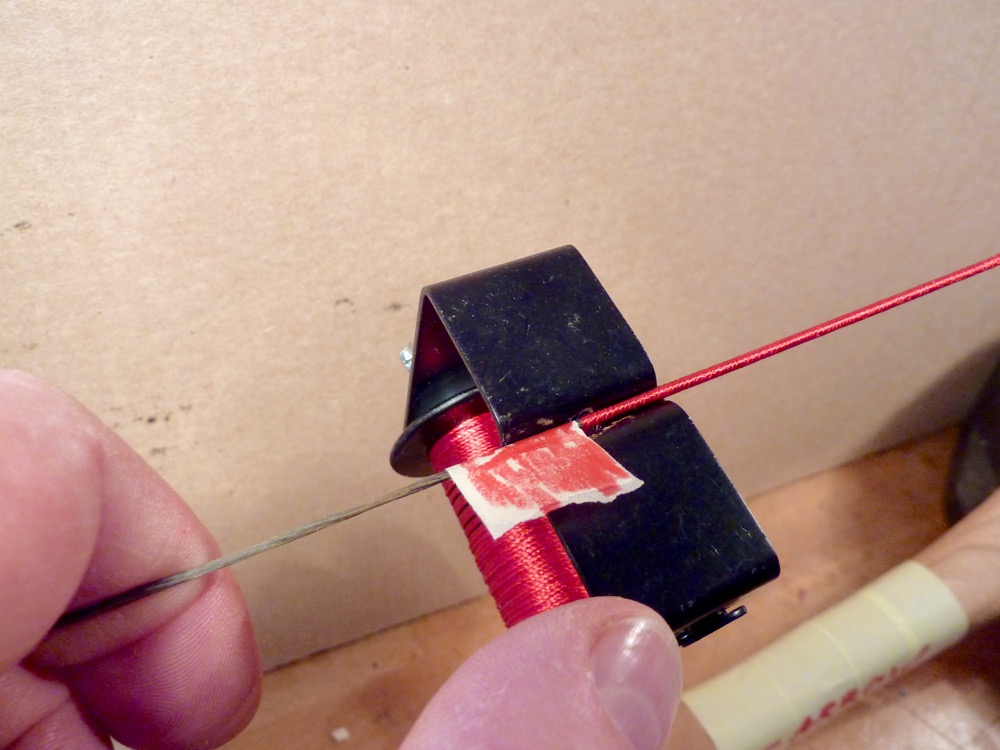
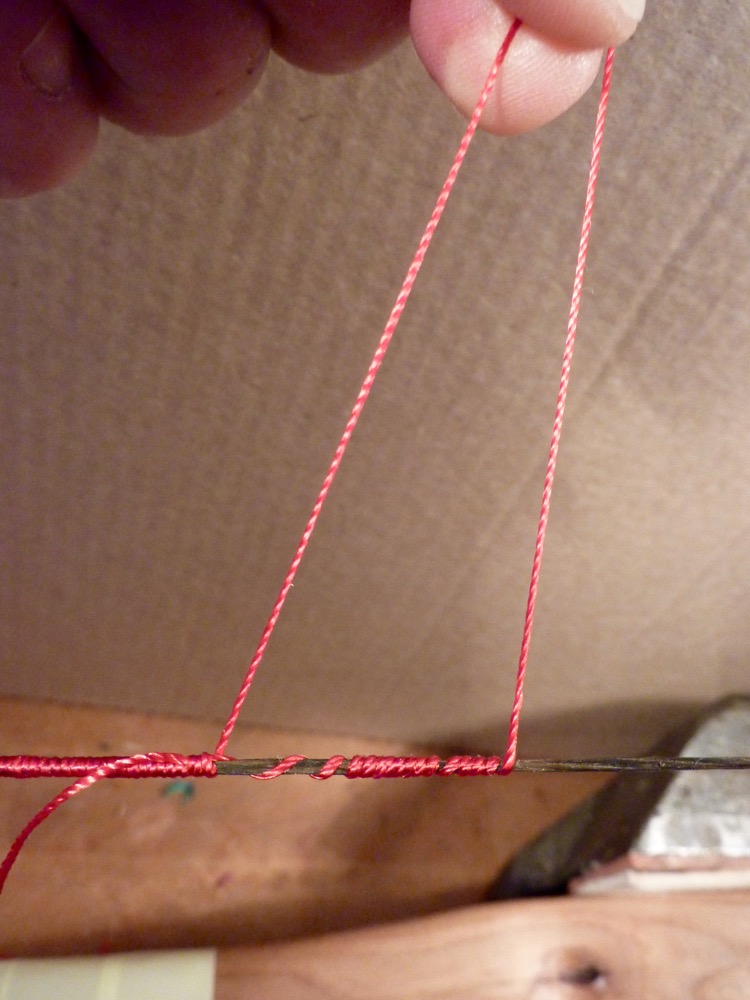
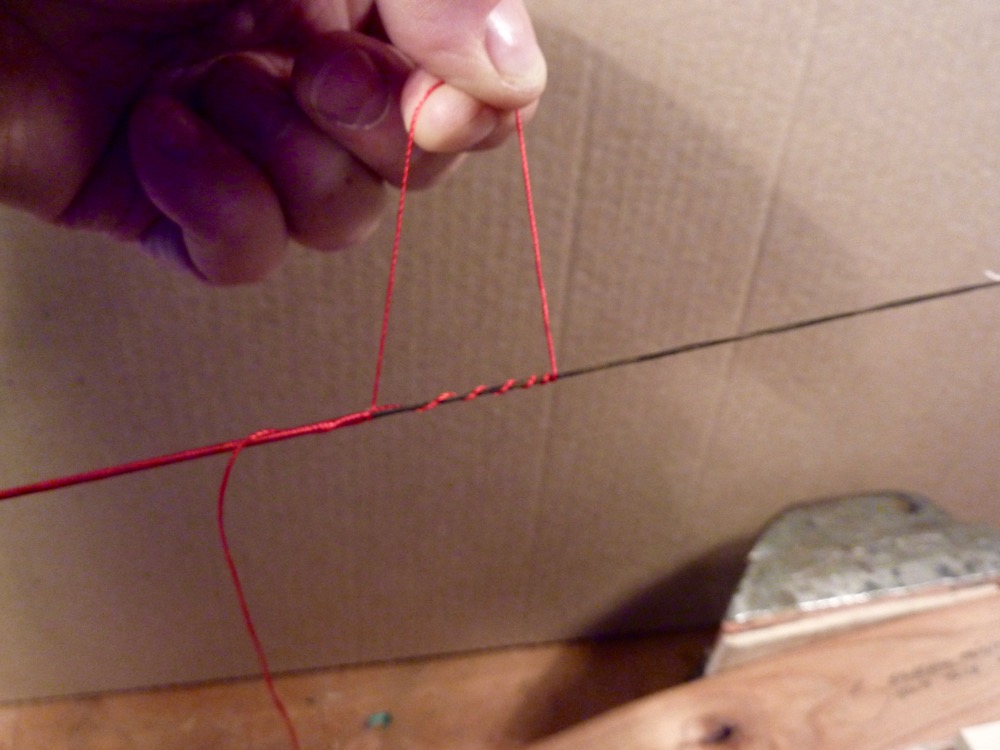
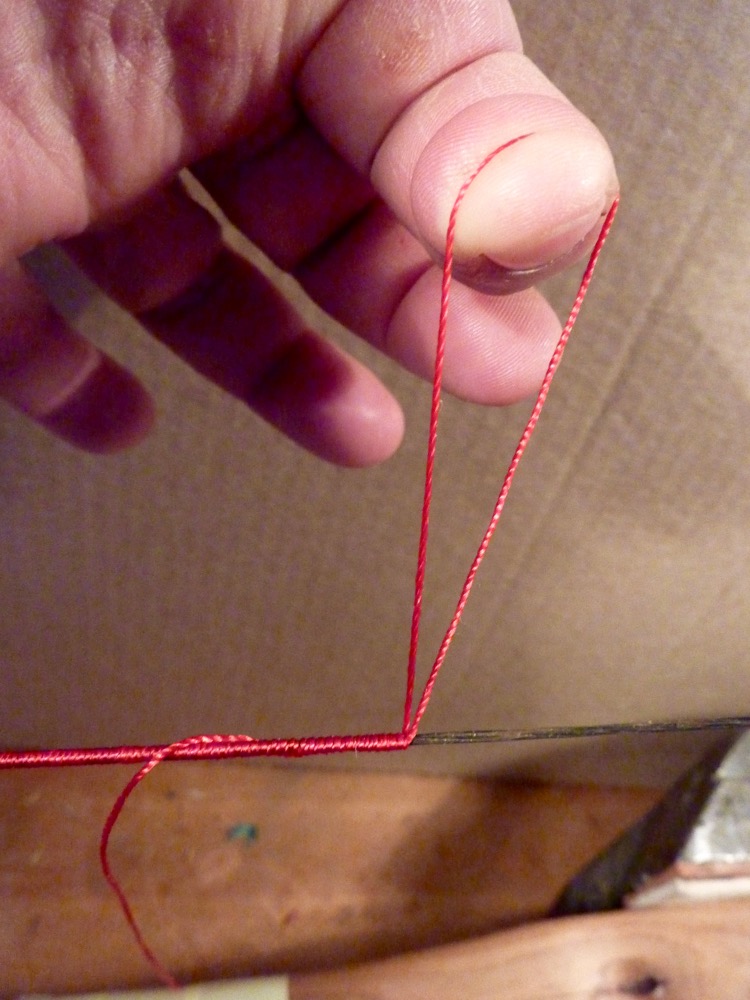
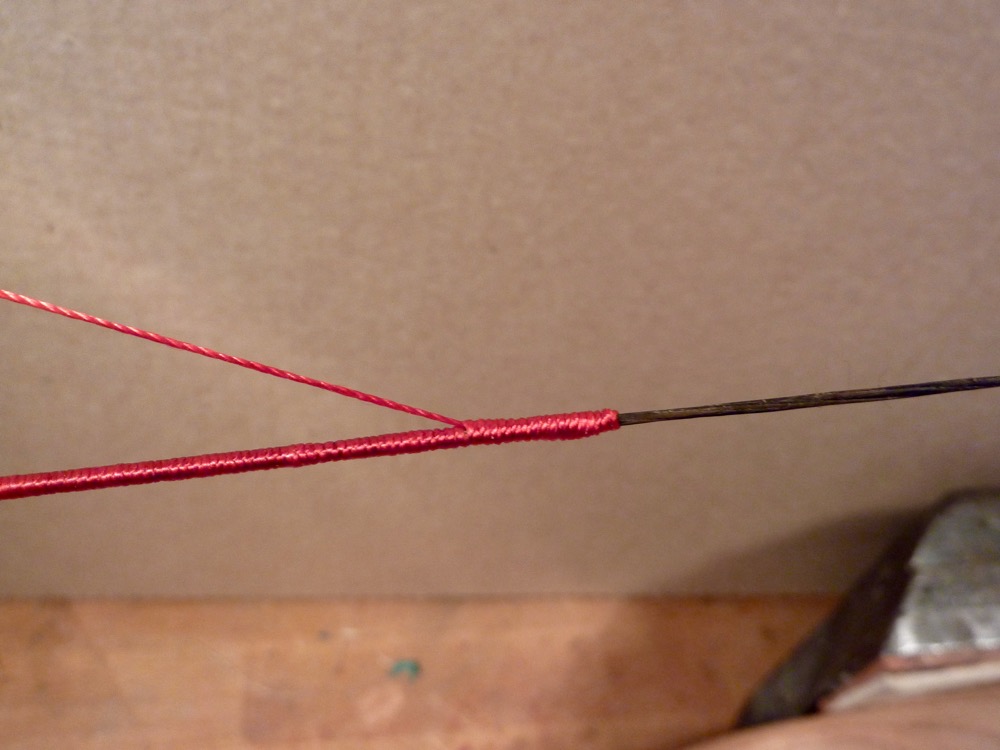
I begin at about the middle of the intended serving length wrapping upwards (upper limb). When reaching the intended end, I wrapp downwards over the first layer of the serving to the lower end. Here is the process:
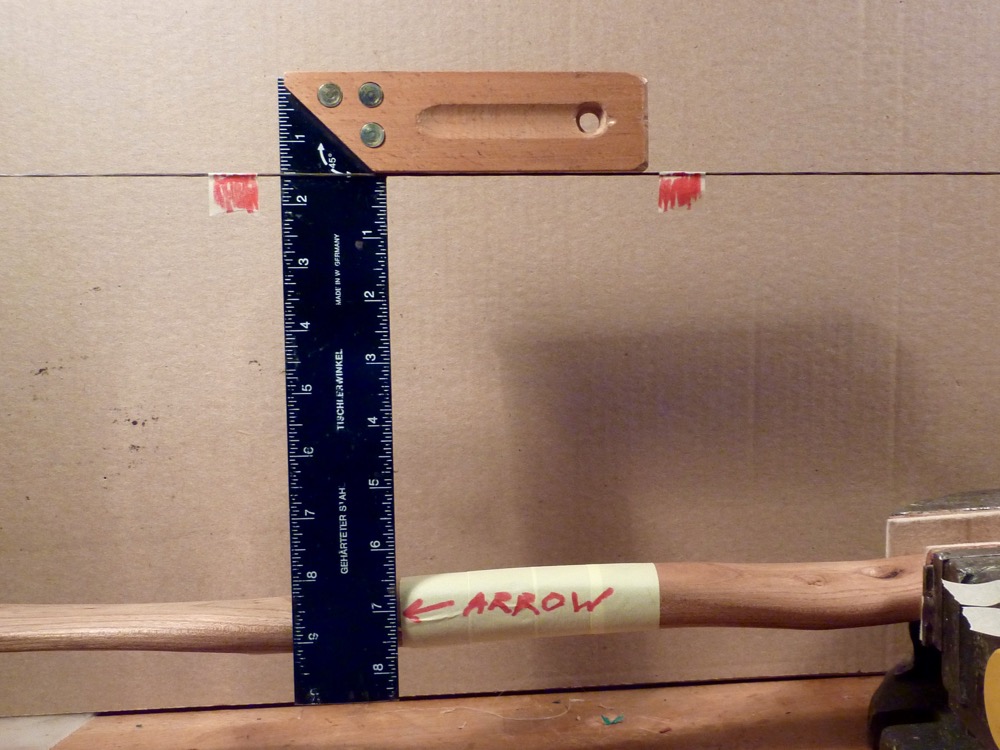

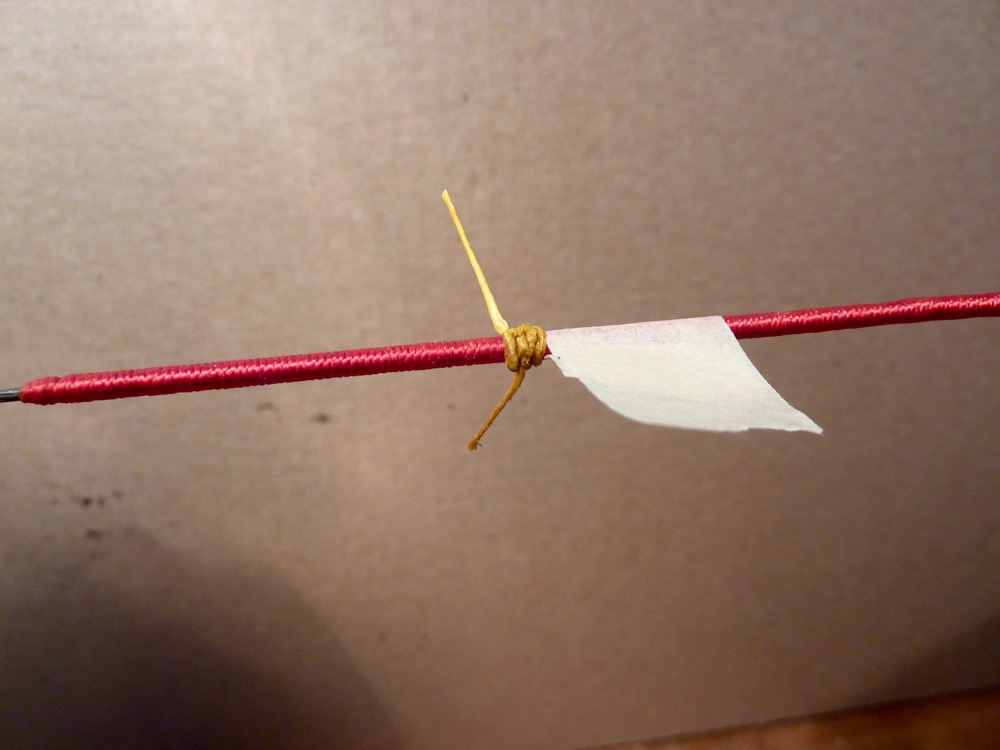
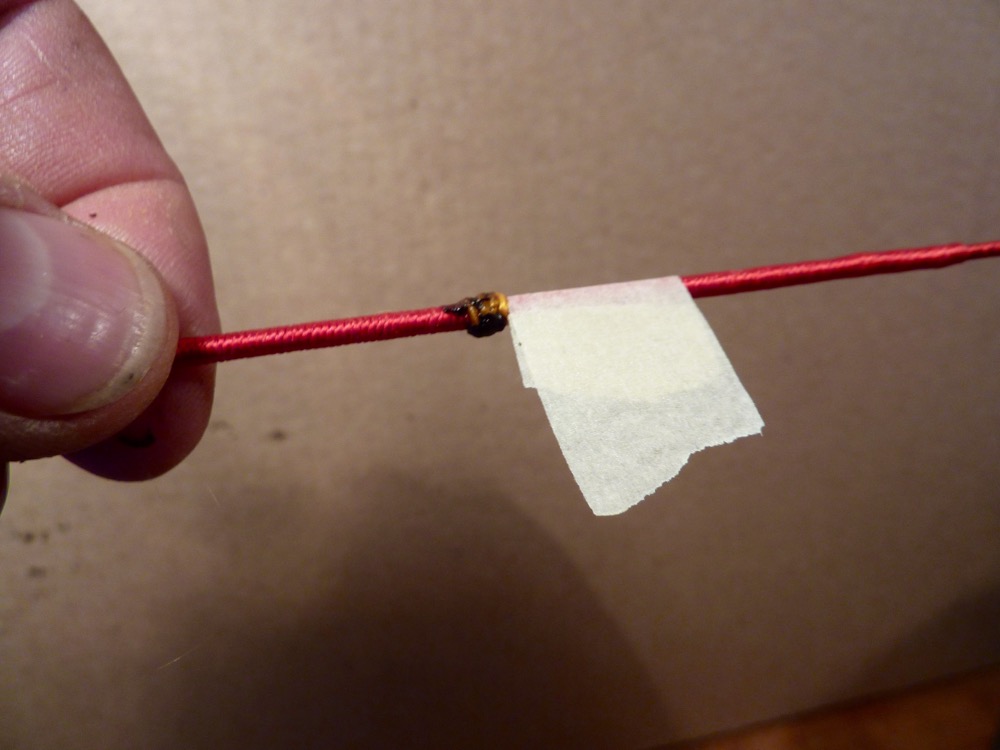
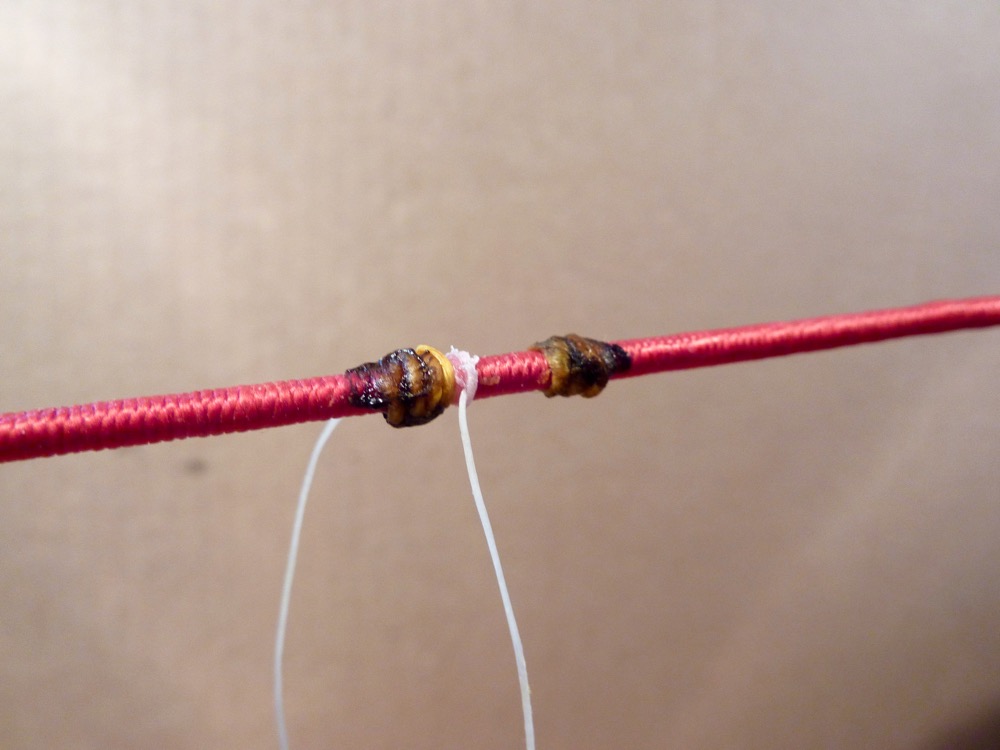
Knocking point:
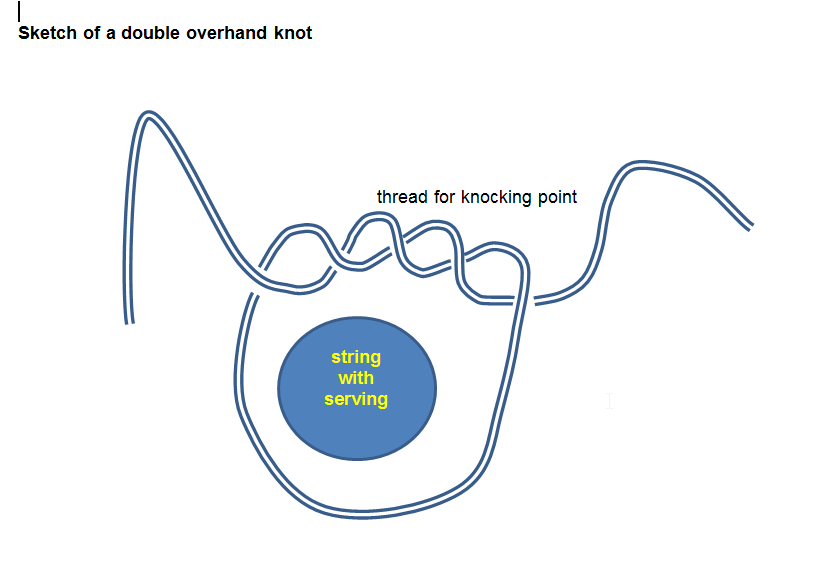
I personally do not like the common brass knocks and I find it useful to have a moveable nocking point for bow tuning.
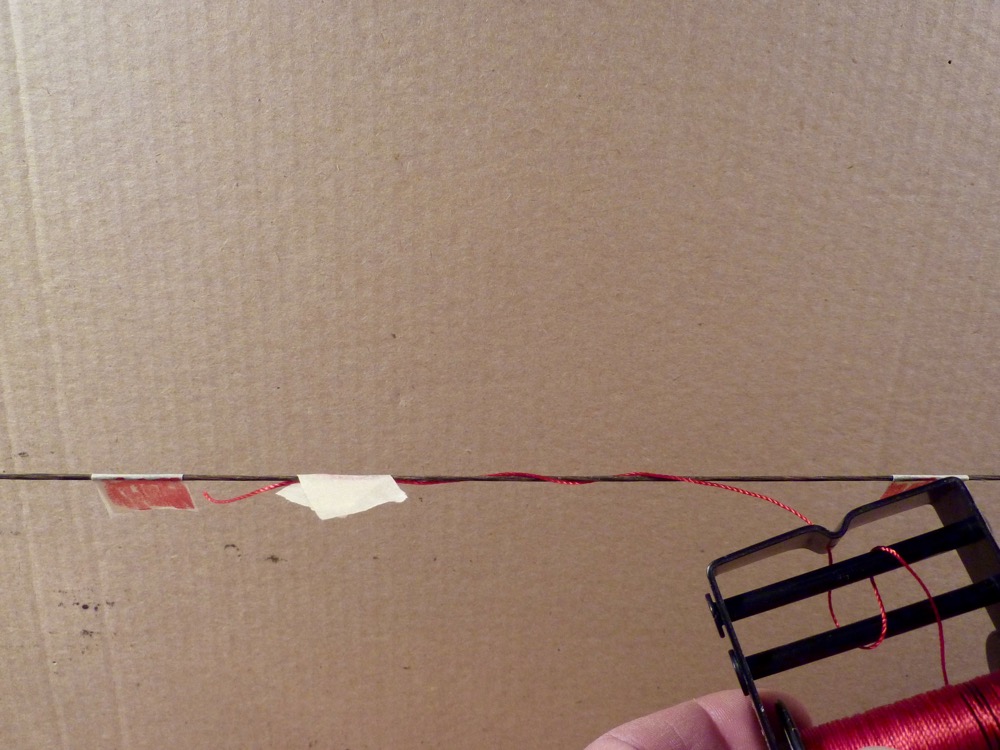
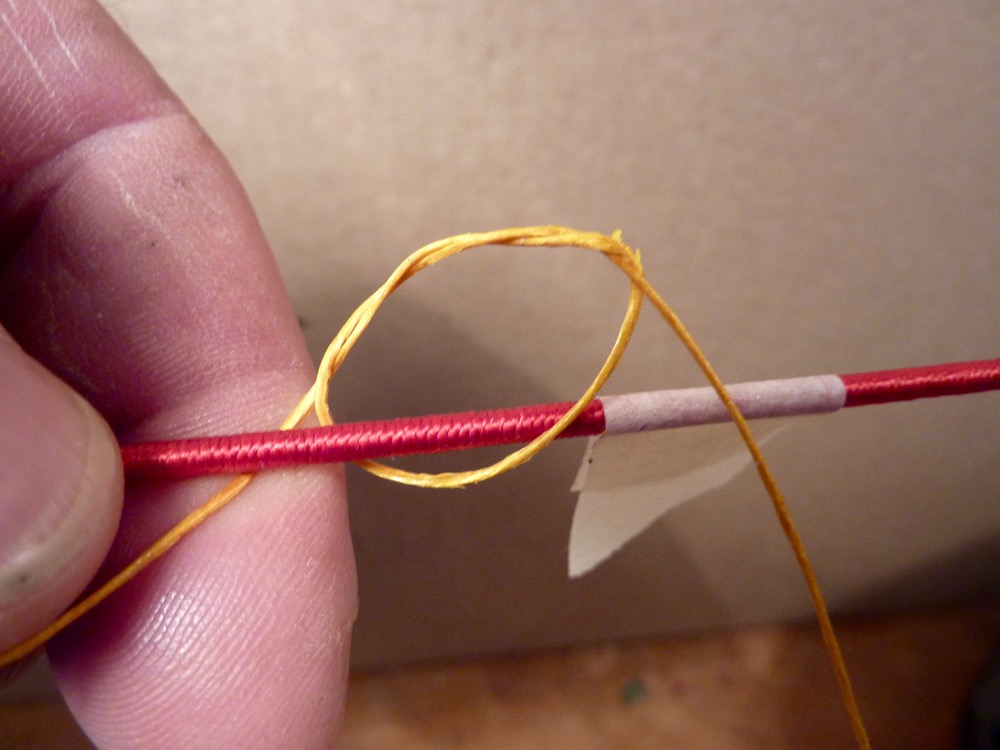
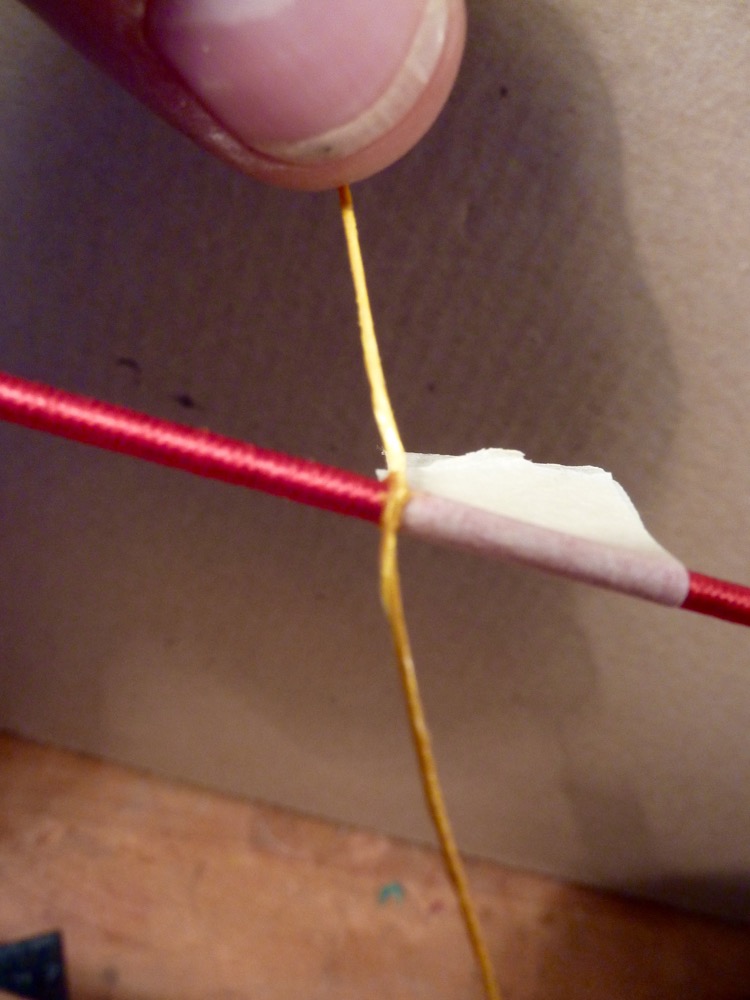
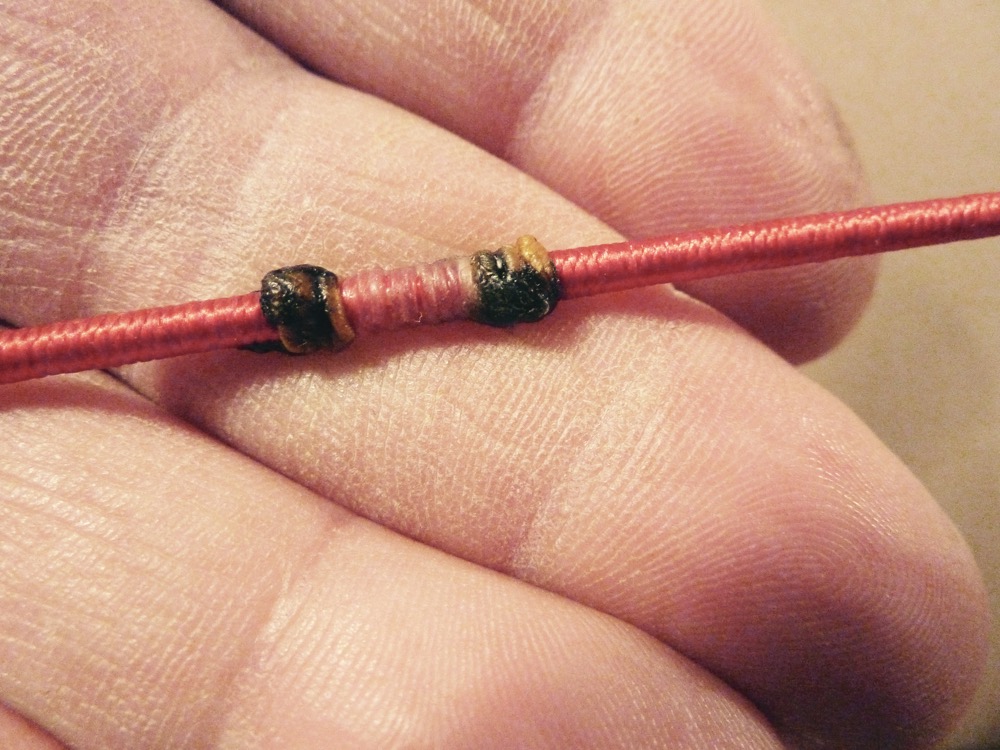
In the sketch above you see the principle how a knocking point can be made – a simple 16” long thread of Dacron, tied on with double overhand knots. Do the first above, the second opposing under the string and repeat for 2 times so that 2×3 knots are forming the knocking point. Be sure that the yarn lies at the right position (tight and layer-by-layer). The remaining two end threads are cut down leaving about ½”. These ends can be melted down with a lighter and the knocking point is completed.
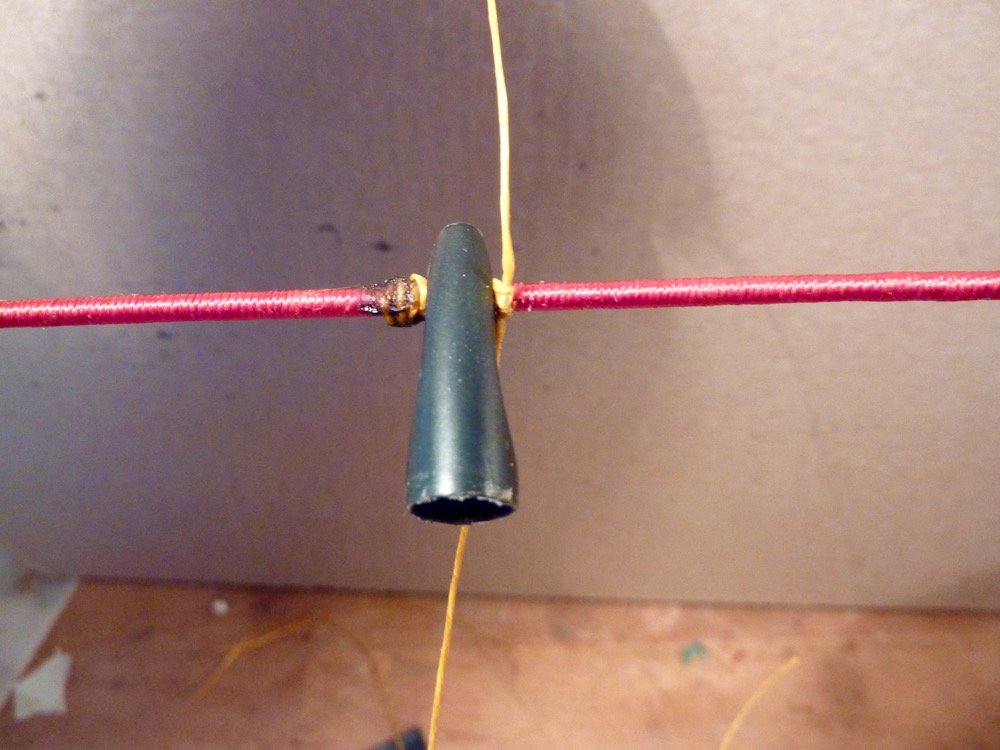
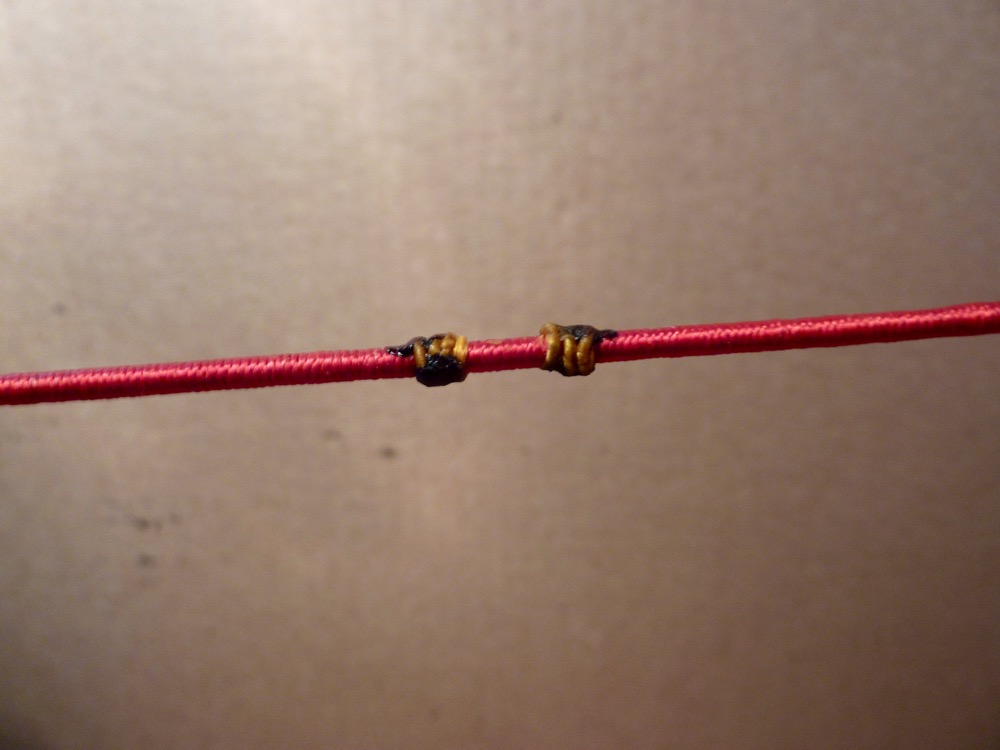
This nocking point is very tough on the string. If needed to move up or down use a pair of pliers, it runs on the string like a nut on a screw.
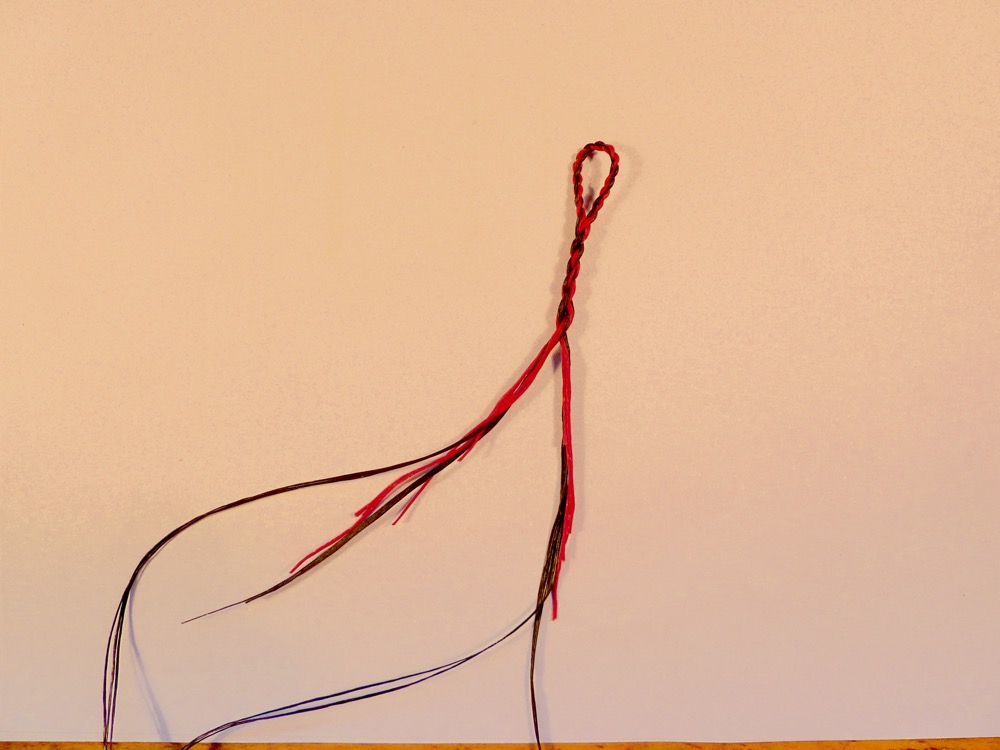
String ear padding:
My strings are usually 2 bundle strings, mostly 2×3 strands. The ears or loops are padded to thicken up, especially on self nock tips to prevent cutting into the wood. The padding is made with 2×2 strands of cheap Dacron (8” long) padded to the two bundles while making the ears.
Different colors can be used for contrast effect.
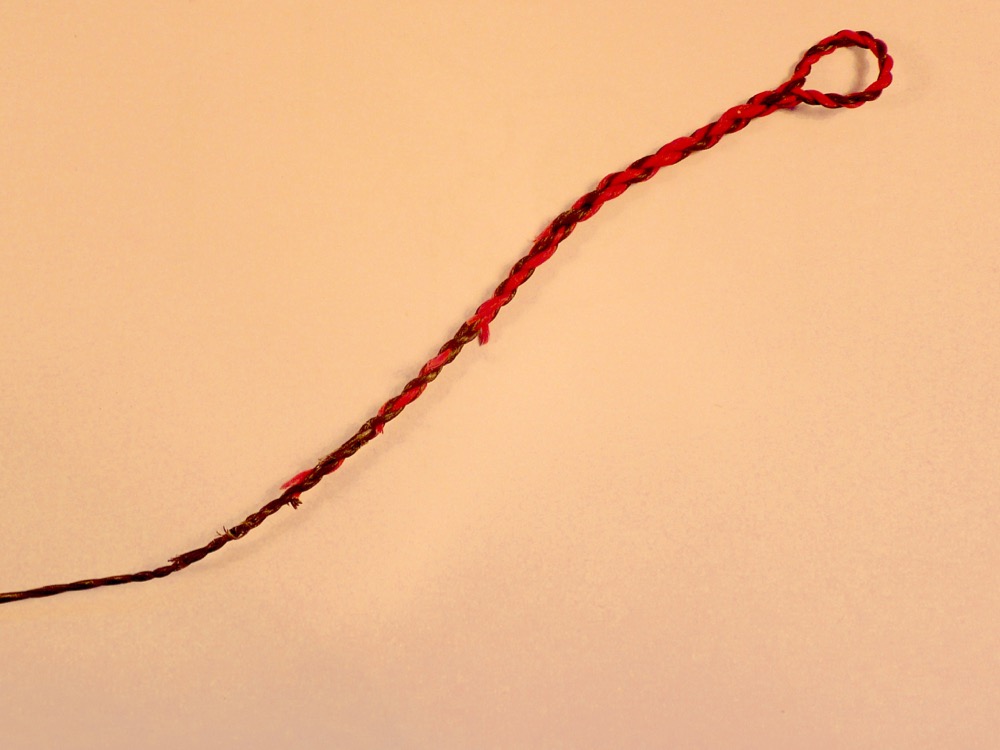
Here is a detail pic of 2×2 Dacron pieces for string loop padding:
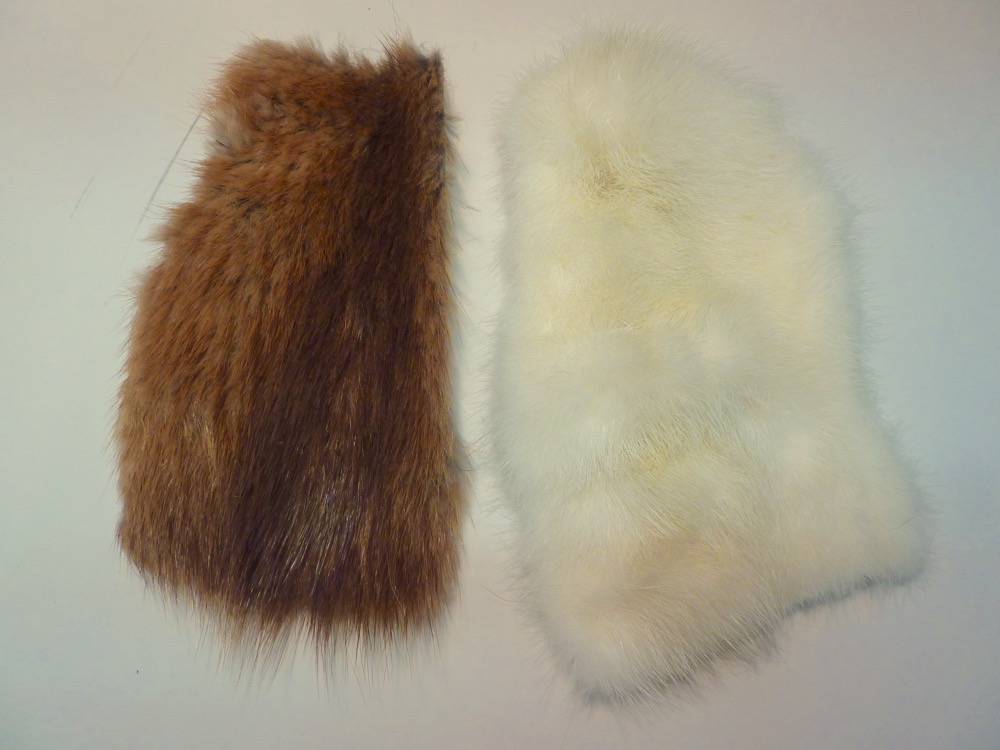
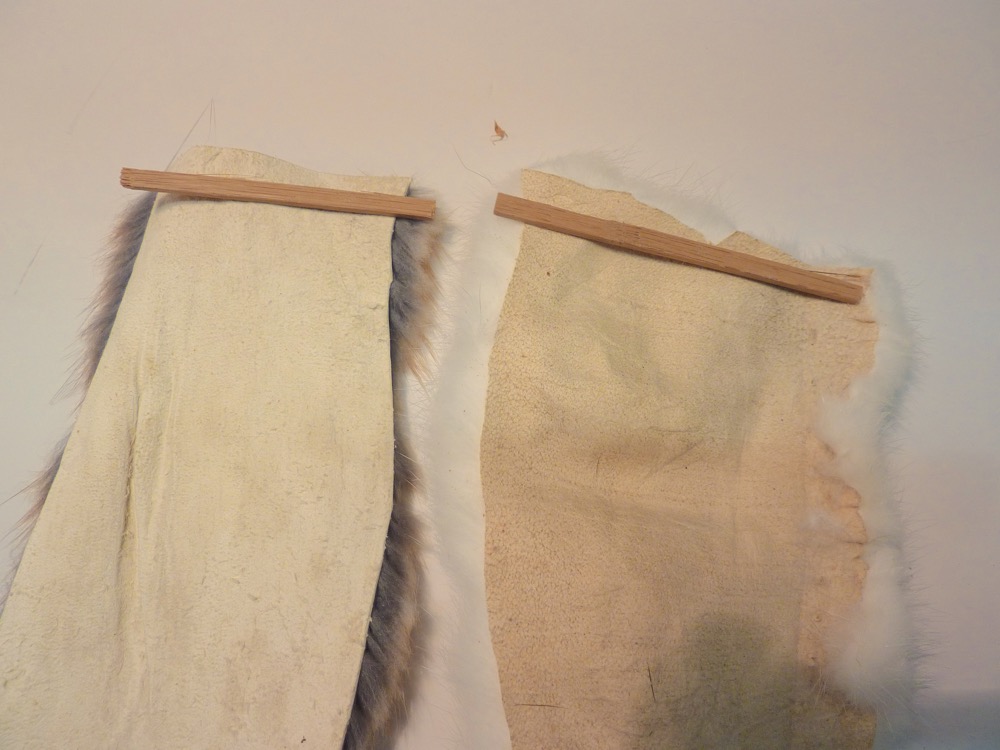
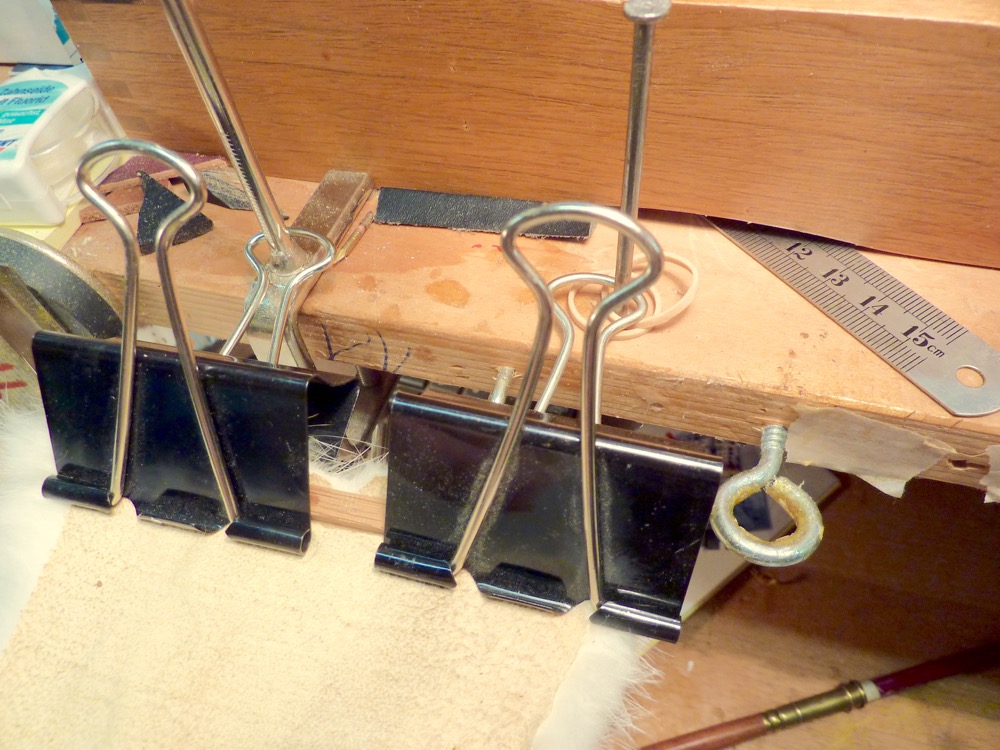
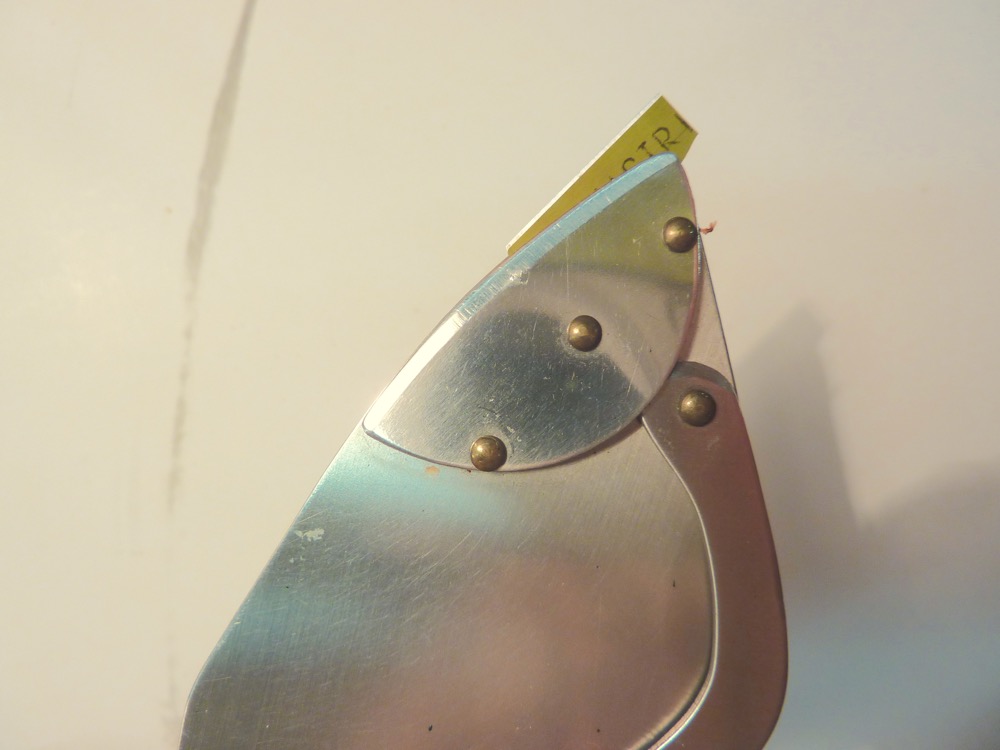
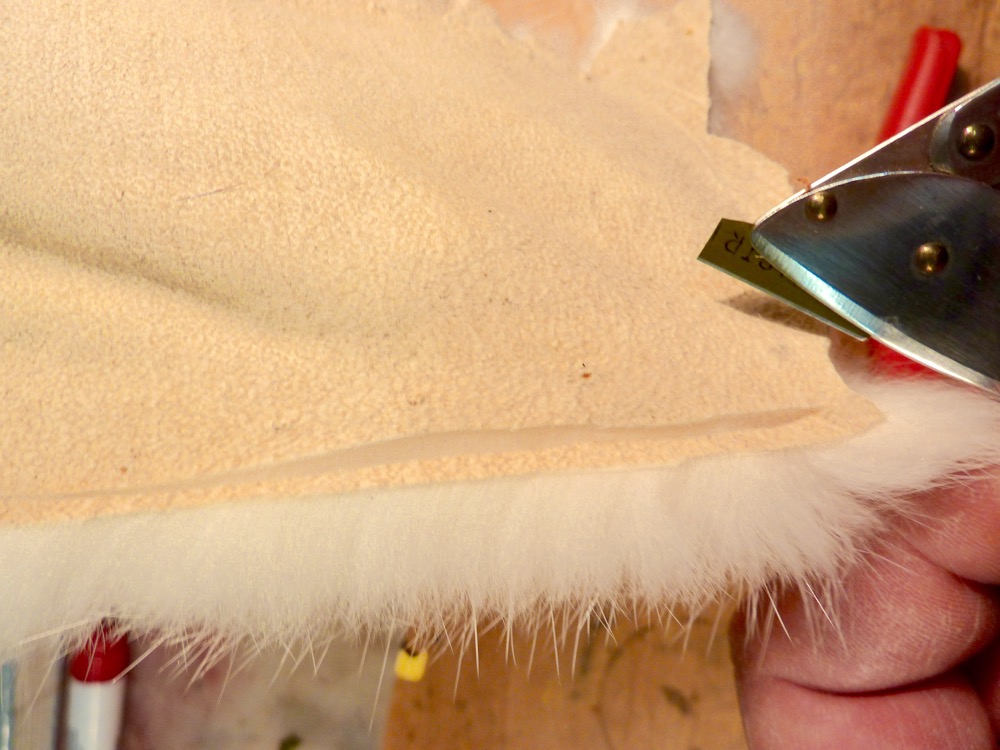
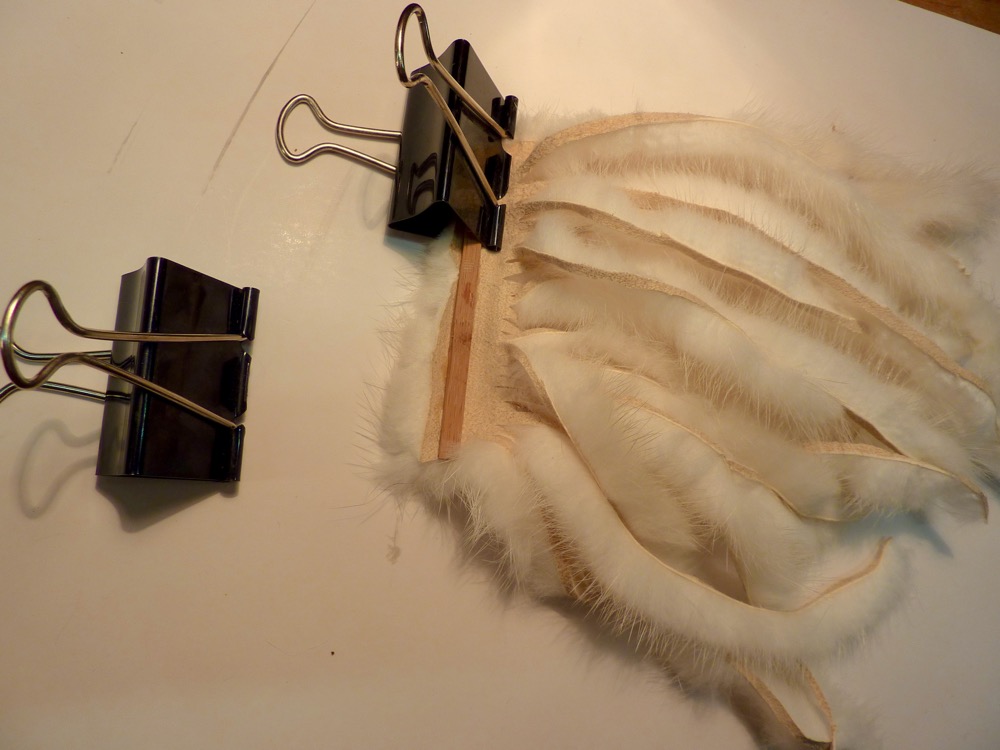
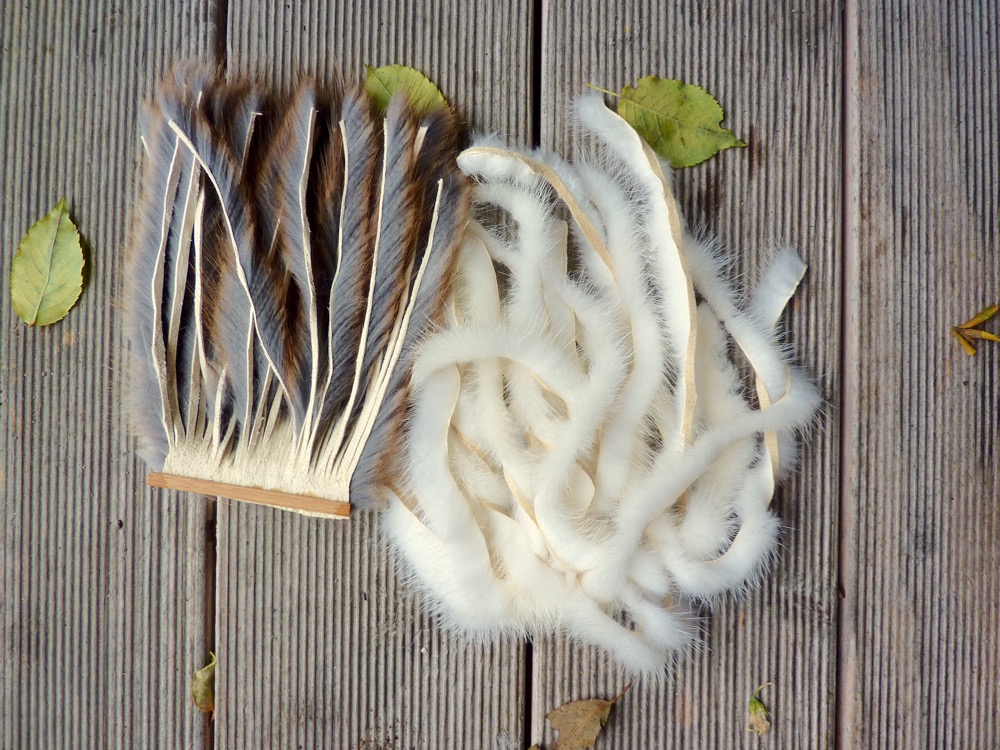
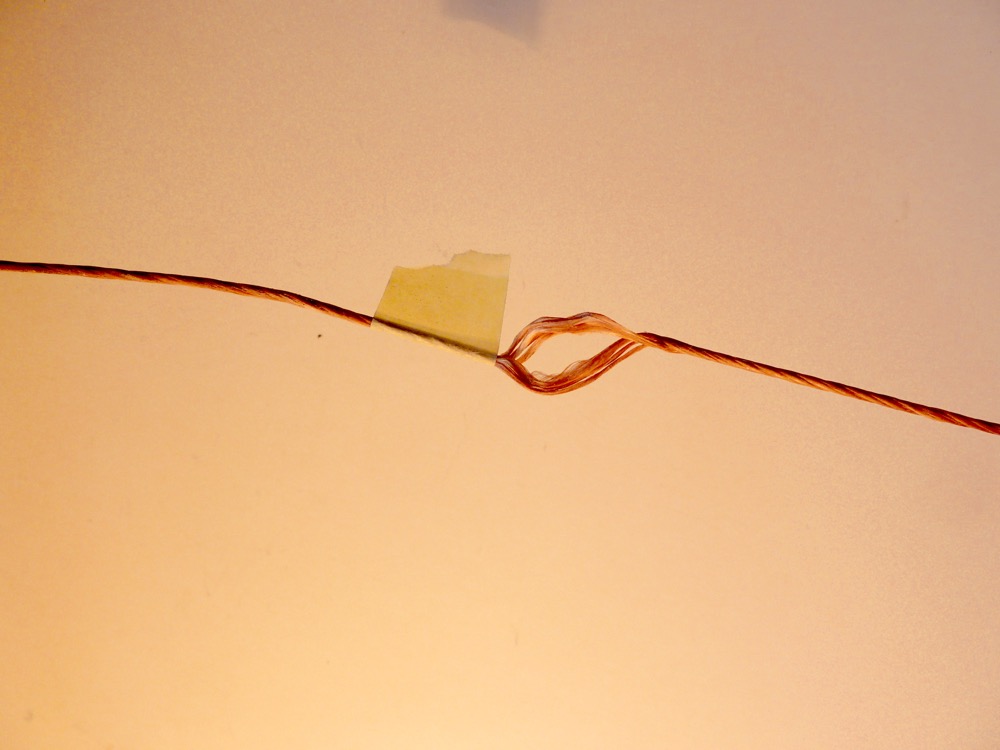
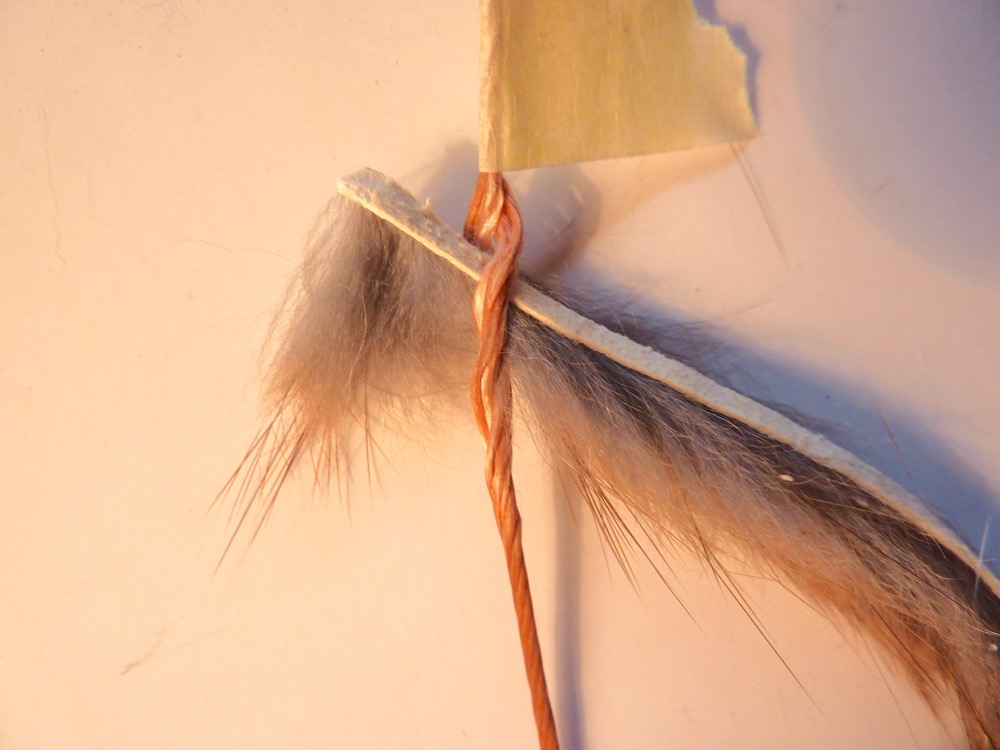
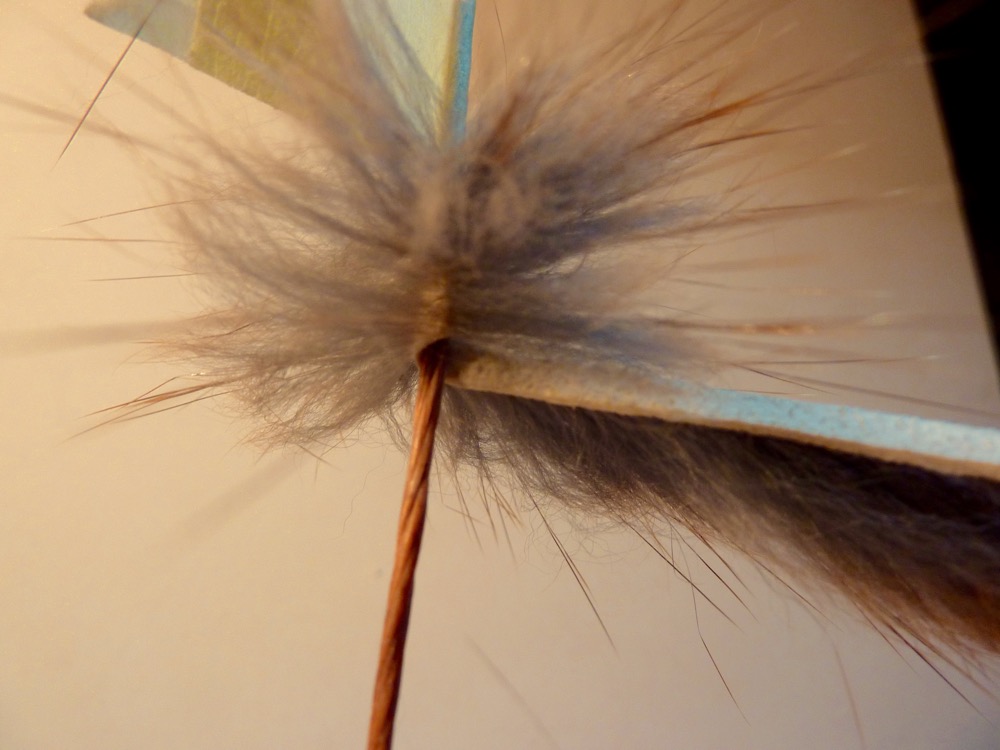
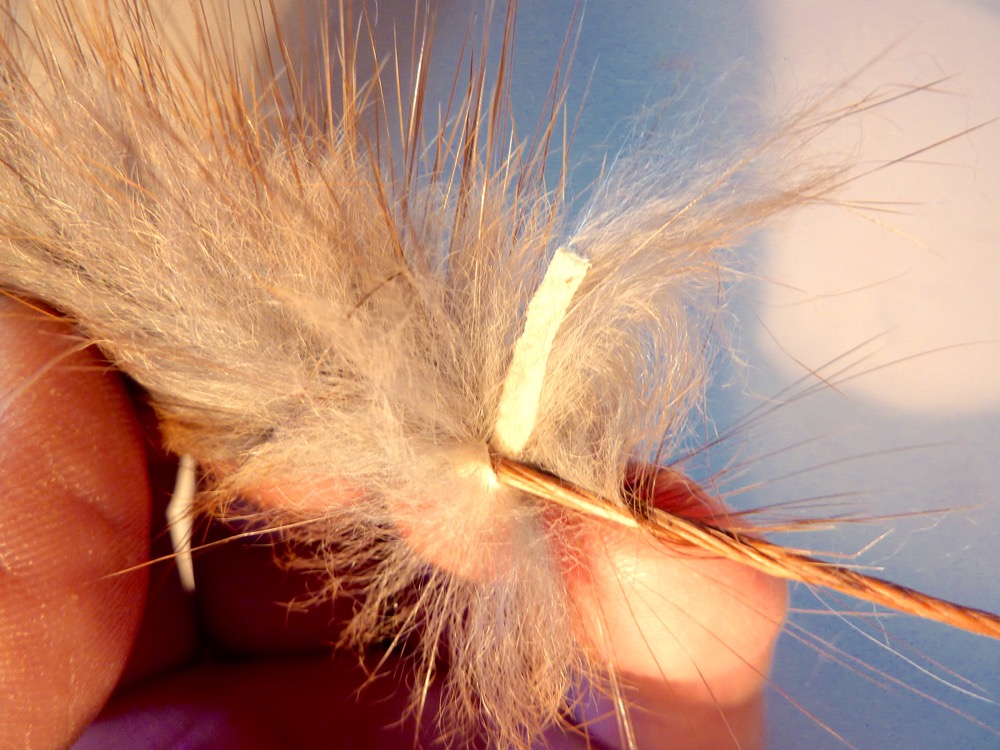
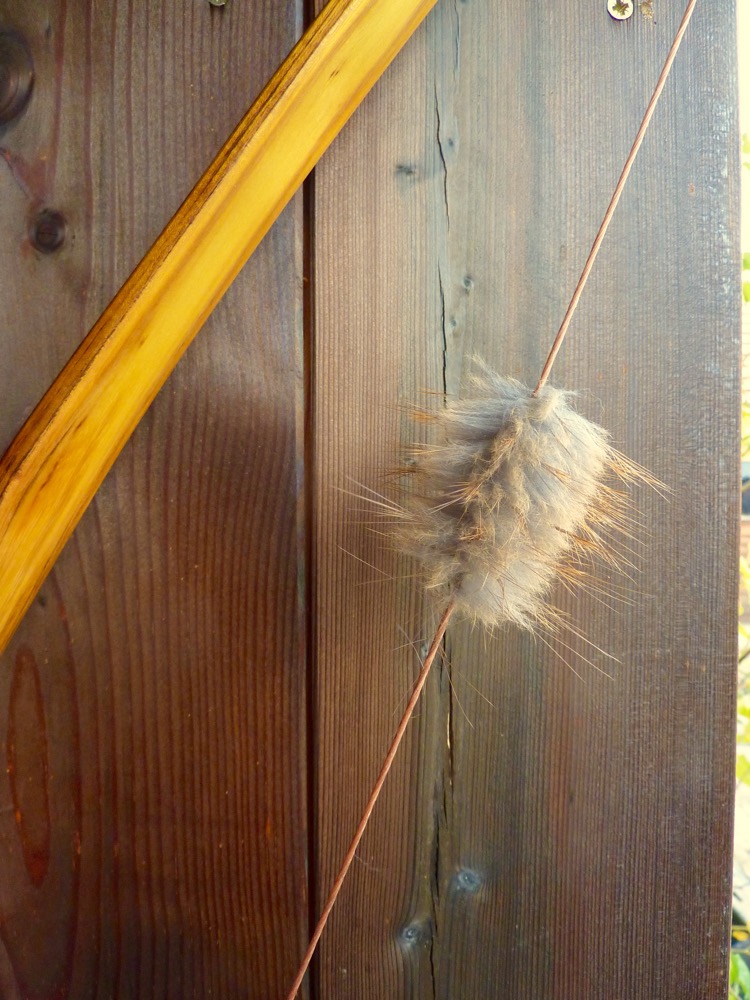
Fur silencers:
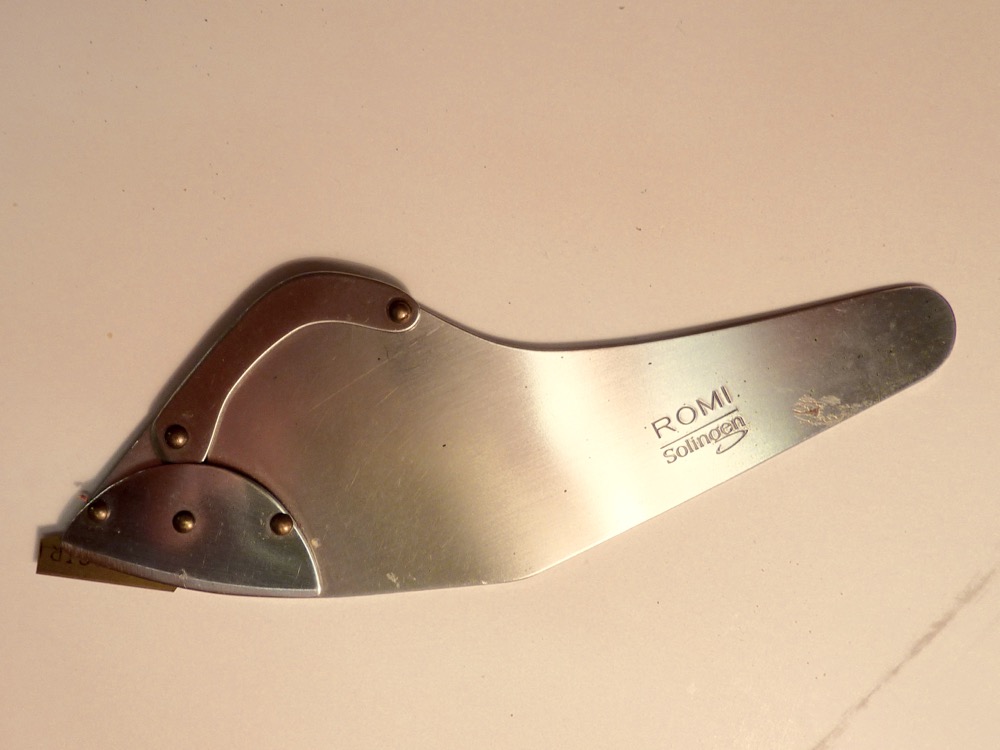
Suitable fur has thin leather and soft hair, such as rabbit, otter, muskrat, or squirrel. First, cut a strip of fur about 3 mm wide out fur. Best is using a scalpel, the fur should be tightened on a frame and the cutting should be done “in the air”. This prevents cutting through hairs, which is result when cutting on a table. The strips should be 8-10” long.