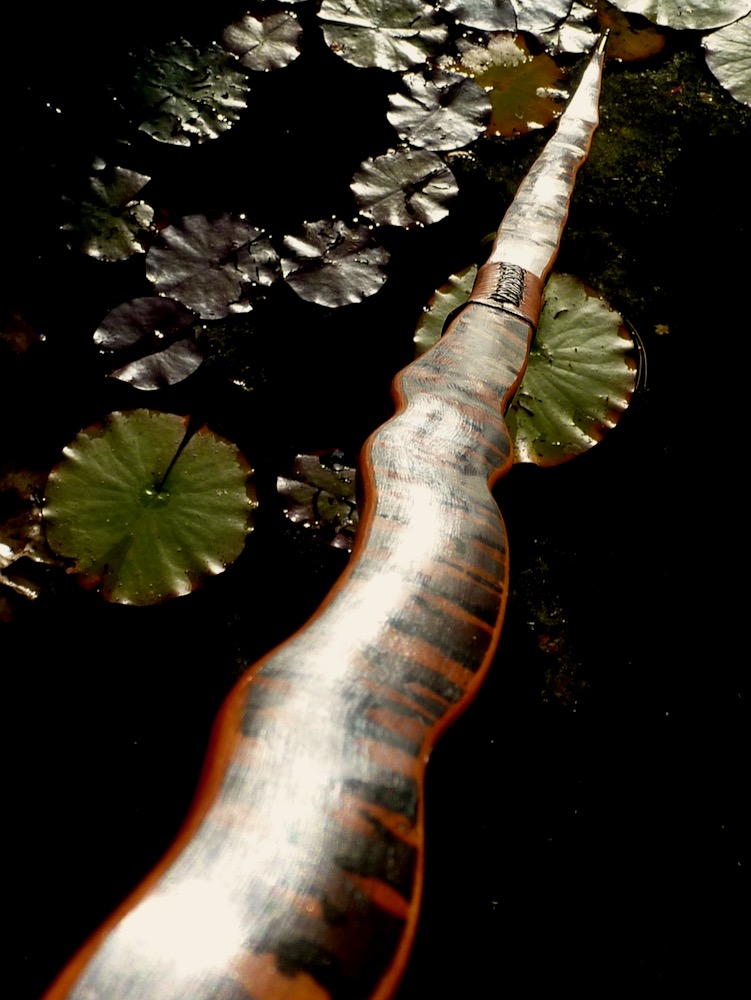
Long time ago I made a 5 curve bow out of a pair of nice, snakey and very old osage sister billets. All curves were steamed in, except the central at the handle which was induced as a backset splice. The greyish brown color was already in the wood. That bow came out a bit long and felt sluggish, I wasn’t really pleased with the result, so I put it away and it was laying in my rack for years.
Recently I decided to go ahead with that stick. I shortened each limb, cut away the handle splice, steamed in sharp statics instead of roundish working recurves, stiffened the levers with inserted horn wedges, steamed out the deflex into reflex, put on homemade td sleeves and retillered the bow. On lower limb the fade was too thin, I glued on a cut off from that bow.
The design of that bow had changed completely.
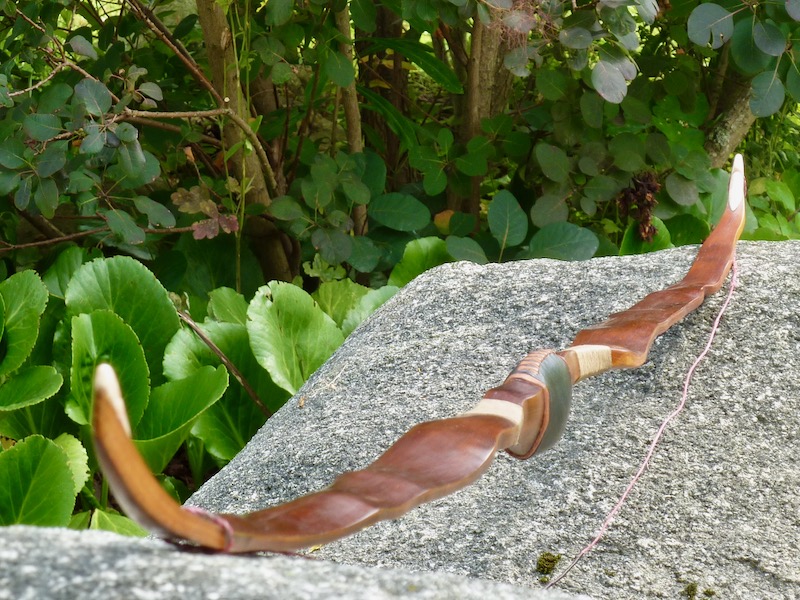
Now it’s a fine shooter without any shock and looks much better, at least for my eyes. It’s now symmetrical, limbs have exact same length, ntn is 60”. The handle is goat leather with an accent strip of stingray leather, arrow pass is also stingray. That bow is not dyed, this is the natural color.
Let me add something about the td sleeve, maybe someone is interested in:
This are homemade sleeves from a pipe with 42mm diam.. I had no matching pipe handy for an inner tube, so I used the same pipe, cut out a strip of about 4mm lengthwise and bent it again to a circle. Both parts were bent then the vice. In this case I cut the inner tube in an 45° angle, of course the wood in the outer sleeve is also cut in that angle. This little trick works great!
For glueing in epoxi is best, because of gap filling.
![]()
![]()
Steaming out deflex
![]()
Piking
![]()
Tried the opposite angle, next time I go ‘normal’ (steepest side of upper limb on the back) again
![]()
![]()
![]()
Lower limb got a glued on piece to match the sleeve
![]()
![]()
![]()
![]()
![]()
![]()
![]()
![]()
![]()
![]()
The stringray strip is sanded and gaps filled with white mineral pigment + glue
![]()
![]()
![]()
![]()
![]()
![]()
![]()
![]()
2 Comments
Wow Simon, this is totally beautiful. Another amazing piece of art. We should talk about short bows soon.
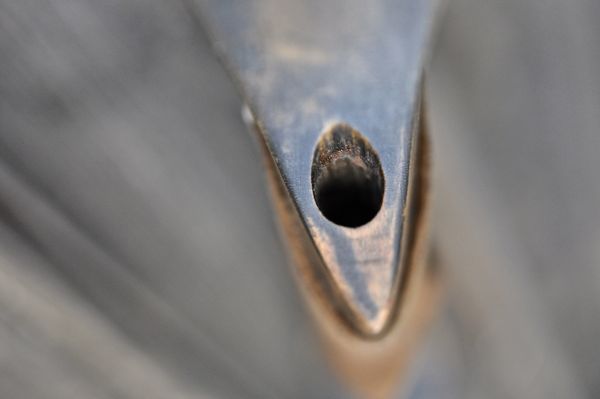
How do you get away with cutting into the back at your nocks?