I think a wide limbed osage is possible, if it is short enough. Two things have to be saved, the mass and the length of the lever. Saving mass can be achieved by narrowing the outers and short leverage of course by short limbs. So let’s see …
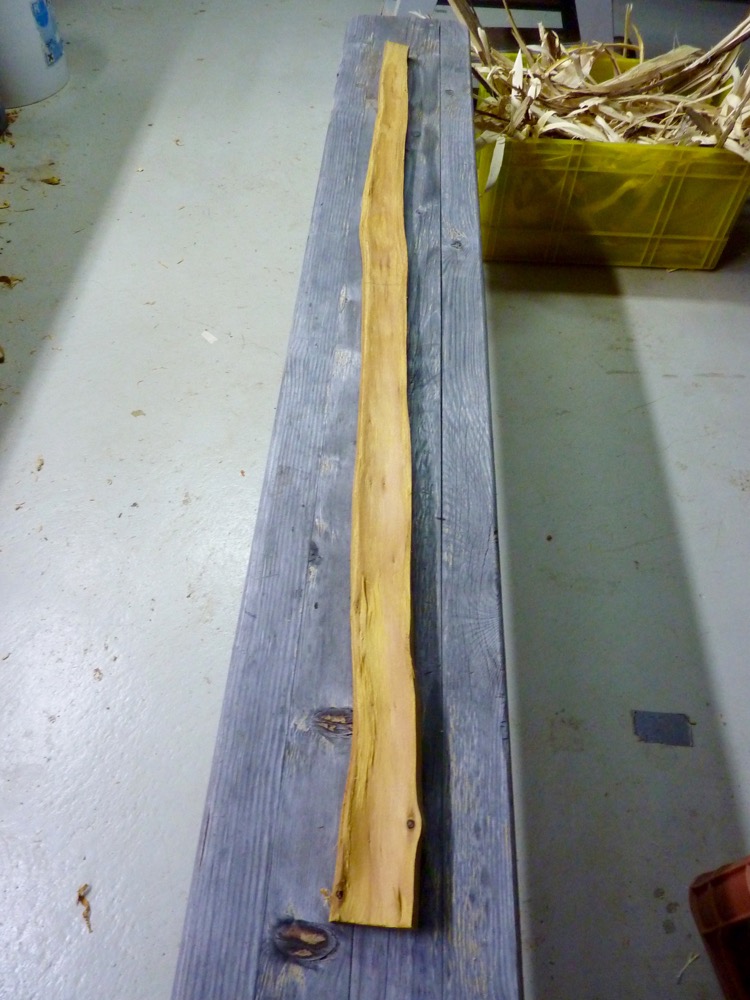
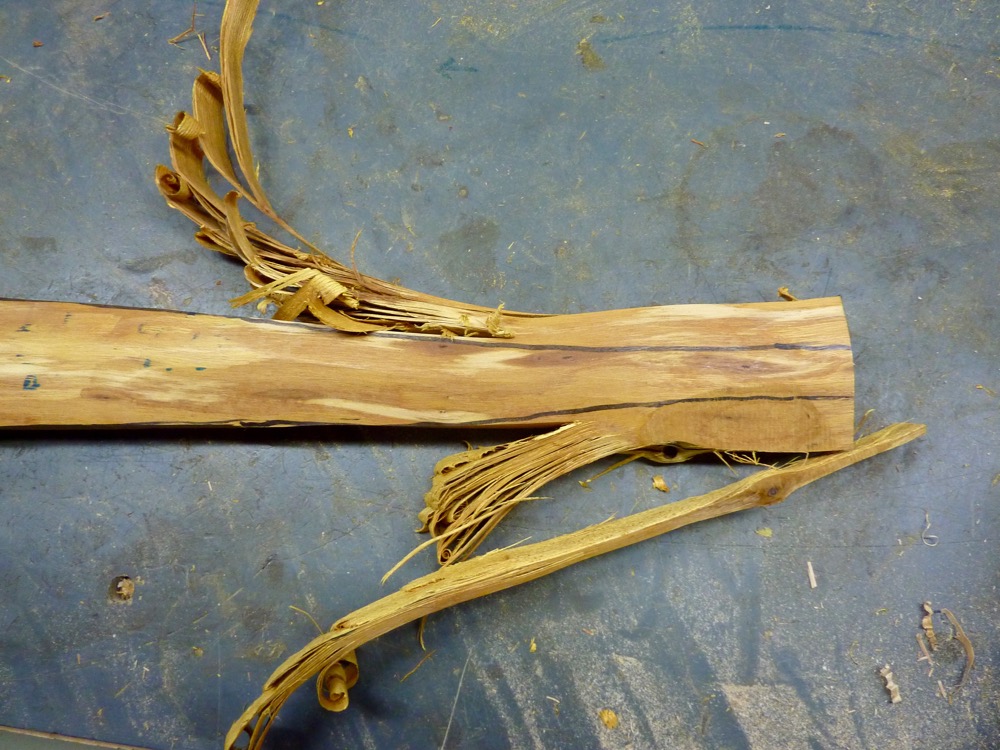
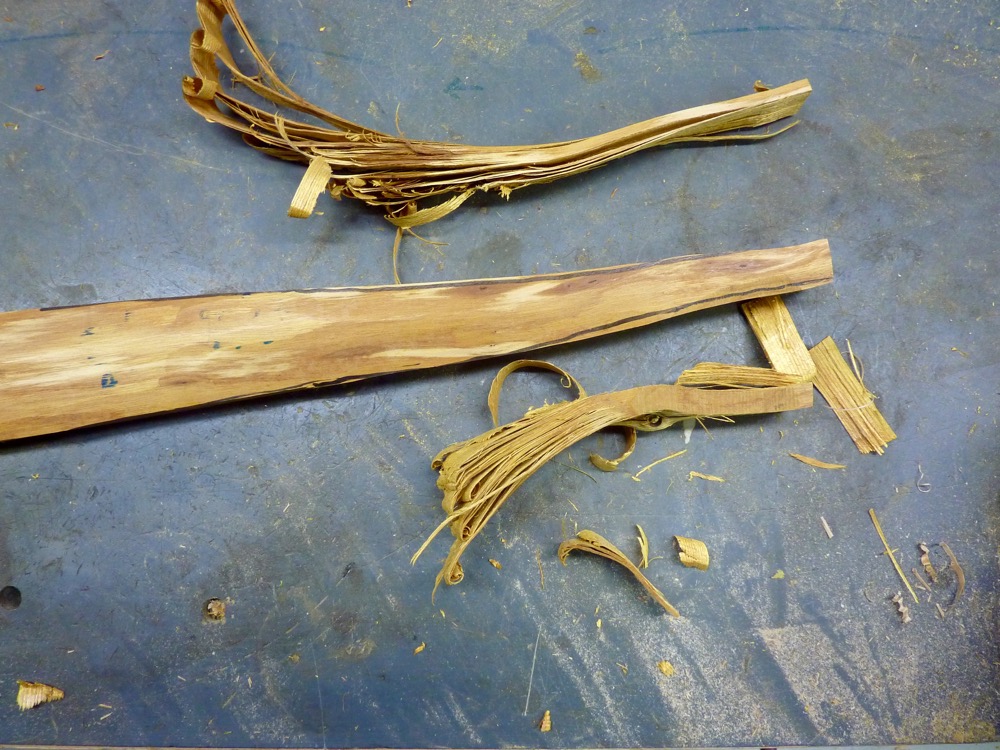
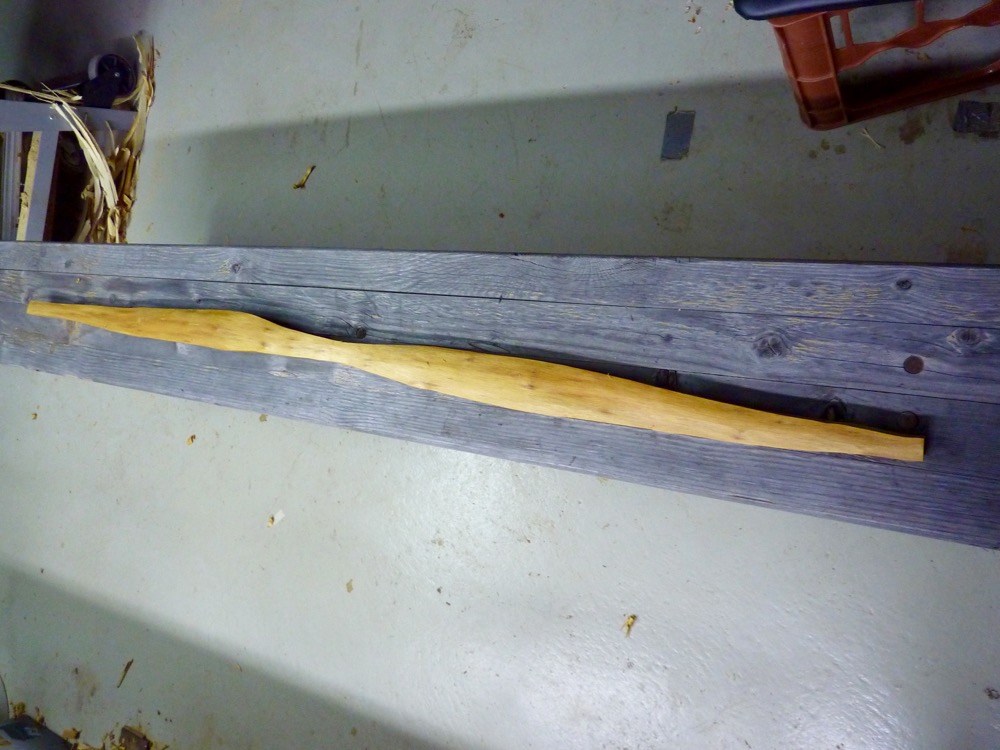
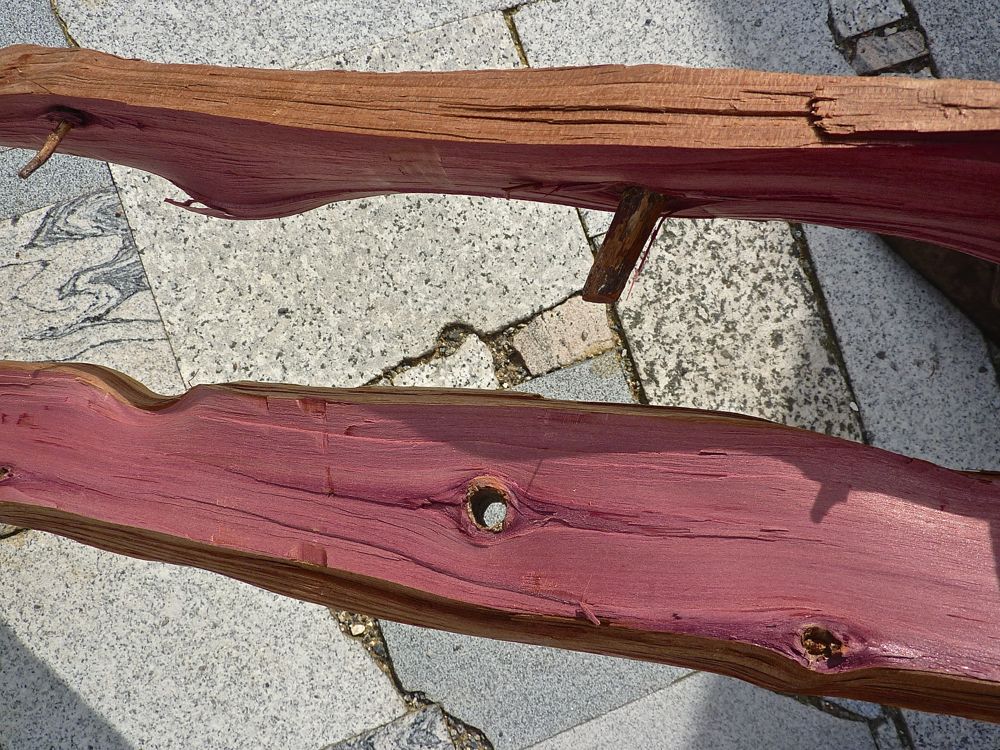
I had a nice clean and more or less straight piece of osage 56” long. My idea was do make a bendy handle bow because of the length. So, it was thick enough for a belly split, what you see here is the back split. It is rough cleaned up. The belly split is not as wide of course, I lay it beside.
So here is the back split:
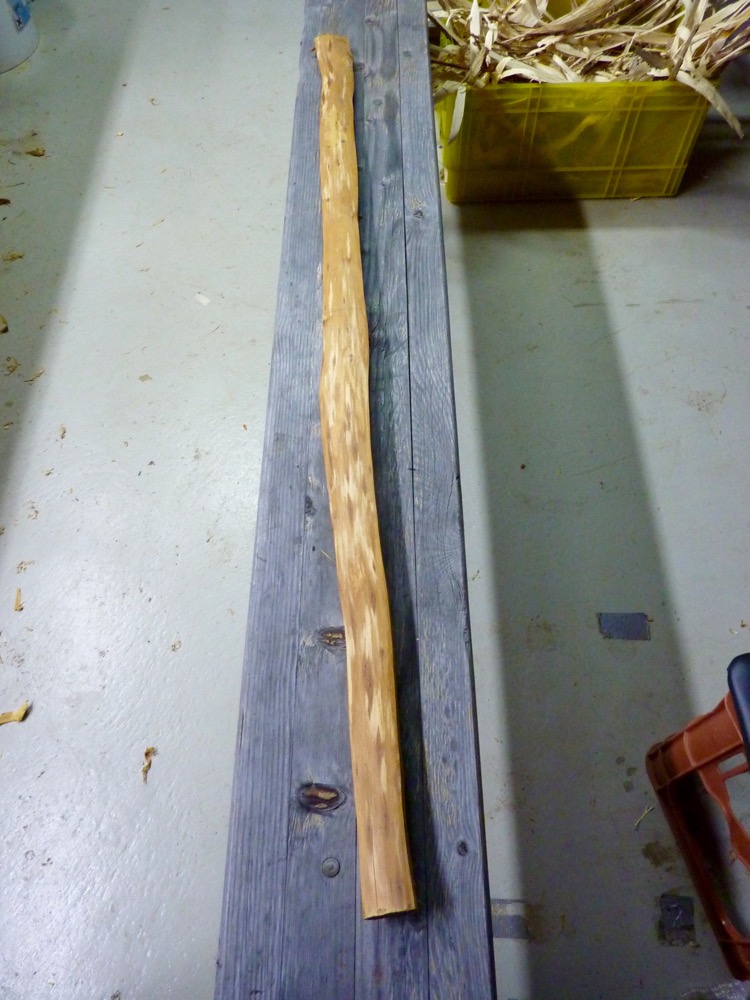
Back
Belly
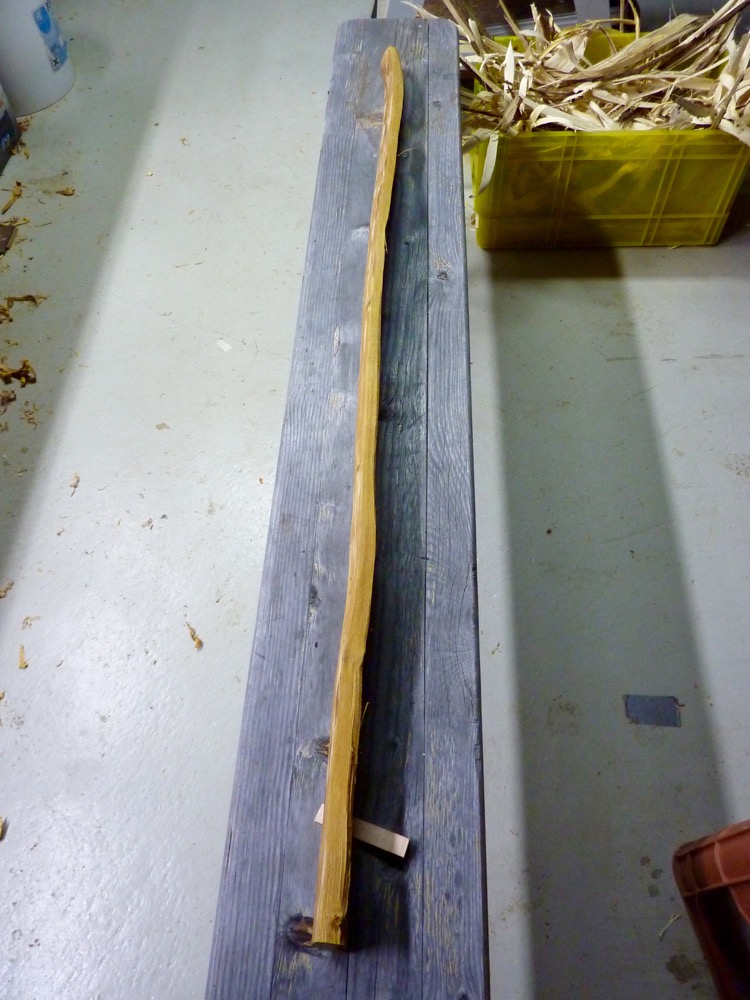
Side
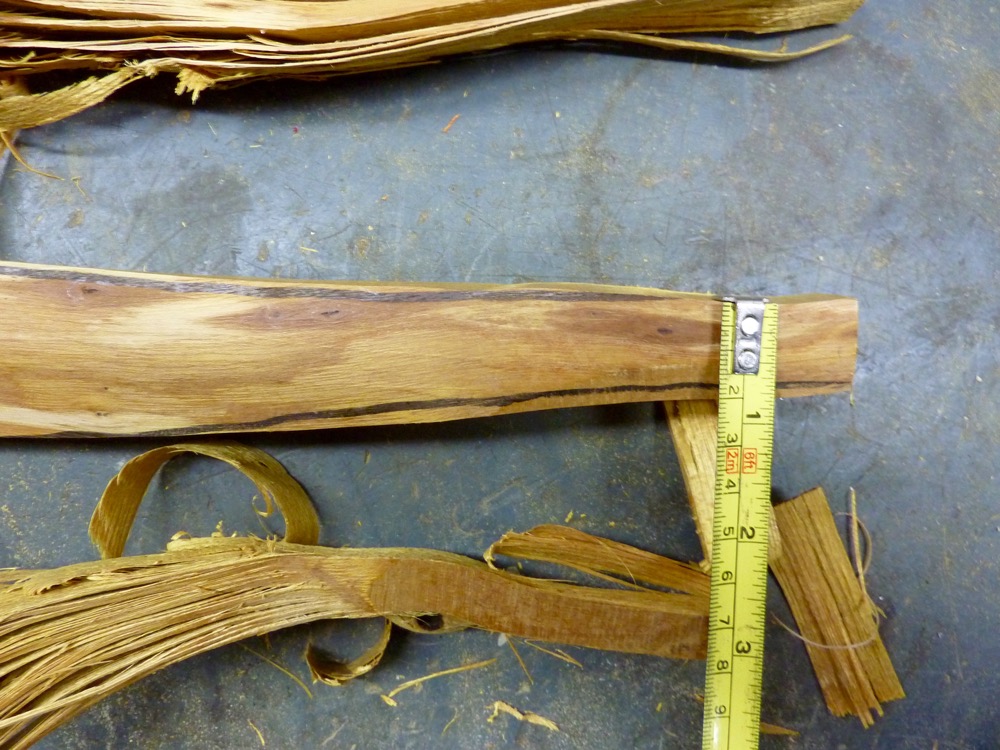
Dimensions, relative thin rings, fat heavy wood, usable width 2”.
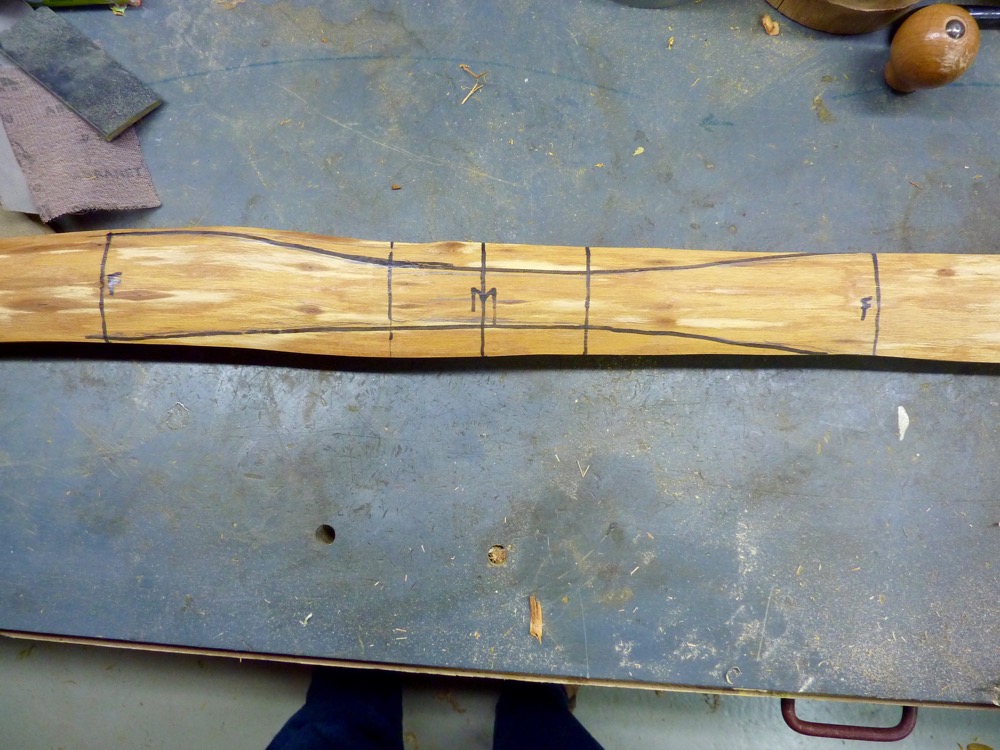
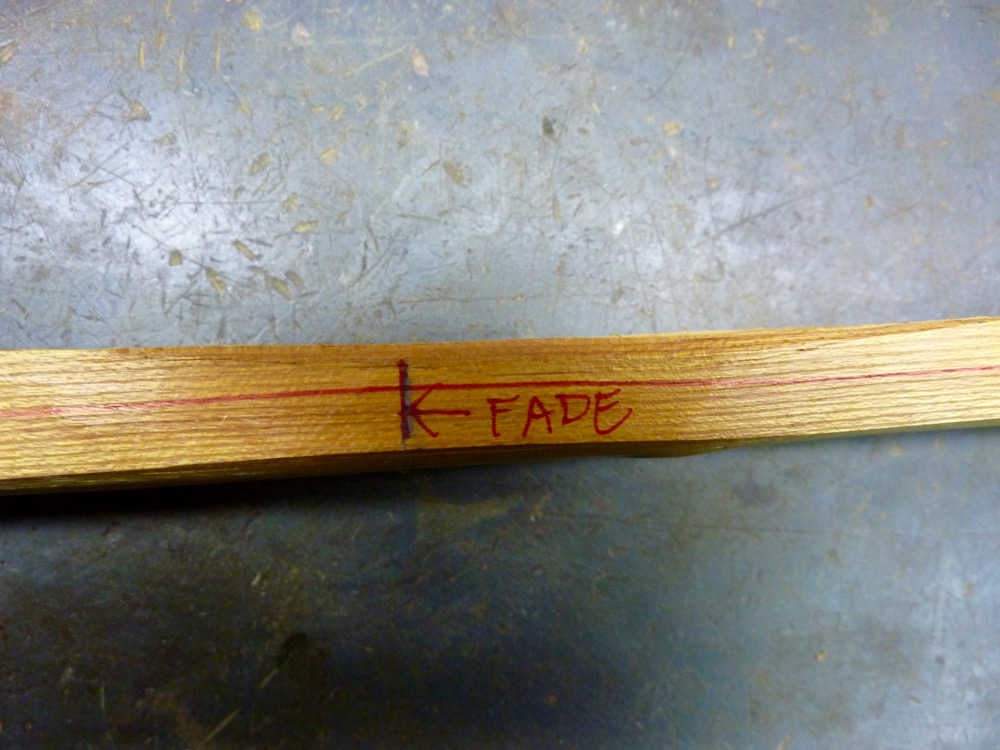
I’m going for a symmetrical bow, marked the middle and the fades. I will rough reduce the width to save work time at ring chasing.
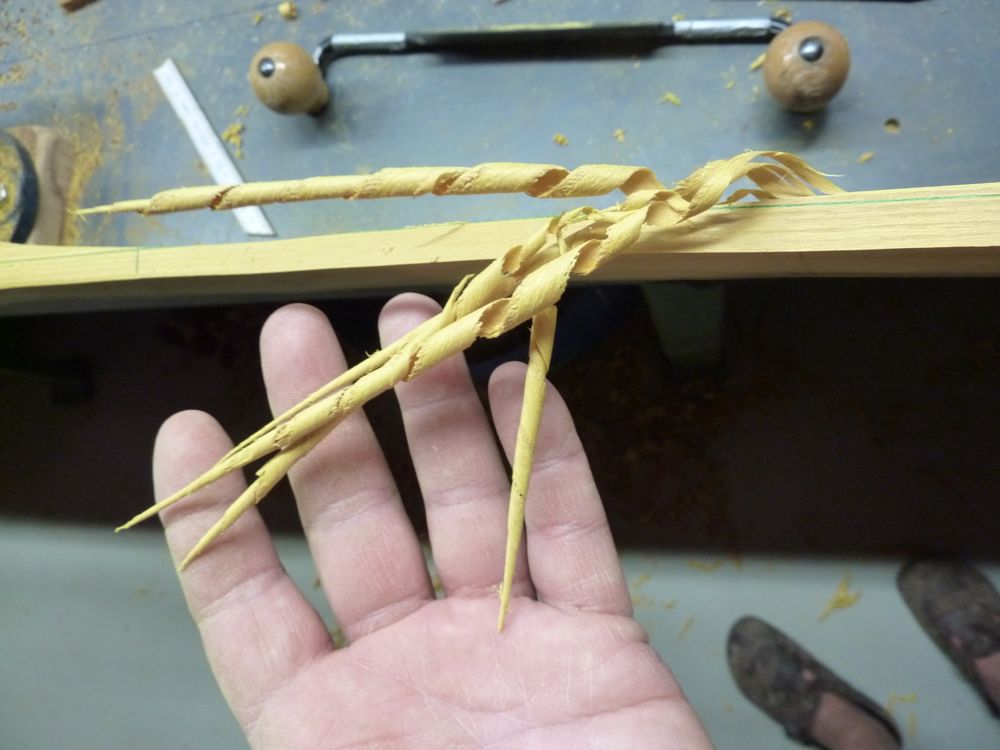
Working with the drawknife from both sides is a secure strategy
Same procedure at the tips
Now for the ring chasing, the width is in rough dimensions (eyeballing)
This is how the stave looks now:
Back
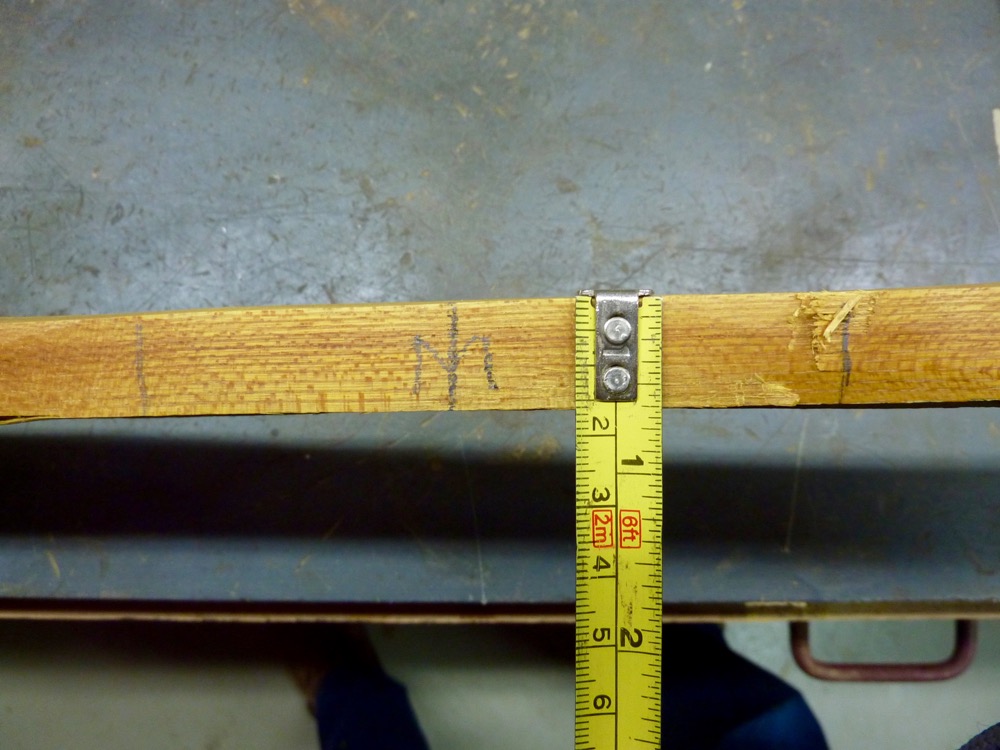
Center mark, and handle mark at the sides. The thickness is now 5/8” at handle.
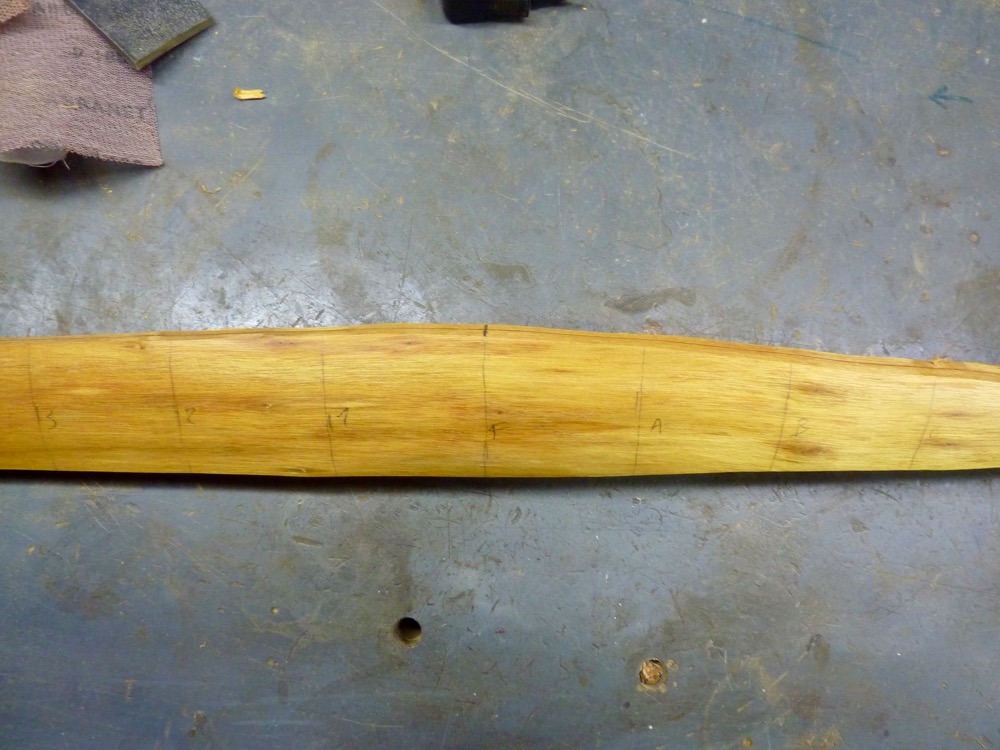
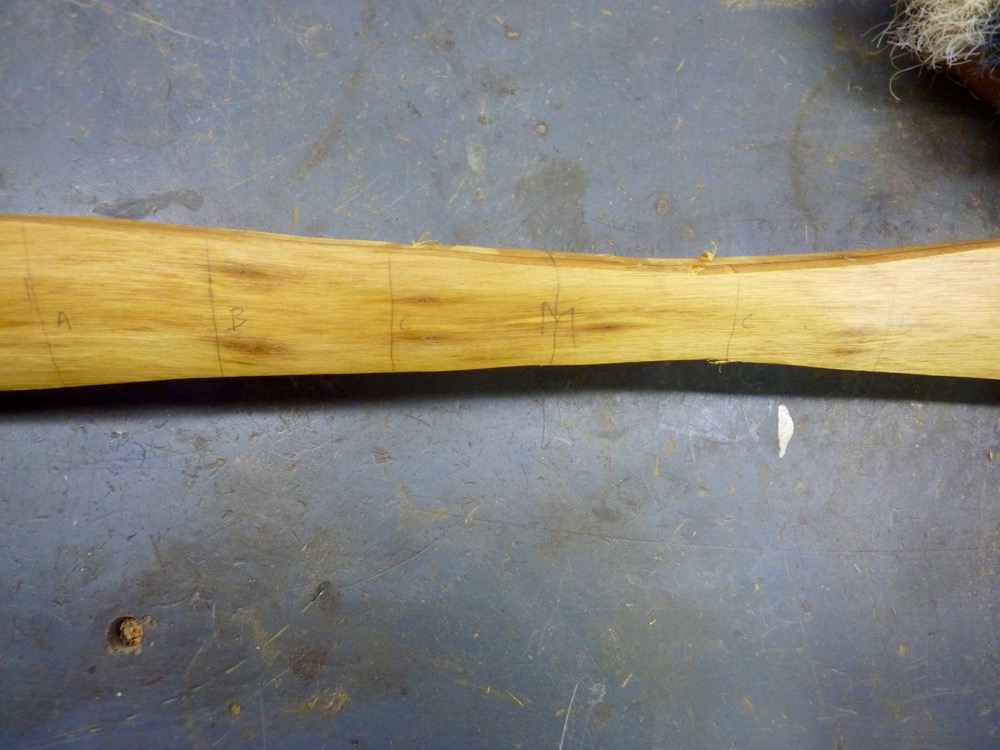
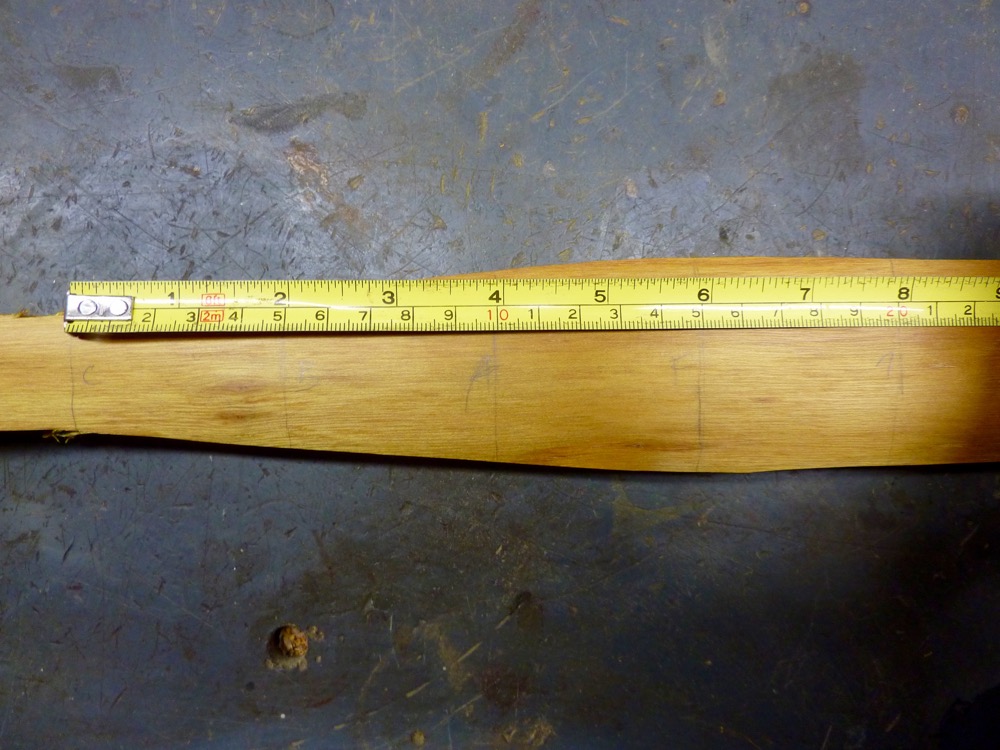
I mark sections every 2” with numbers from the fades outwards. Fades are “F”, between fades A – C
Now the final width can be made easy by comparing the width of the sections on upper with the bottom limb.
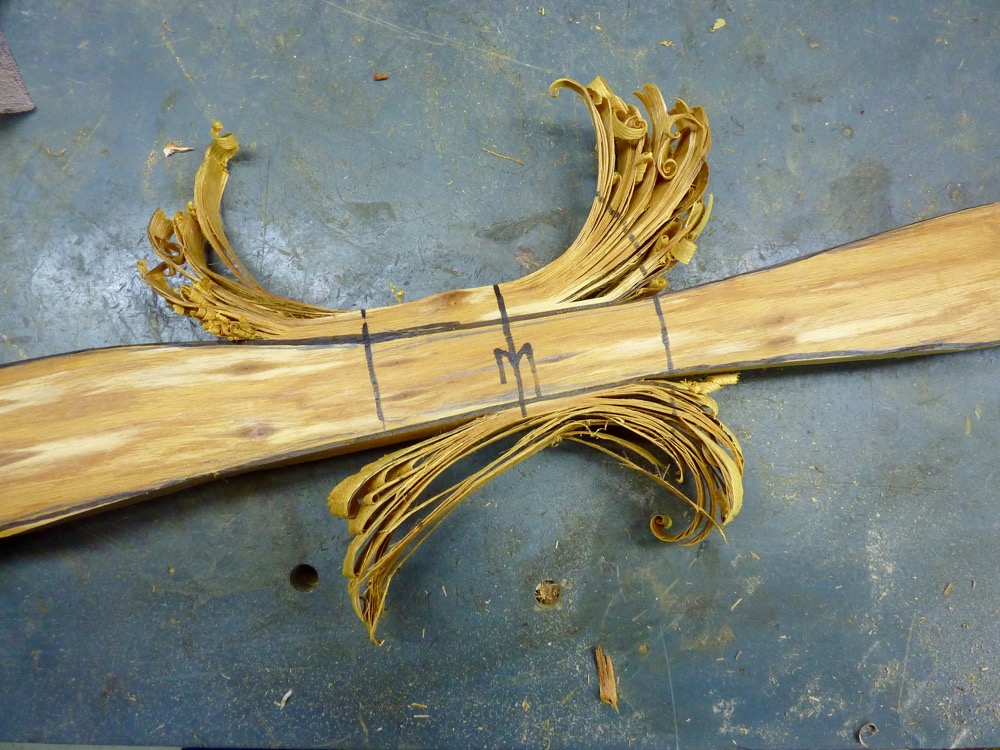
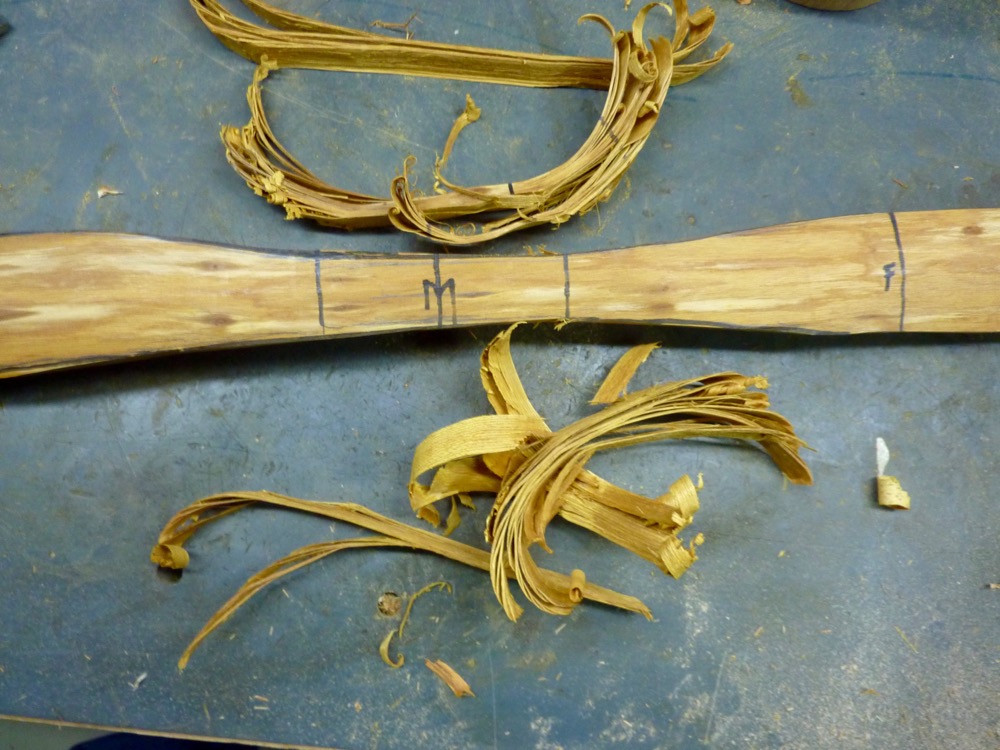
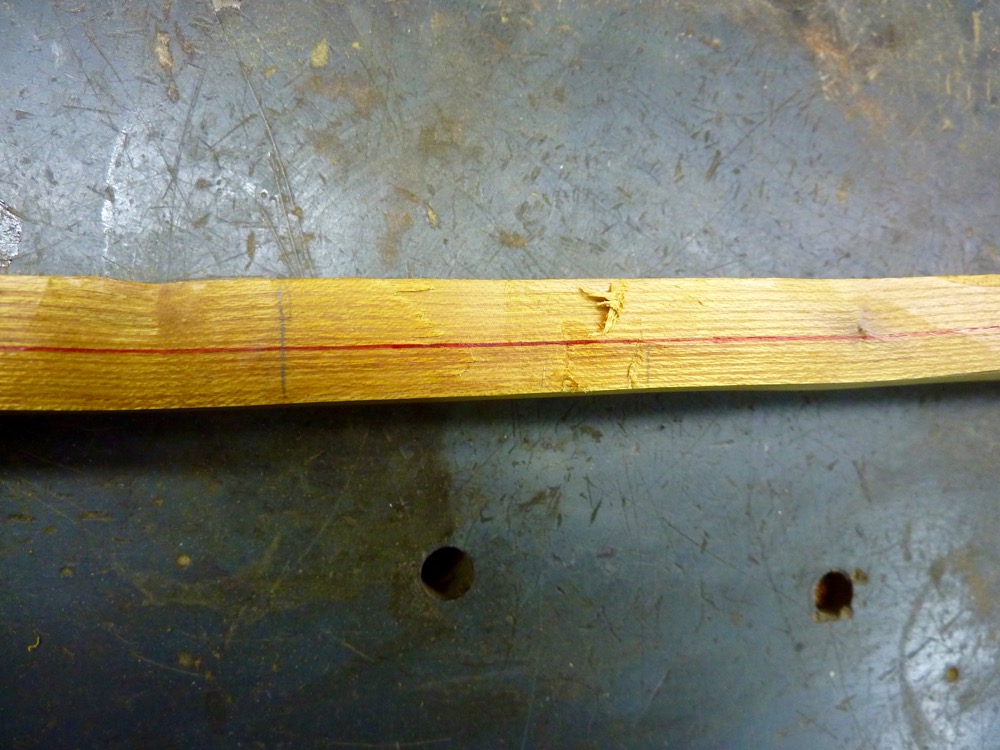
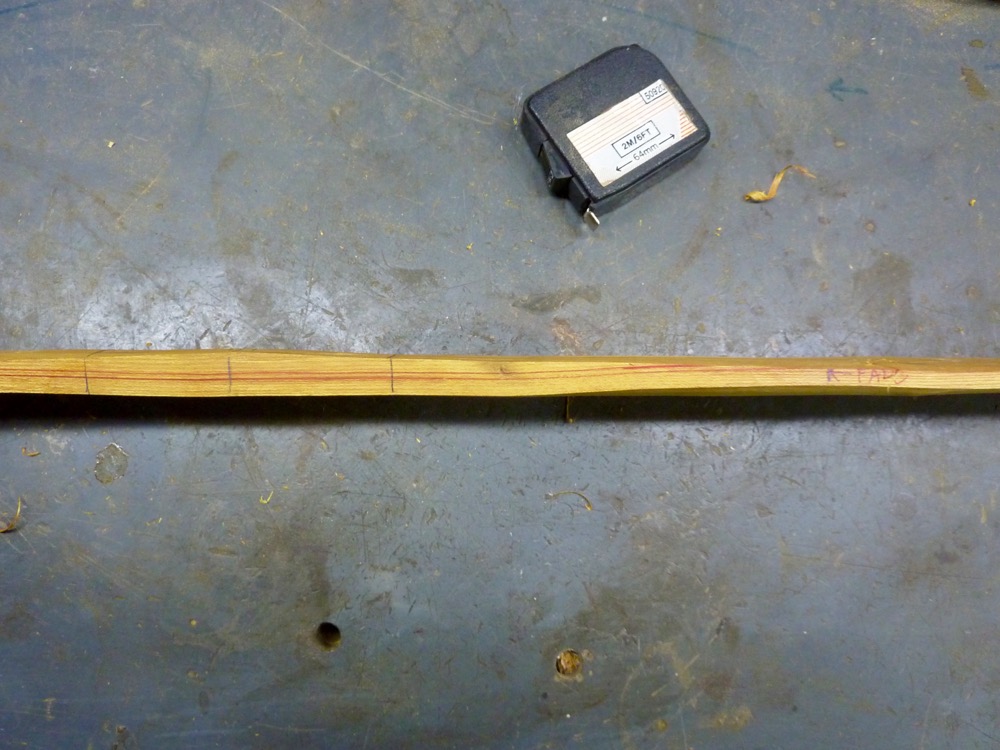
Next step is the thickness taper. First I go for a parallel taper from fades outwards. The red line marks a distance of about 6 mm. A second line at the handle area and outer tips in a distance of 8 mm keeps this portions stiff enough for the desired tiller.
I keep all edges sharp, so it is a lot easier to go for the thickness taper
Here is how the bow looks now with the rough worked down thickness. The bow still wasn’t bent so far. The short recurves were steamed in. I haven’t made pics because the process how I do them are shown in several of my ‘HowTo’s’.
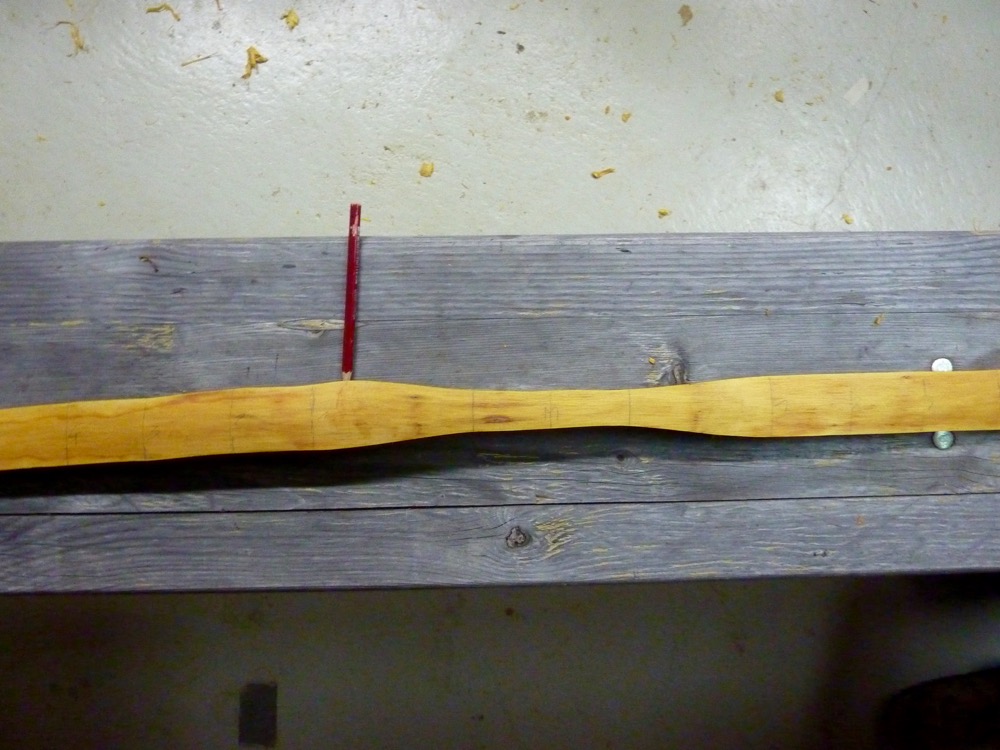
The pencil shows an area which must be corrected. In the side view you see the deflex.
In the front view (back of the bow) you can see it must be corrected sideways too.
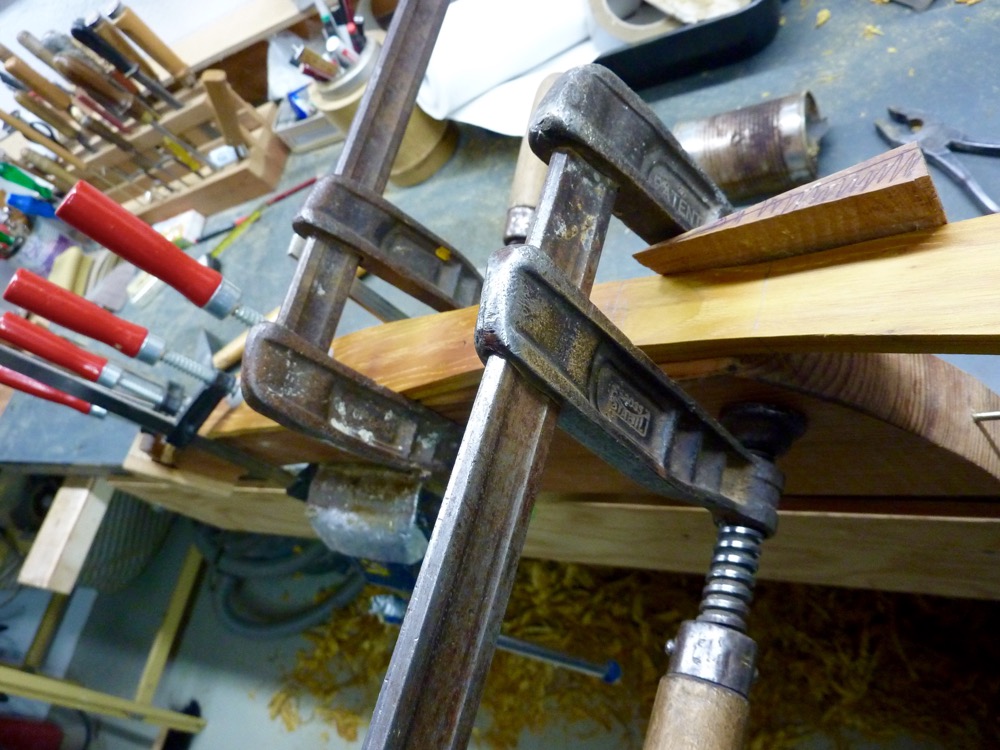
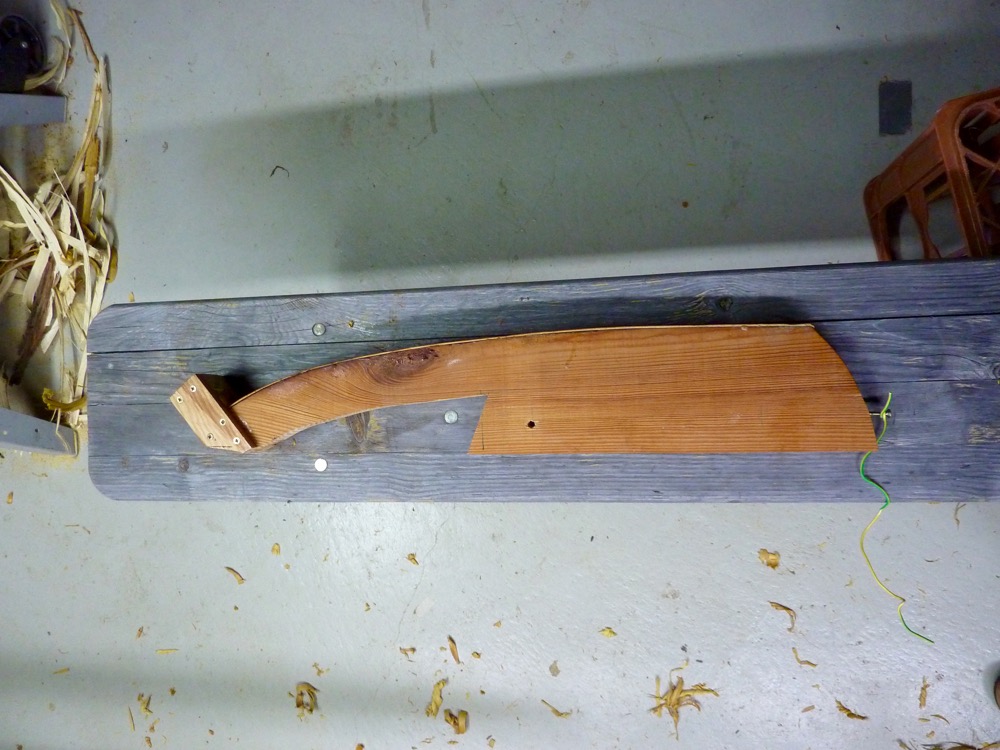
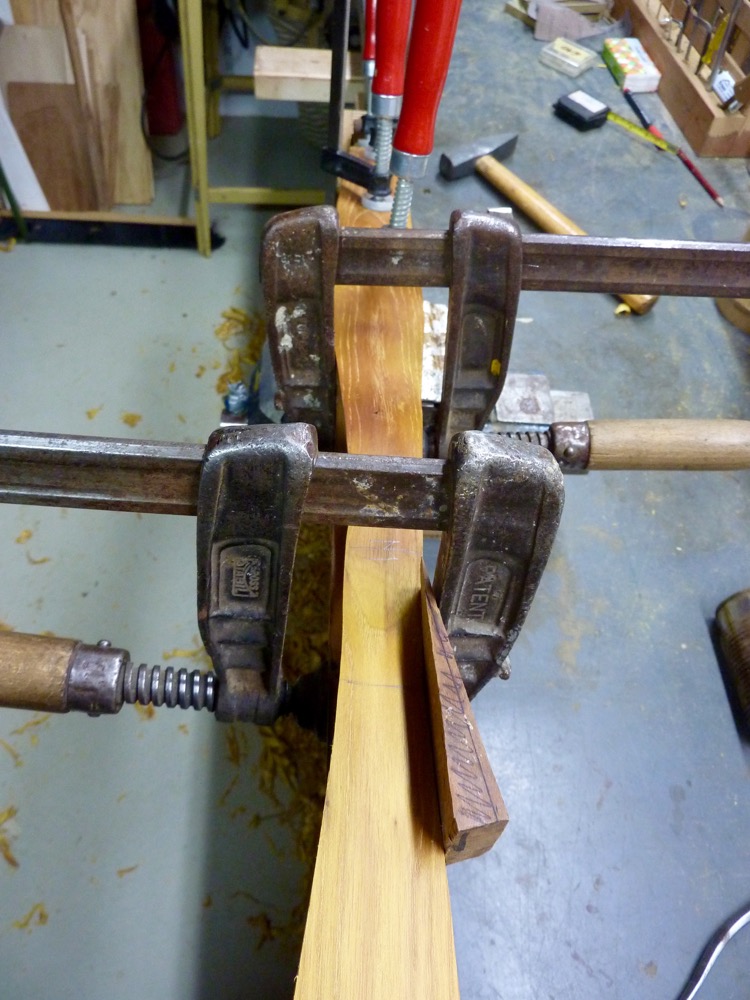
This is the caul I will use for doing the corrections in one session. And also for inducing some reflex
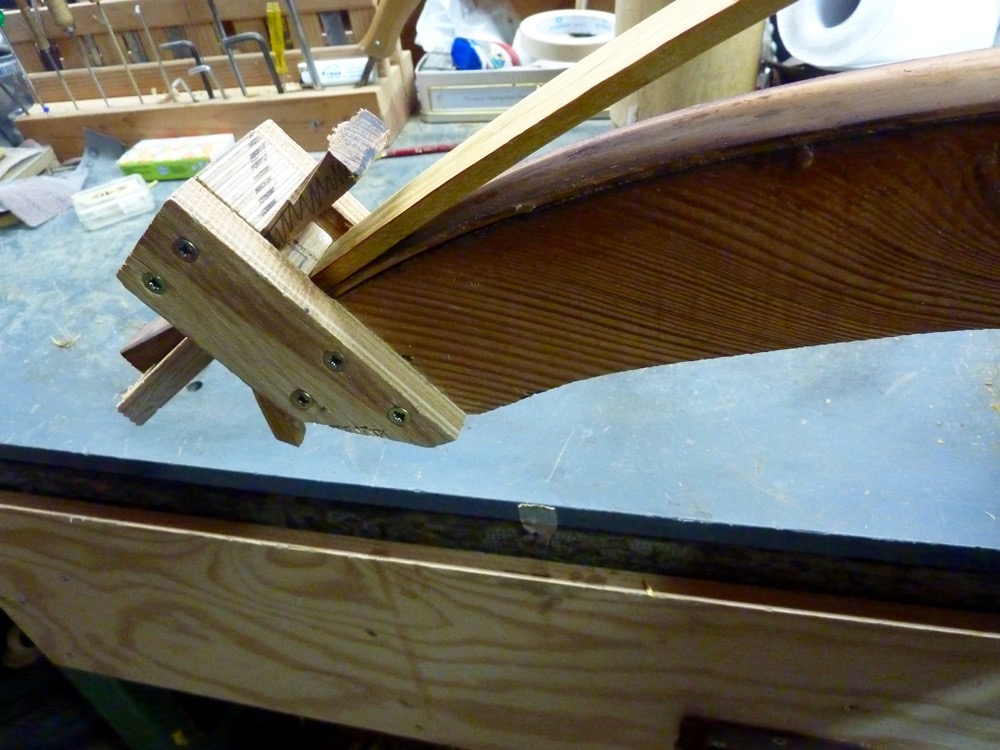
Here is the mouth of the caul, where the tip of the bow is secured with wedges
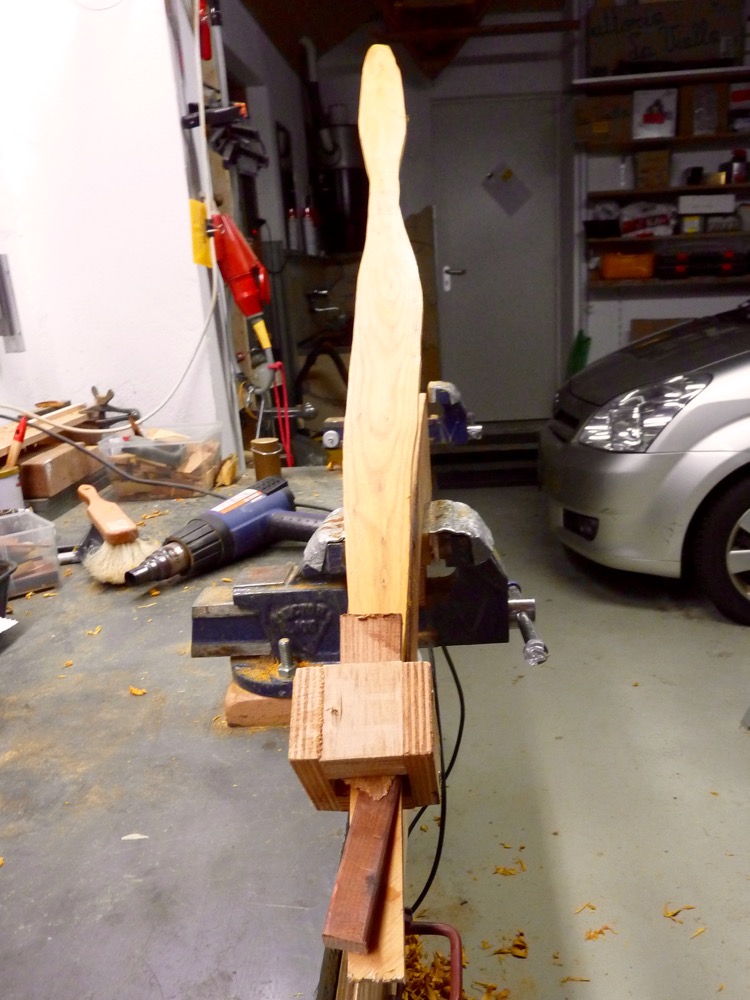
Now the bow is going to be heated up, beginning from the tip to the handle. Clamps and wedges are pressing the bow in the desired shape.
A weight on the other end of the bow brings a constant force for inducing the reflex, and I have my hands free for the heat gun and setting wedges.
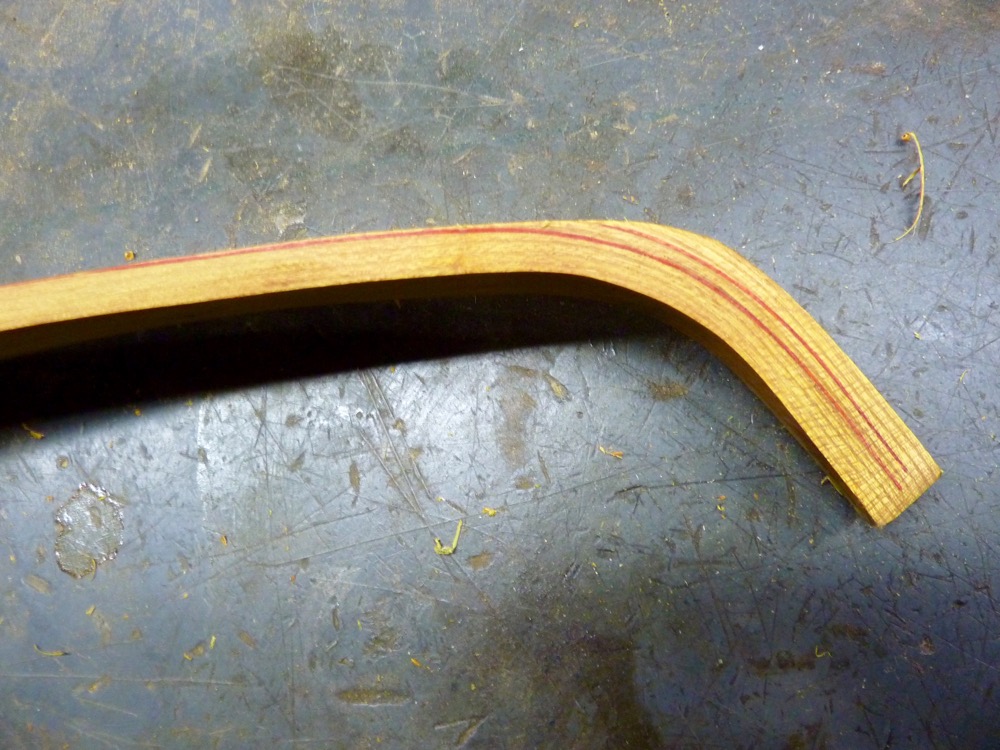
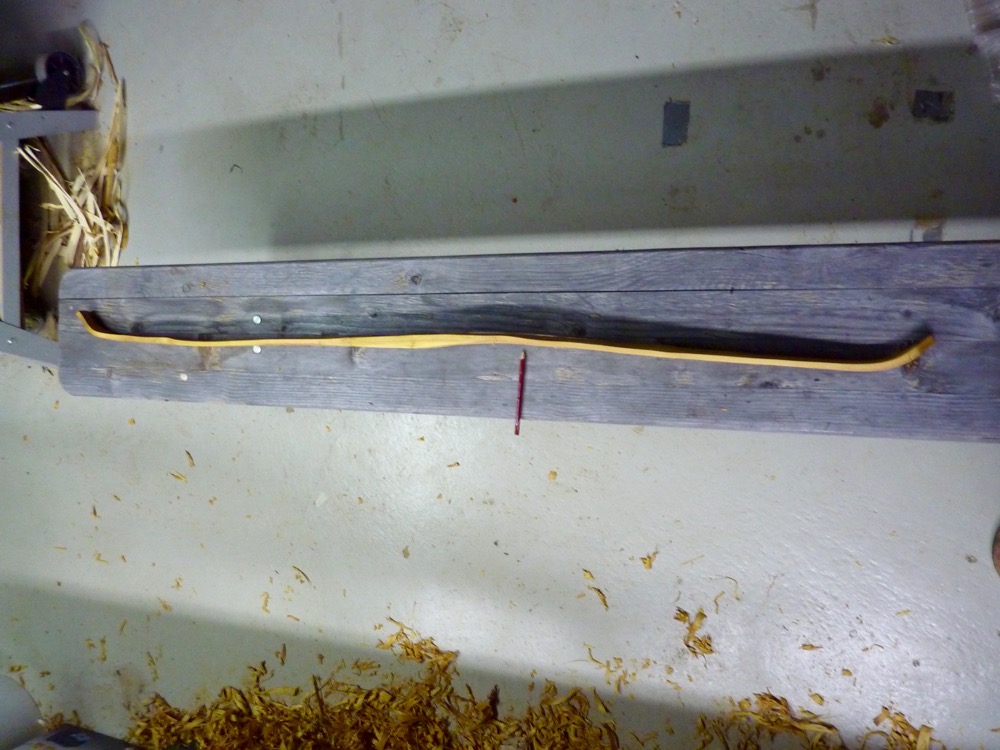
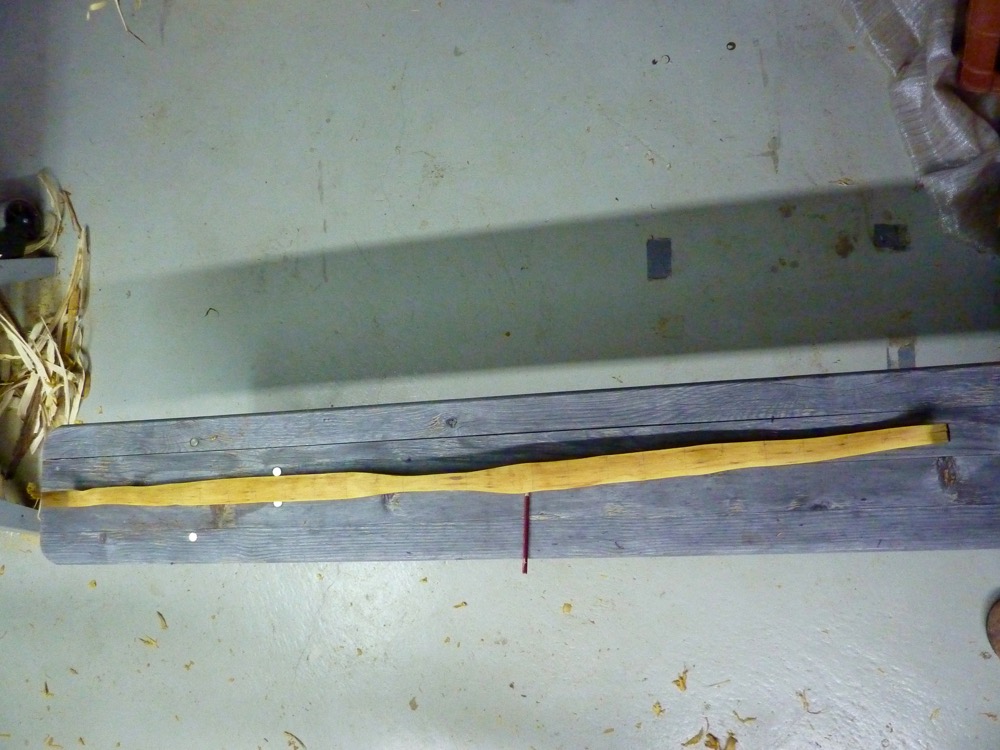
After both sides are done, the bow looks like this. The perspective is playing tricks, the reflex isn’t that high as it seems.
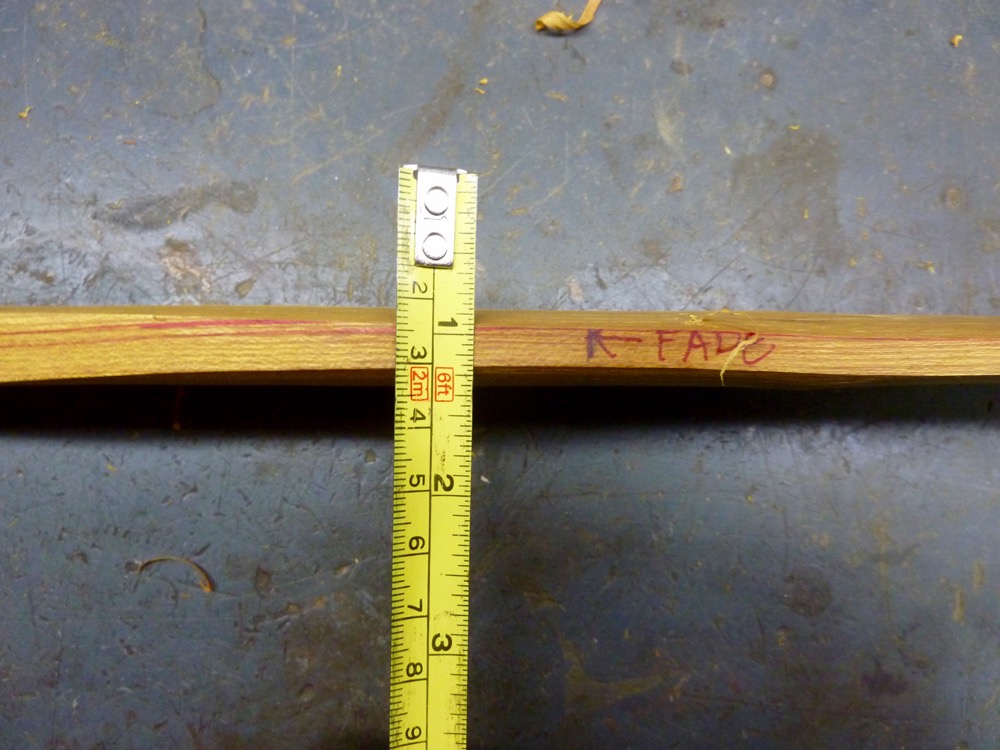
Here is a detail of the tips. I have narrowed them, and need an overlay.
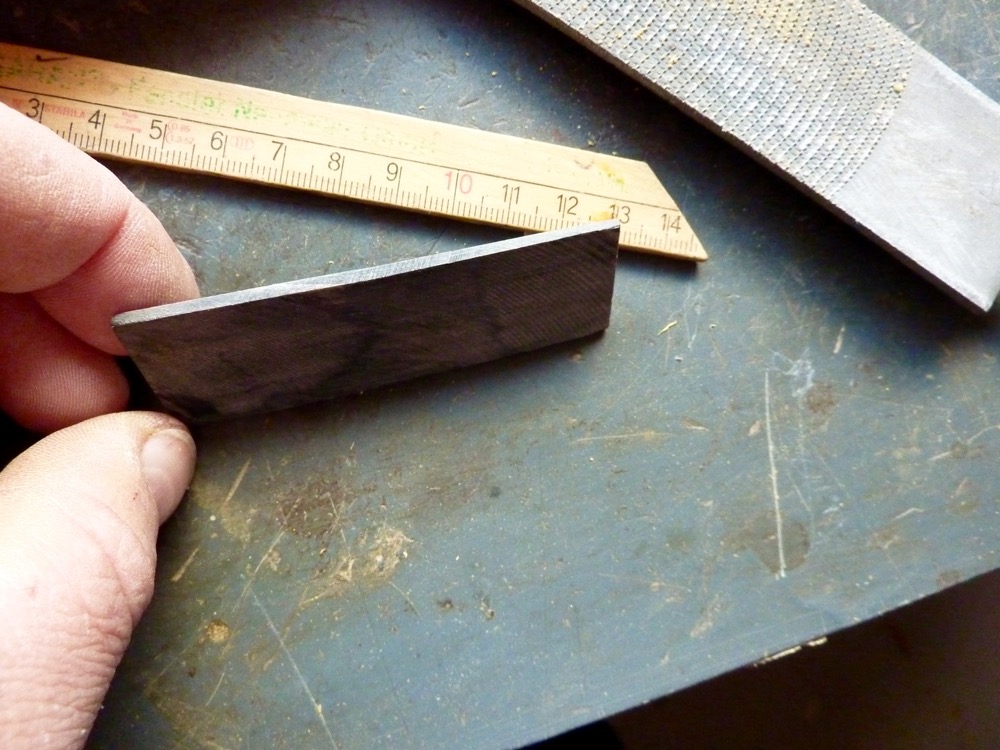
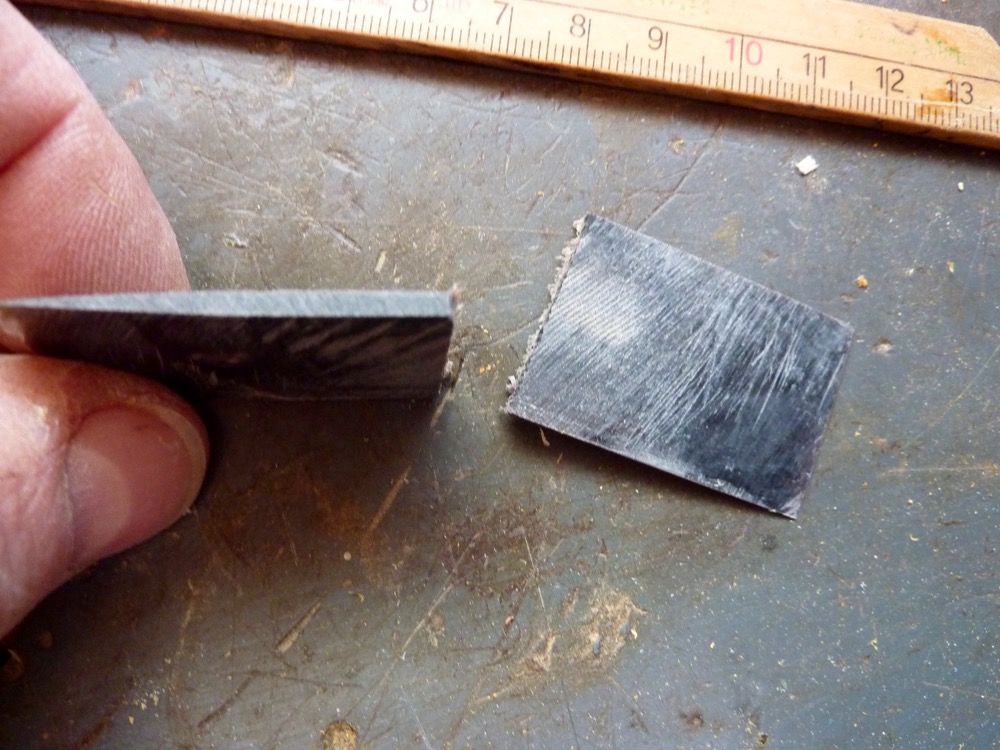
A thin piece of buff horn of about only 3mm thick is enough, because I use very thin stings.
The piece is about 3” long, and I will make both overlays out of it.
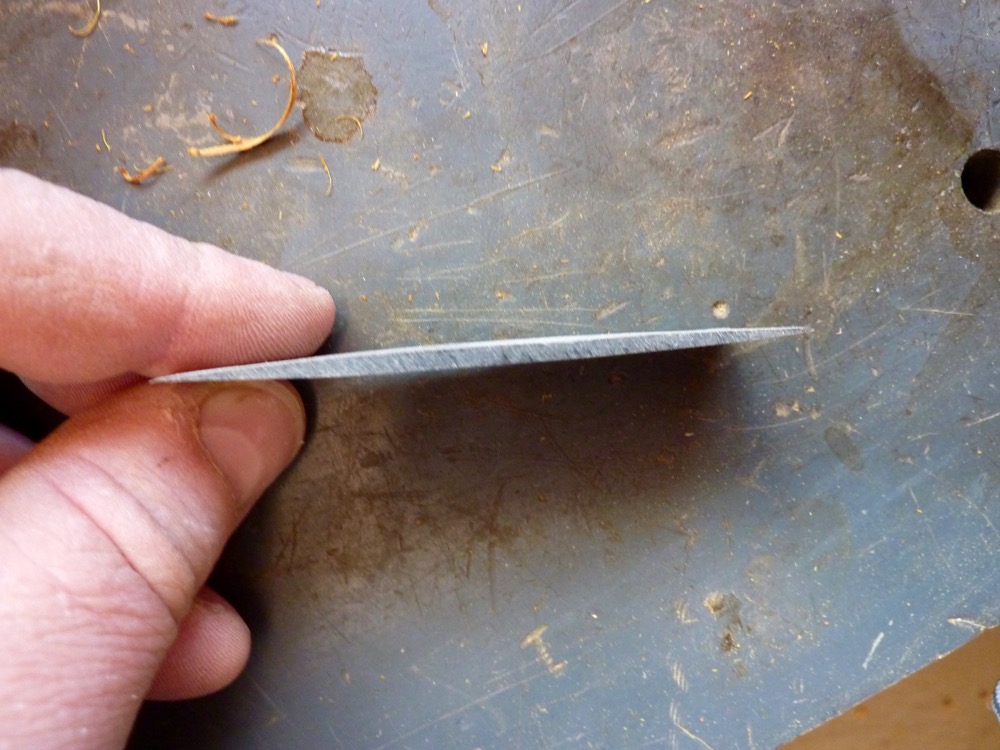
I thin them out on both sides and cut them in halves.
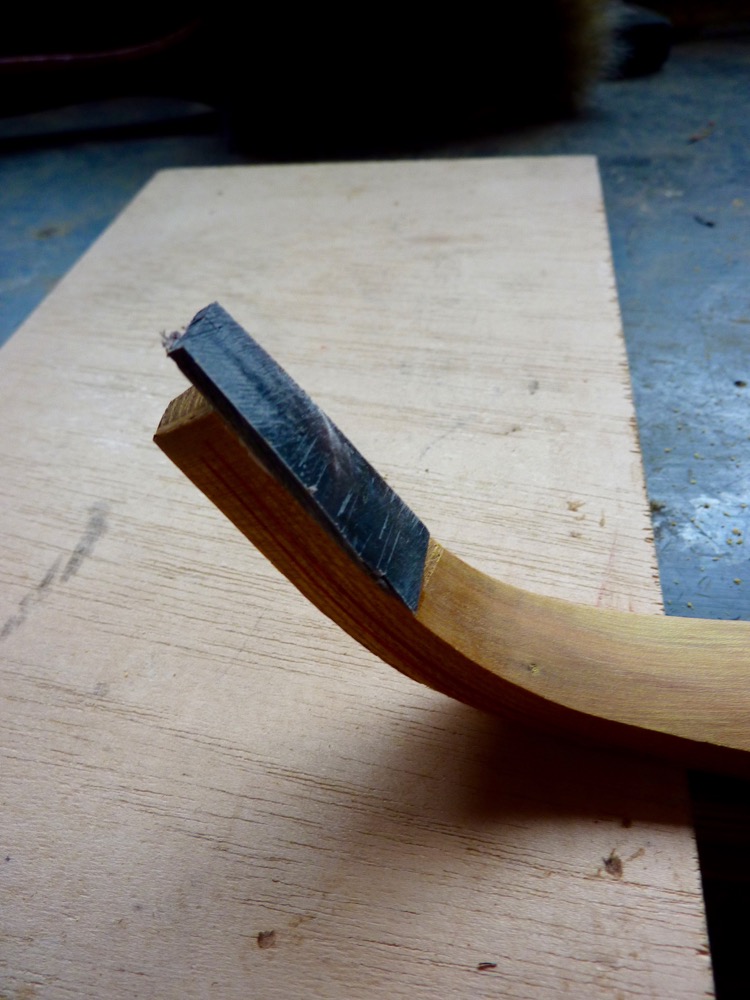
A little flattening the surface of the tips and the tips can be superglued on
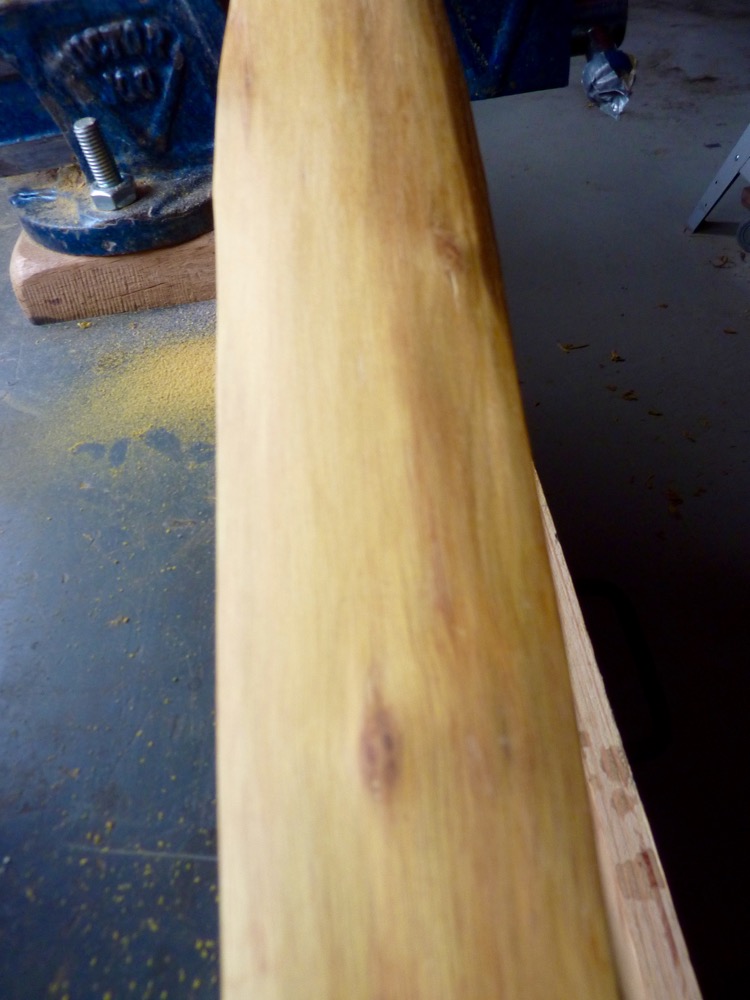
After that, the bows back can be final sanded, nocks shaped.
No Pics from the tillering process as that is shown quite often in other threads.
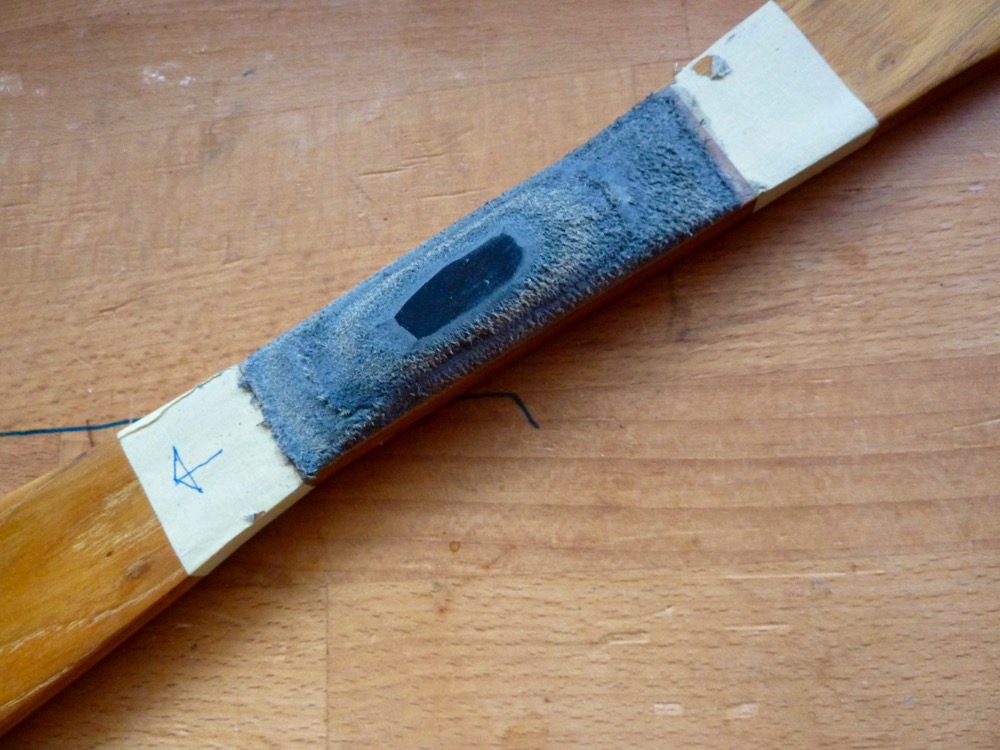
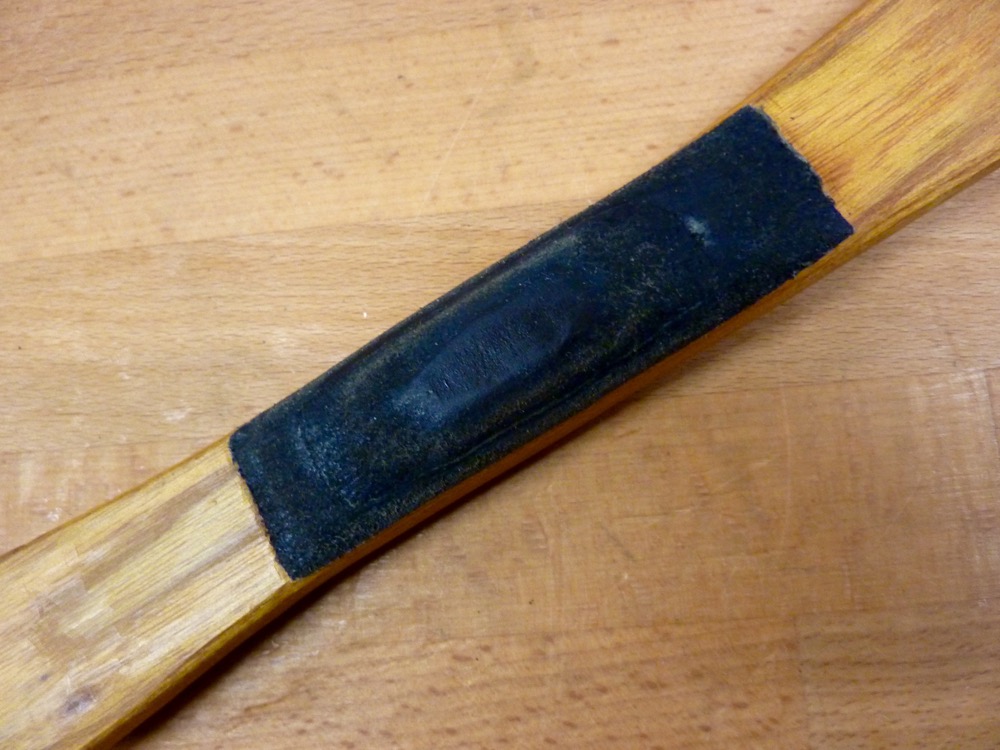
The bow is a bendy handle bow and the handle is quite thin. Because of more comfort I will build it up a bit. I will do with somme leather leftovers and superglue, the leather is flexible and doesn’t stiffen up the handle again.
Some shaping with a file and the next layer can be applied.
And after the final shaping
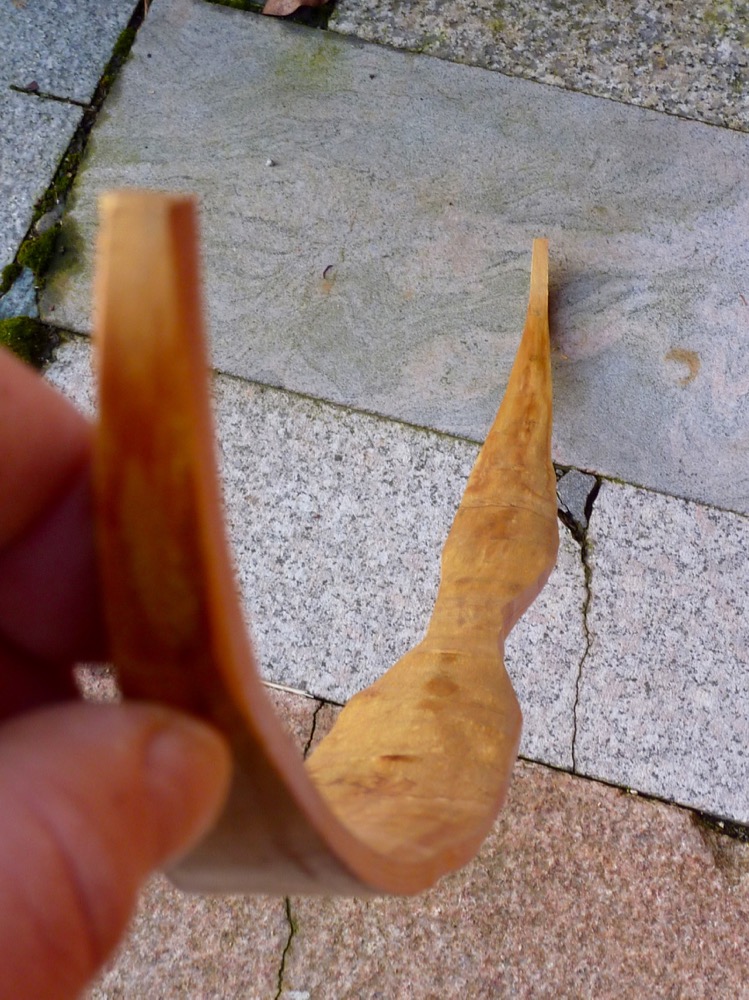
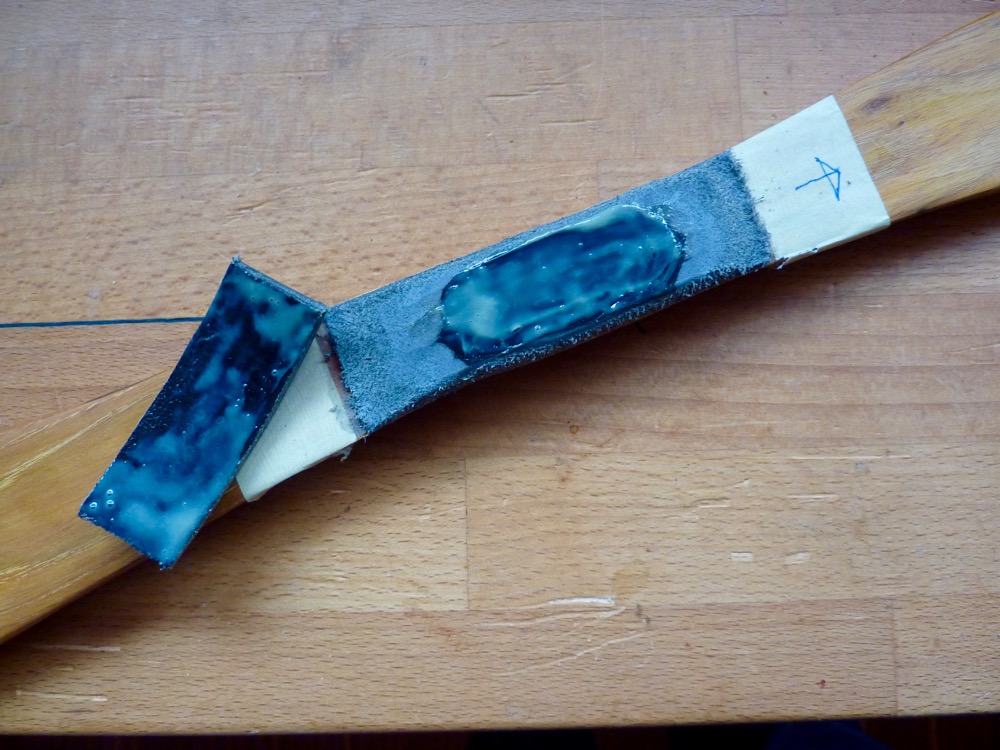
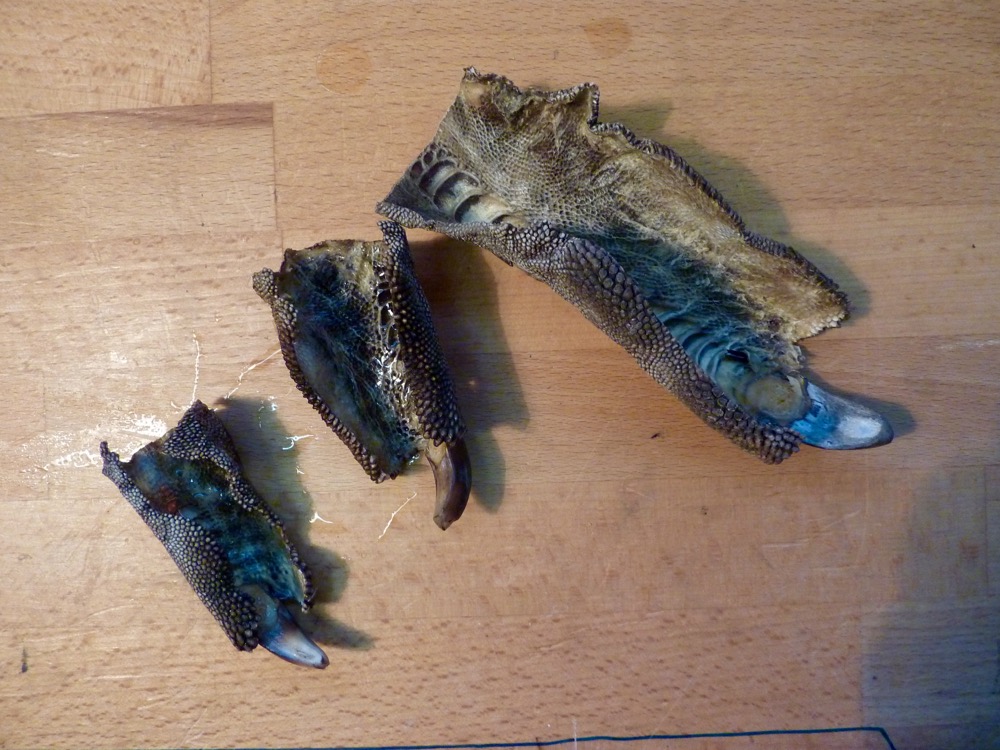
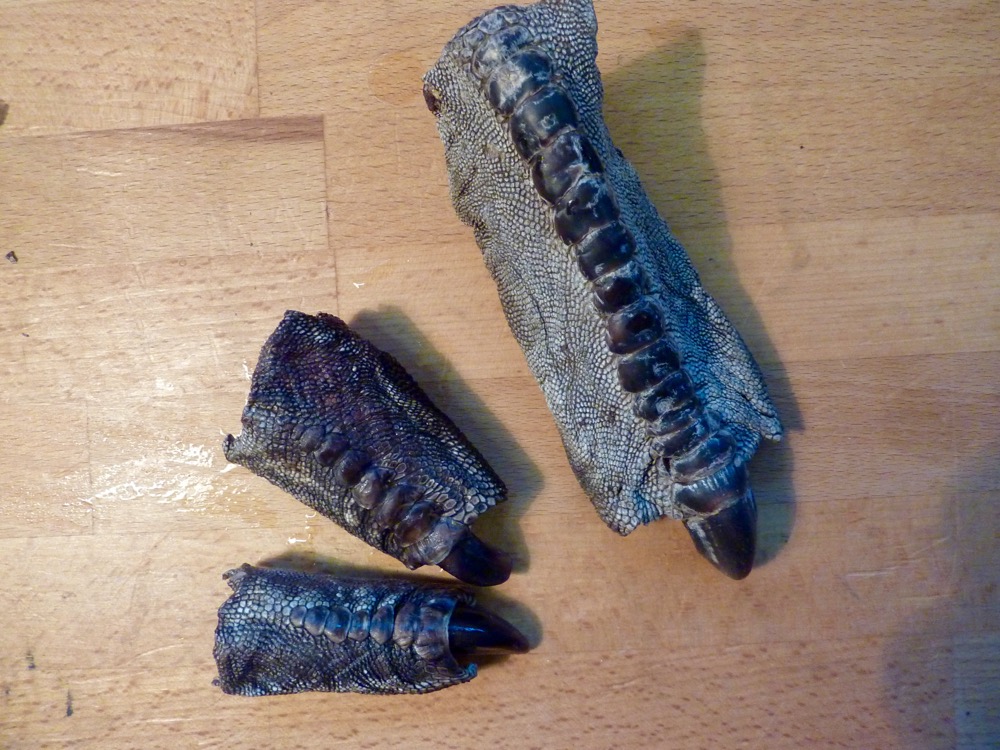
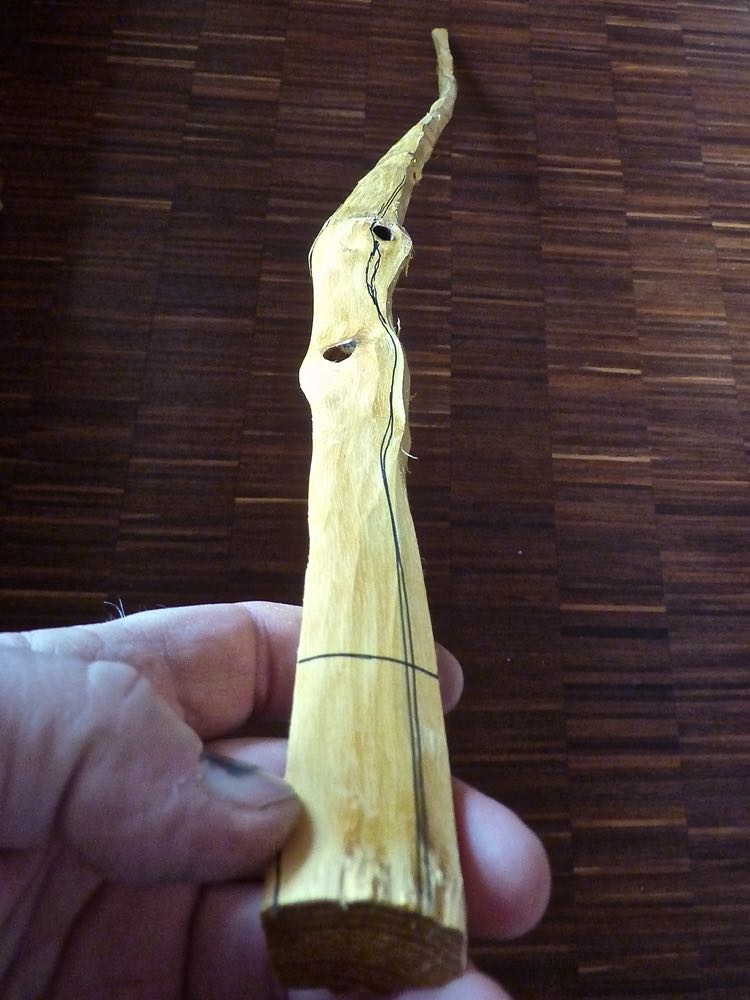
Some years ago a got an Emu foot from a friend, I have saved the bone, the sinew and the skin from the under leg and the toes with the claws. Emus have three toes on their feet, one big in middle and two secondaries left and right. I will use the big on the back and the two smaller on the belly side.
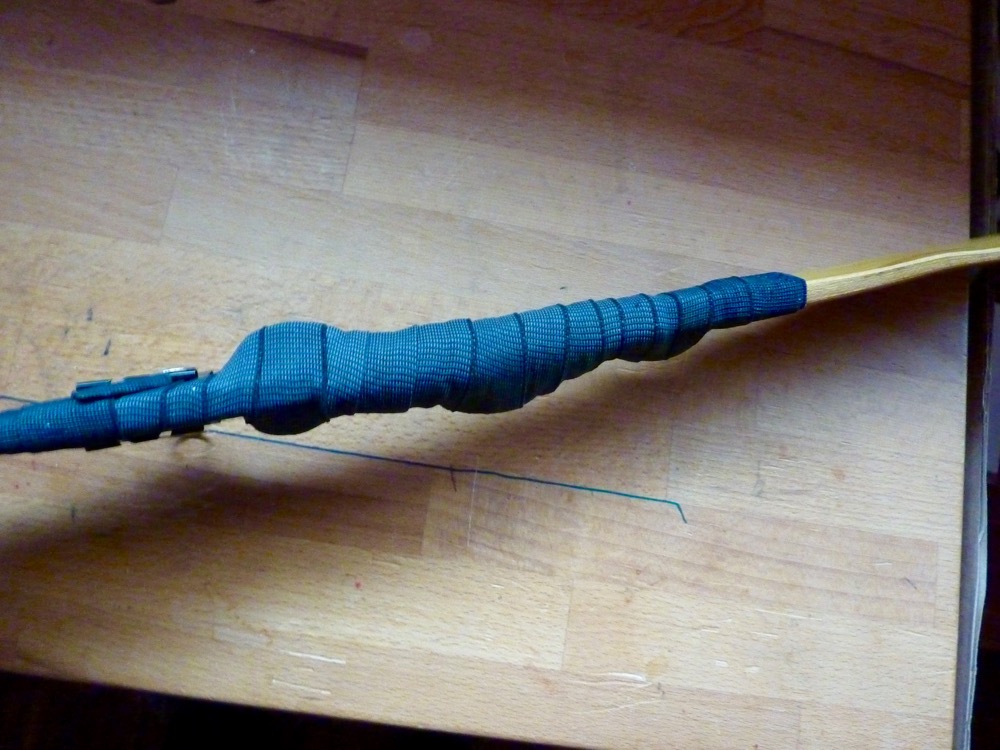
I soaked them for two hours, glued them on with TB3, trimmed them on the overlapping (which wasn’t that easy – the skin has rigid horn plates). A tight rubber textile wrapping holds that thing in place til the glue is hardening out.
The finished bow is here.









4 Comments
Hallo Simon.
es mag eine banale Frage sein, aber dennoch bitte ich um Deinen Rat und Hinweis:
legst Du bei Osage-staves grundsätzlich einen Jahresring frei?
Oder verträgt das Holz, diesen aufwändigen Arbeitsschritt auszulassen?
pm sent!
Hello Simon,
From what I can tell it seems you have 6” long fades on this bendy handle bow with the narrows handle. Do you recommend having 4-6” long fades instead of 2” long for bendy handle bows that have narrowed handle sections such as this one? Would the extra long fades take away from the overall length of working limb available? Any advice on this area would be beneficial and greatly appreciated.
Hi Corey,
yes, I like long fades. In my eyes a bow looks much more elegant than with short ones. You say instead of 2“ long …, – there is no rule for 2“ fades. And a narrow handle is more comfortable to shoot.
The point is wood can handle only a definite load of stress. The amount of that stress differs from species to species, osage is very good bowwood (the best I know).
A narrow limb has to be thicker than a wide limb for a given draw weight. But the thicker the limb the excessive increase of stress, this is the limitation. After that limitation the wood takes massive set or develop chrysals.