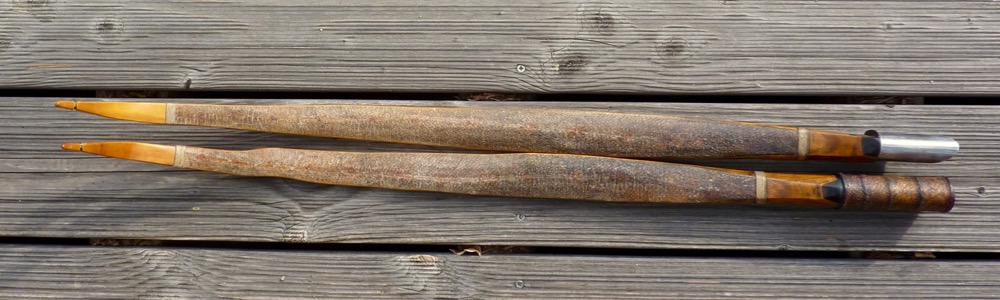
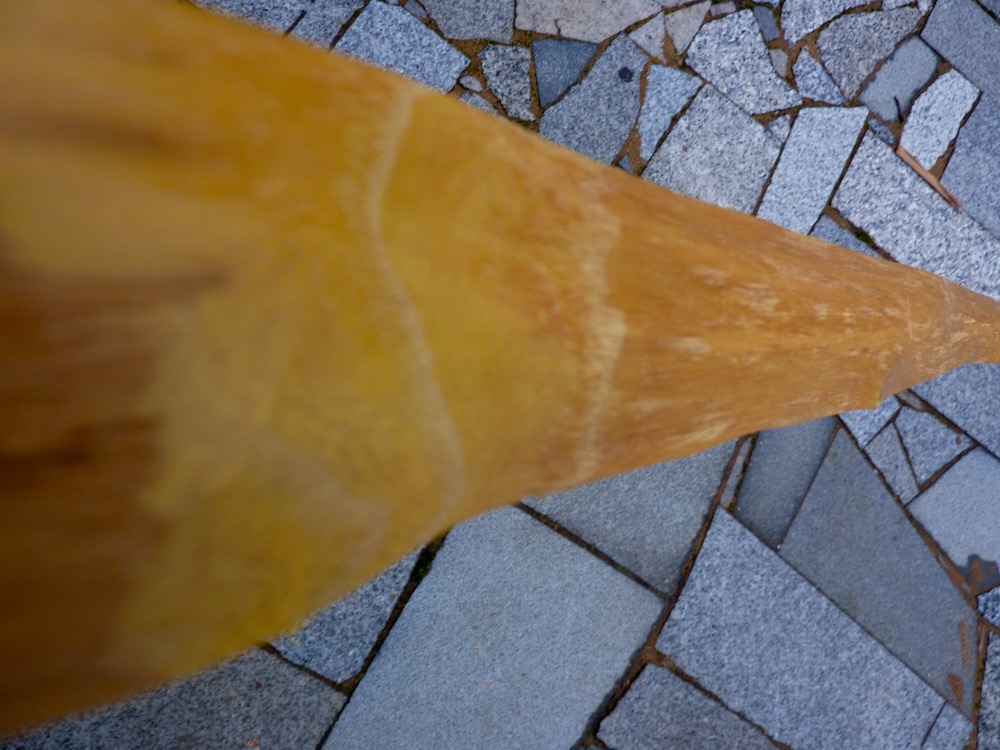
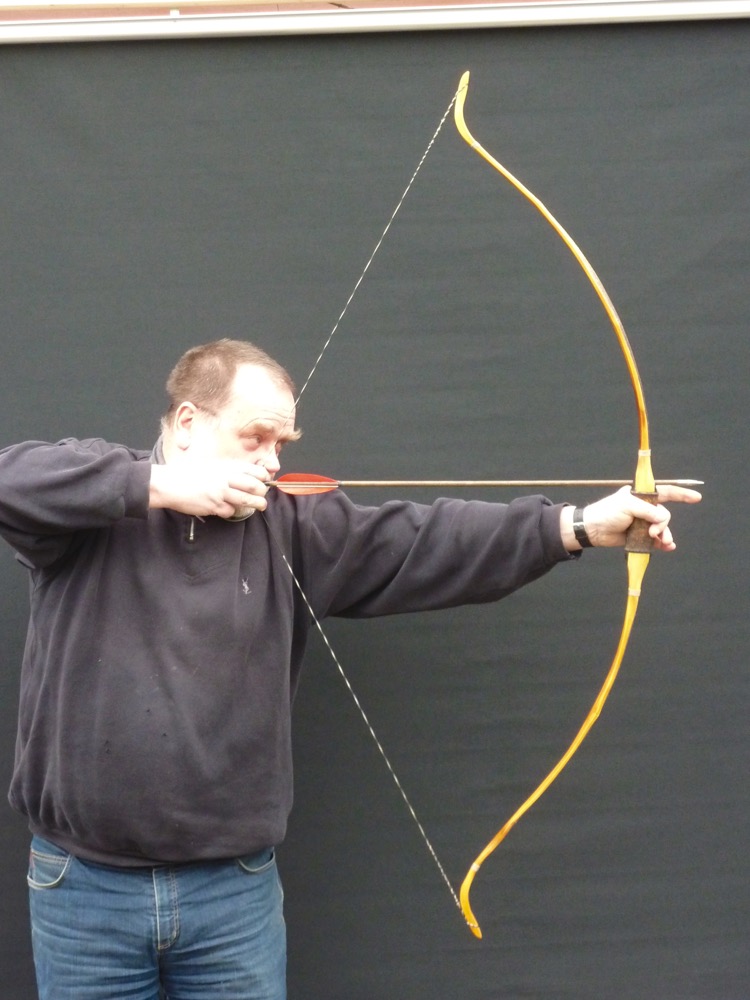
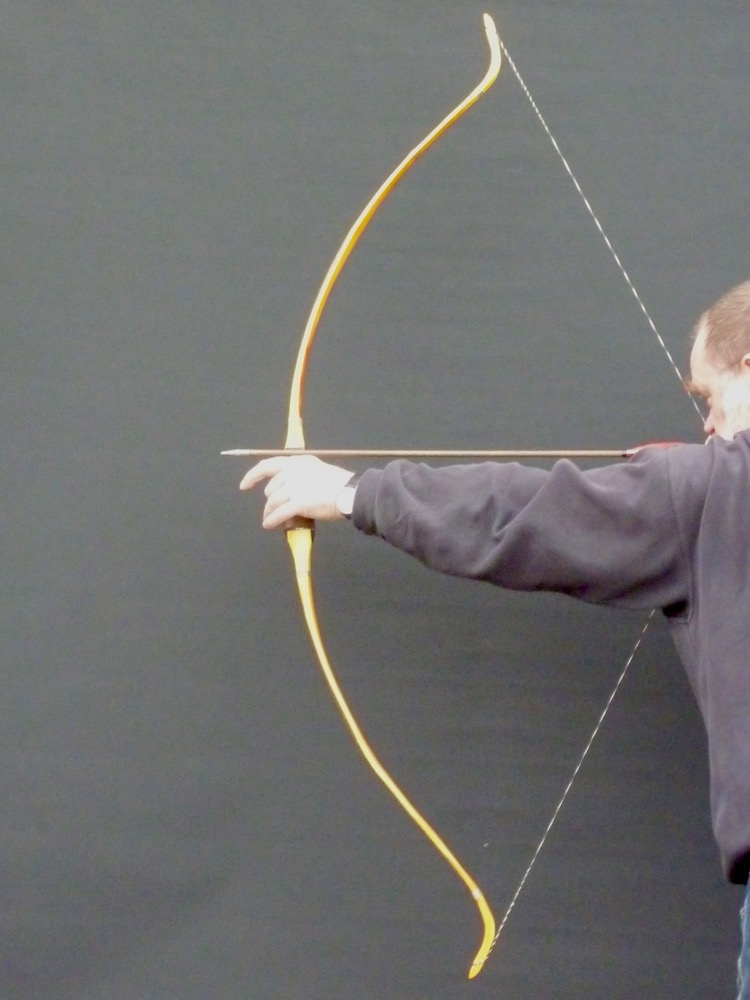
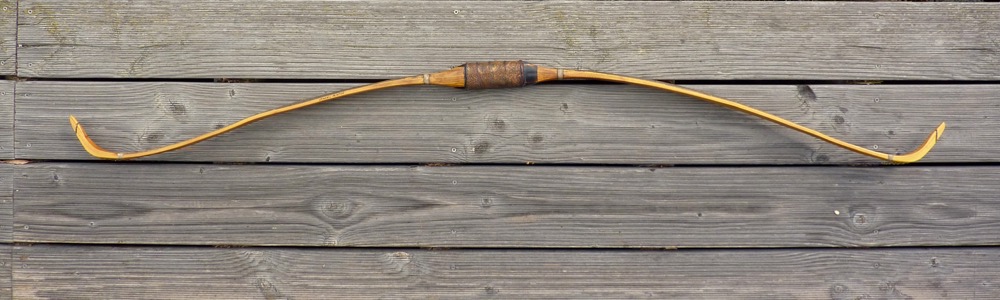
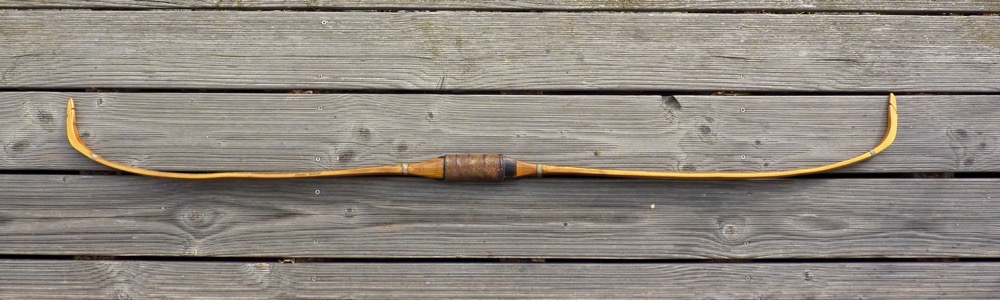
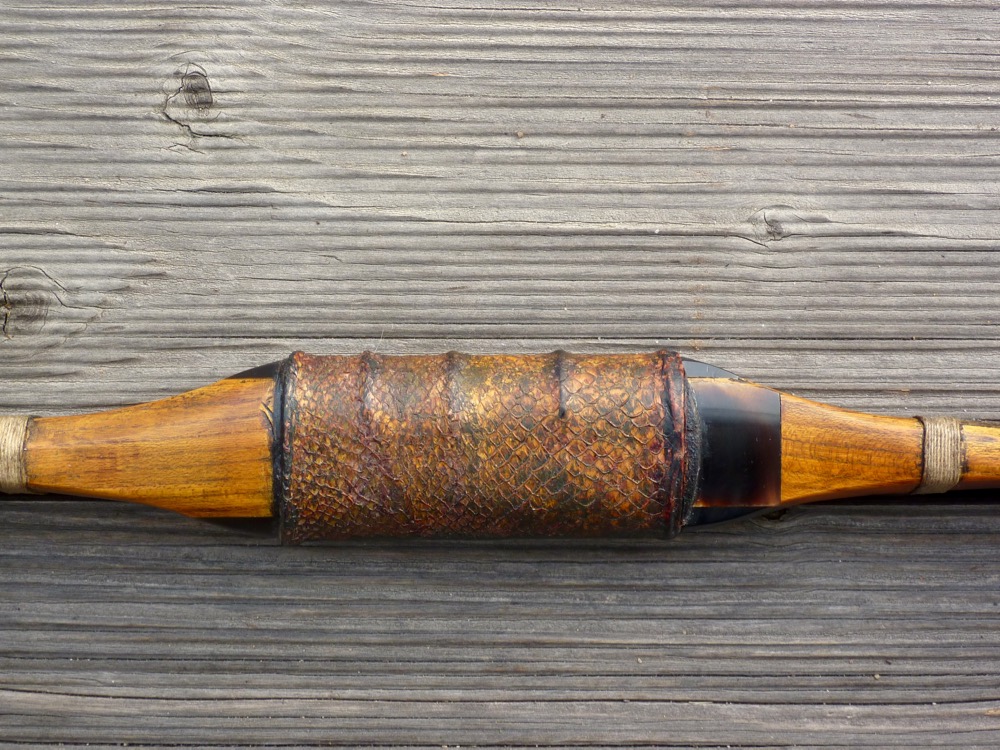
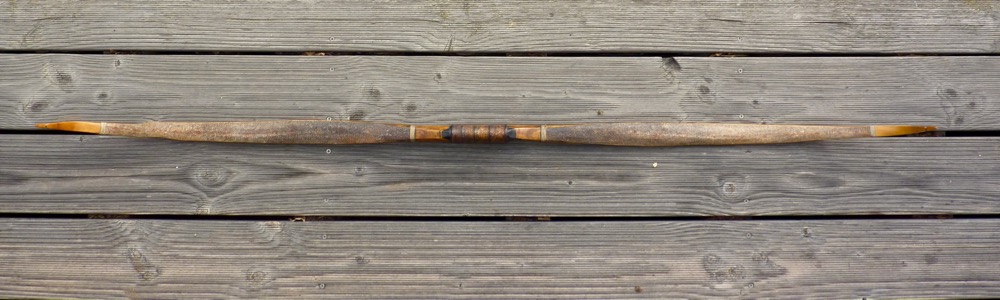
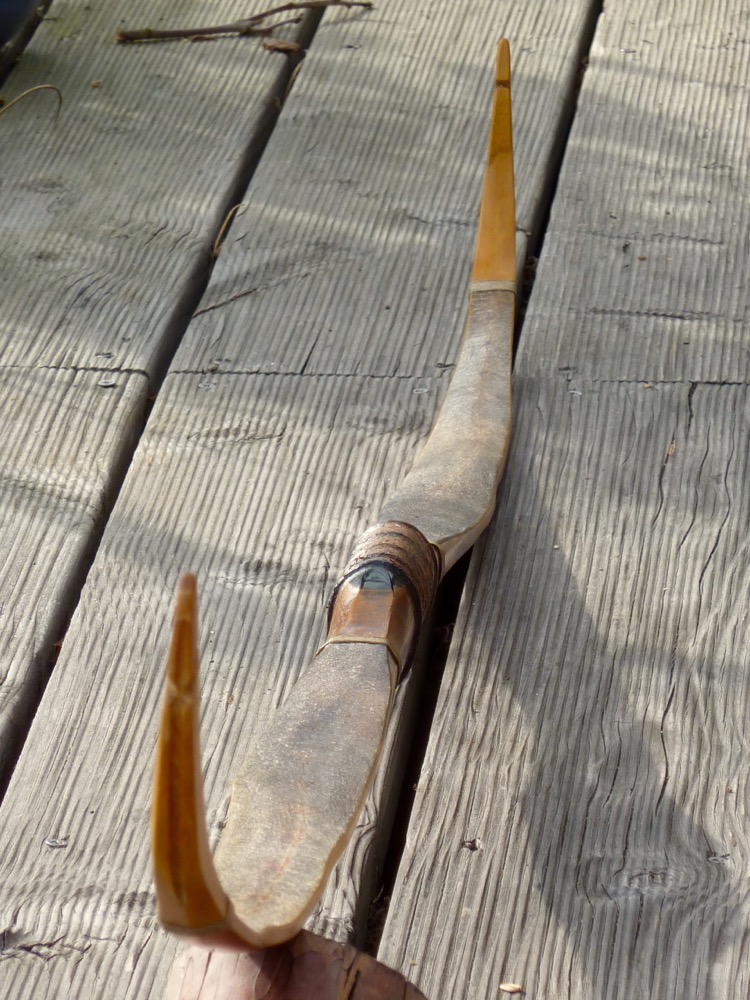
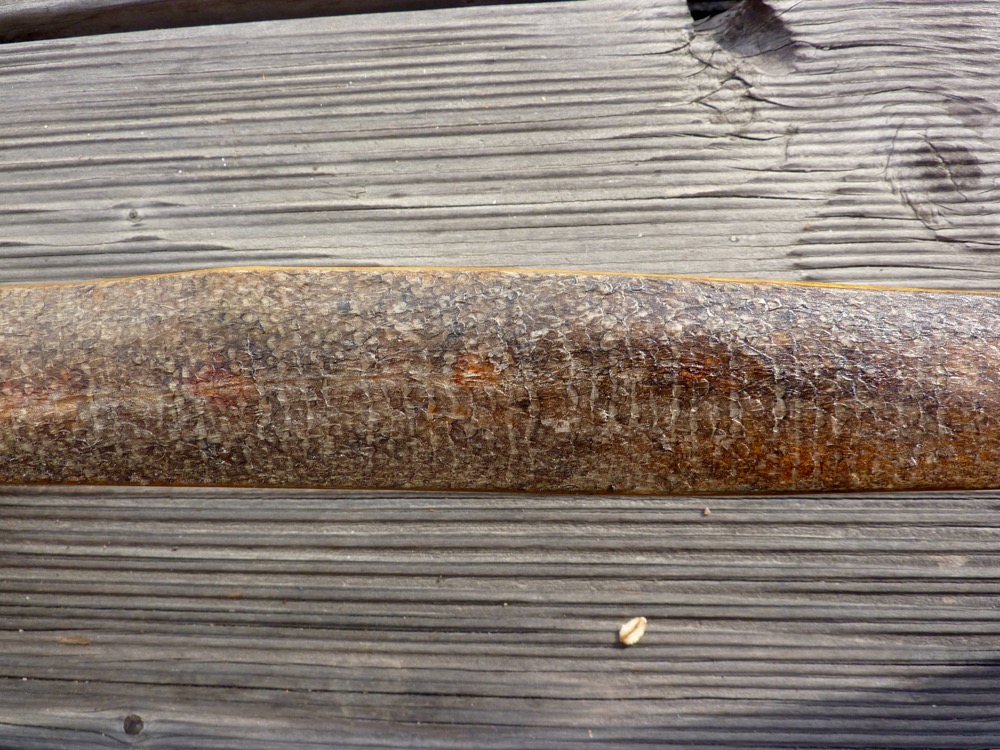
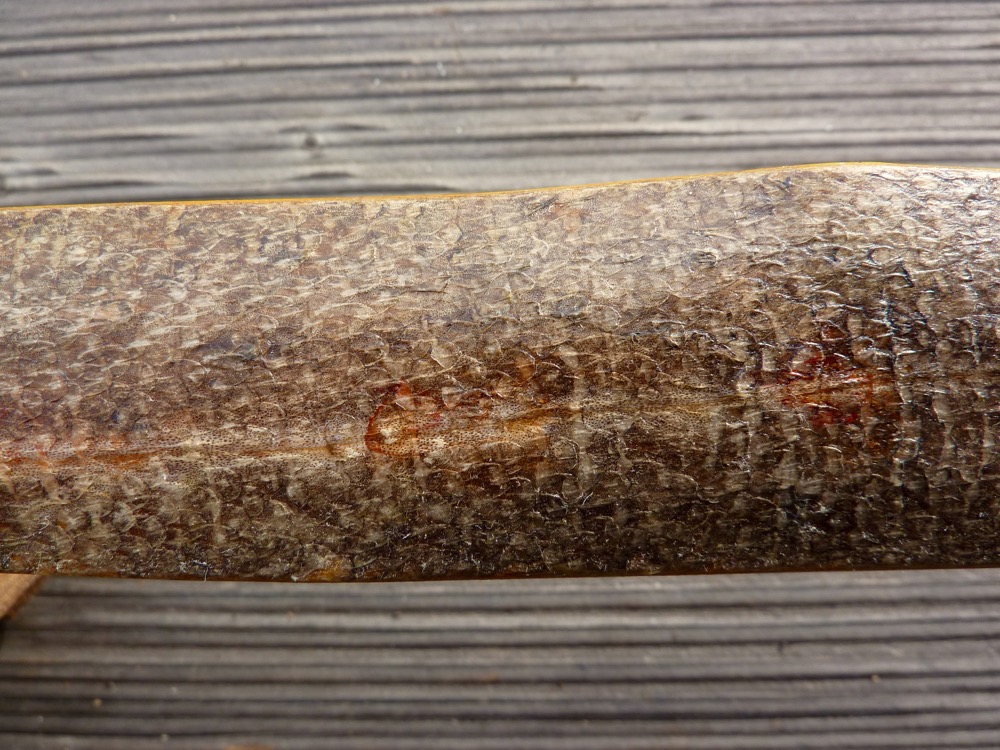
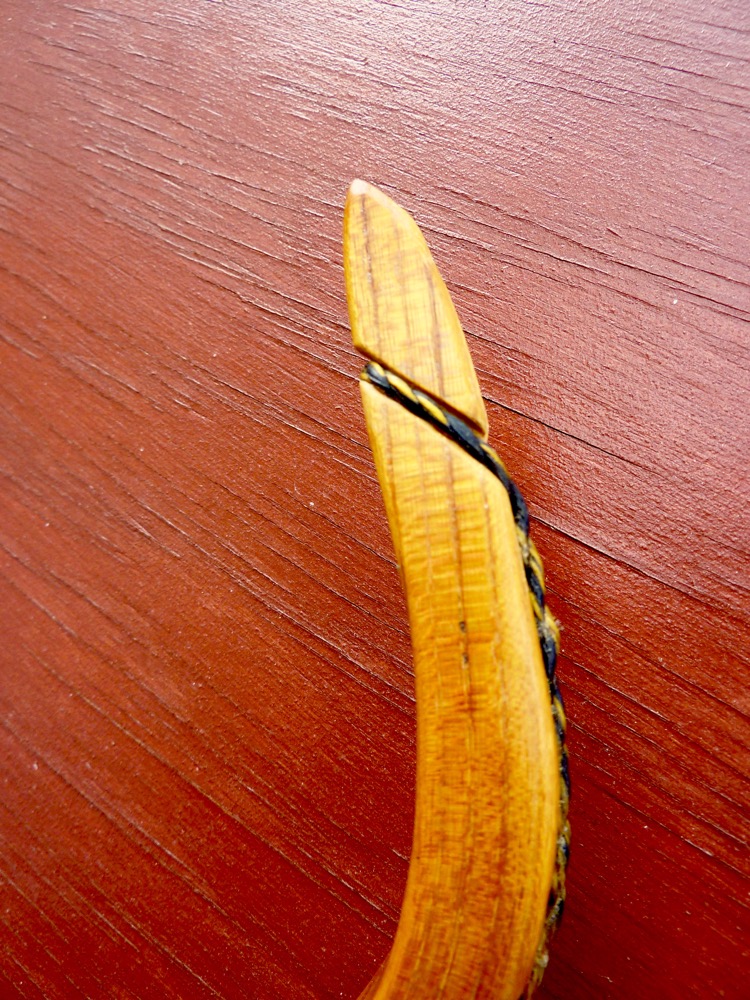
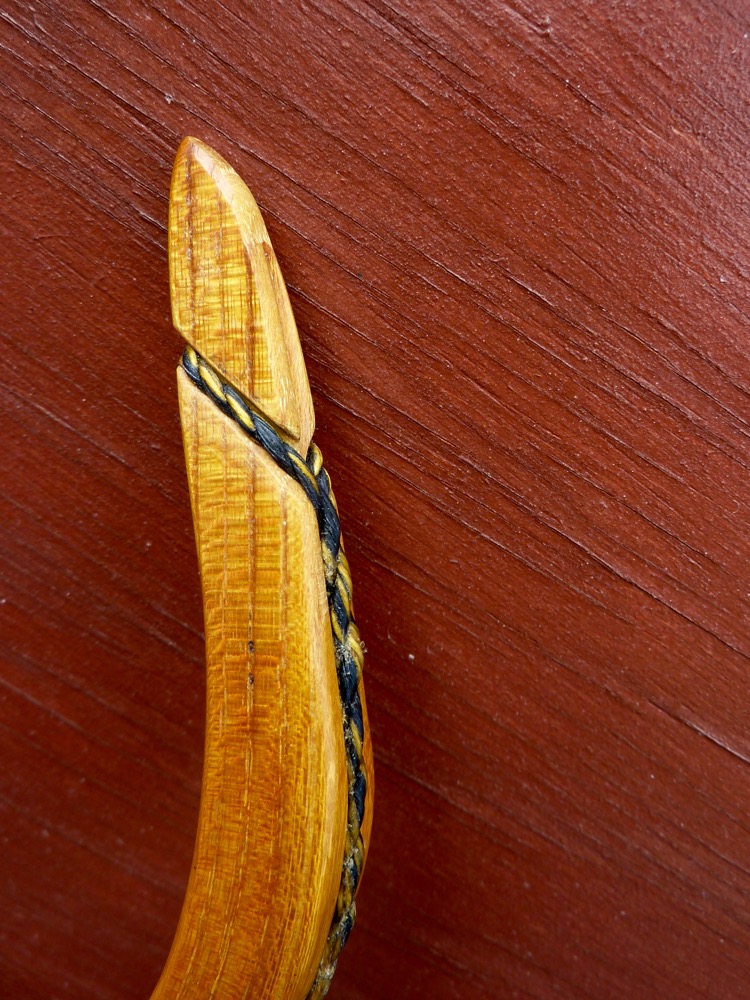
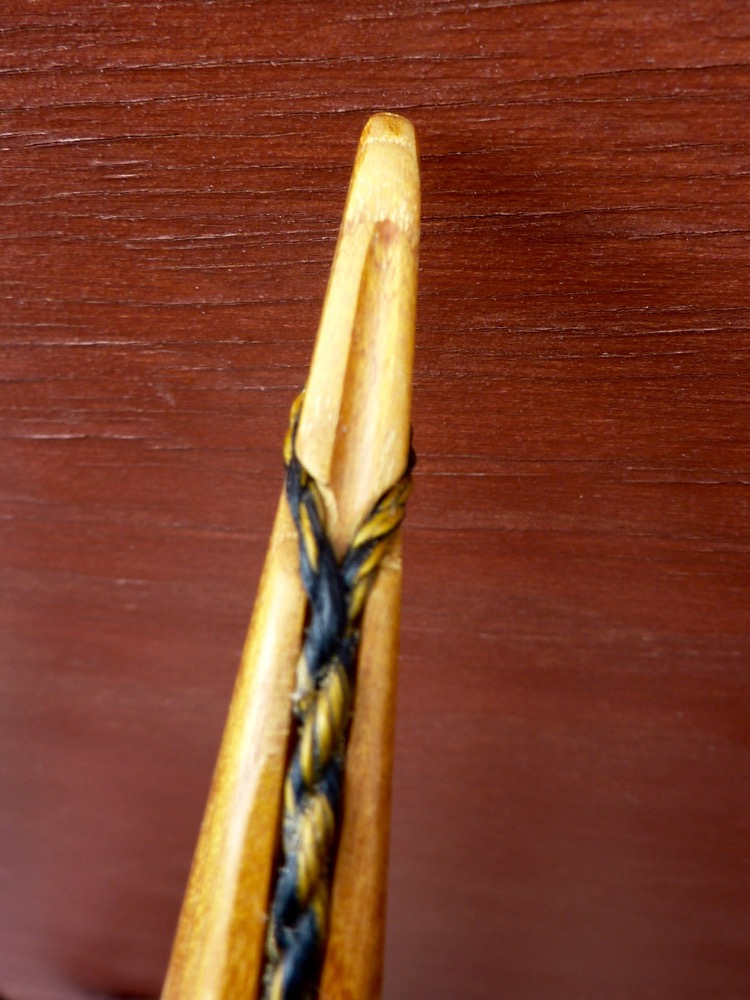
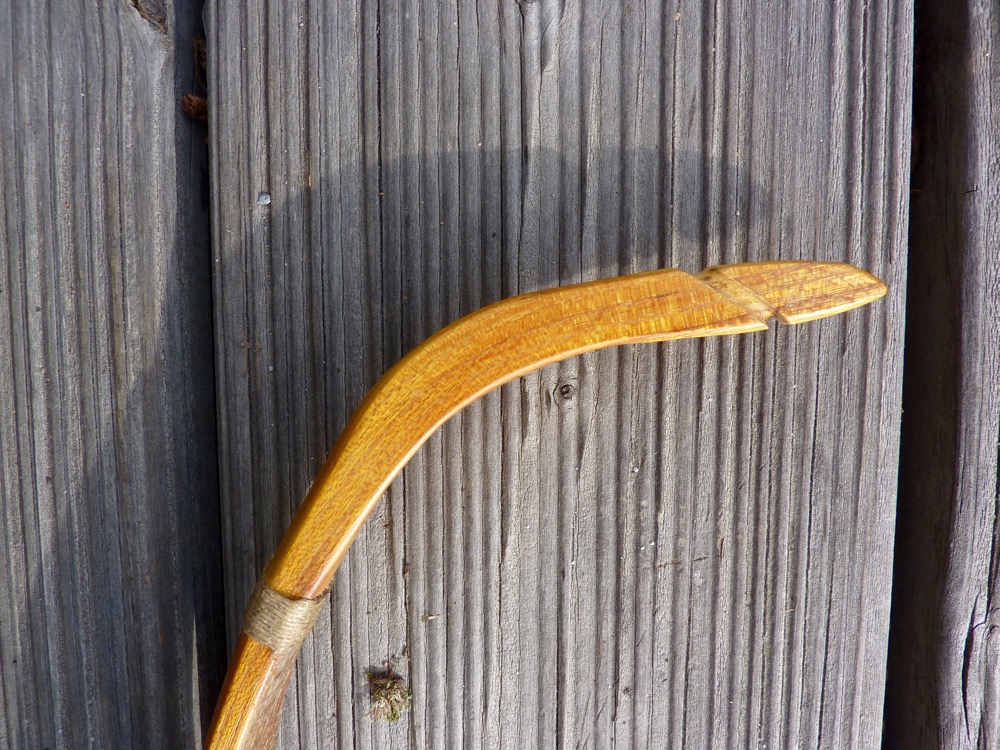
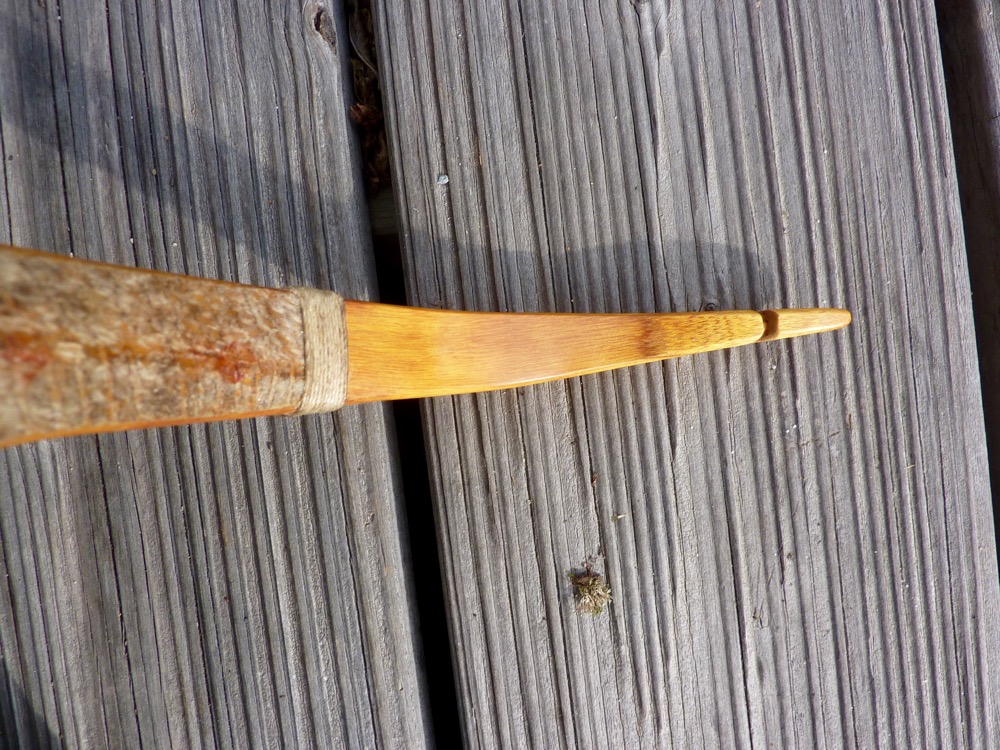
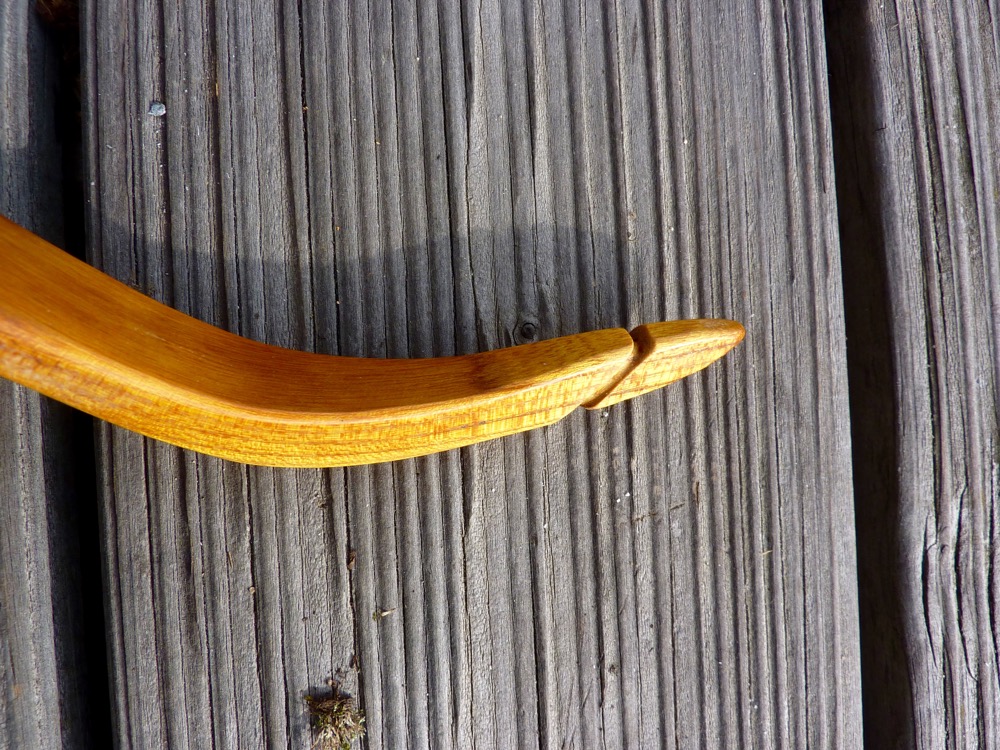
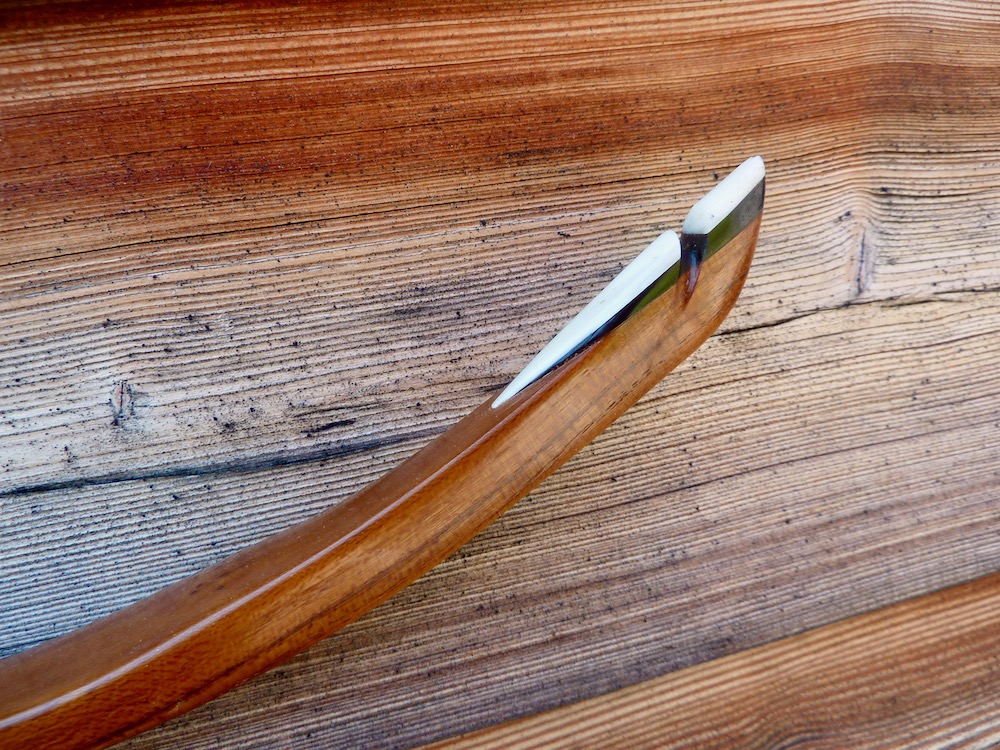
Deflexed at handle and long slender hooks with self nocks. The cutting through the back is possible with an additional ring here. I have no access to snake skins or other fancy stuff but I have fish skins brought from a friend from a fishing trip in Denmark. The fish is atlantic cod, it was a mess to skin, scrape and dry the hide.
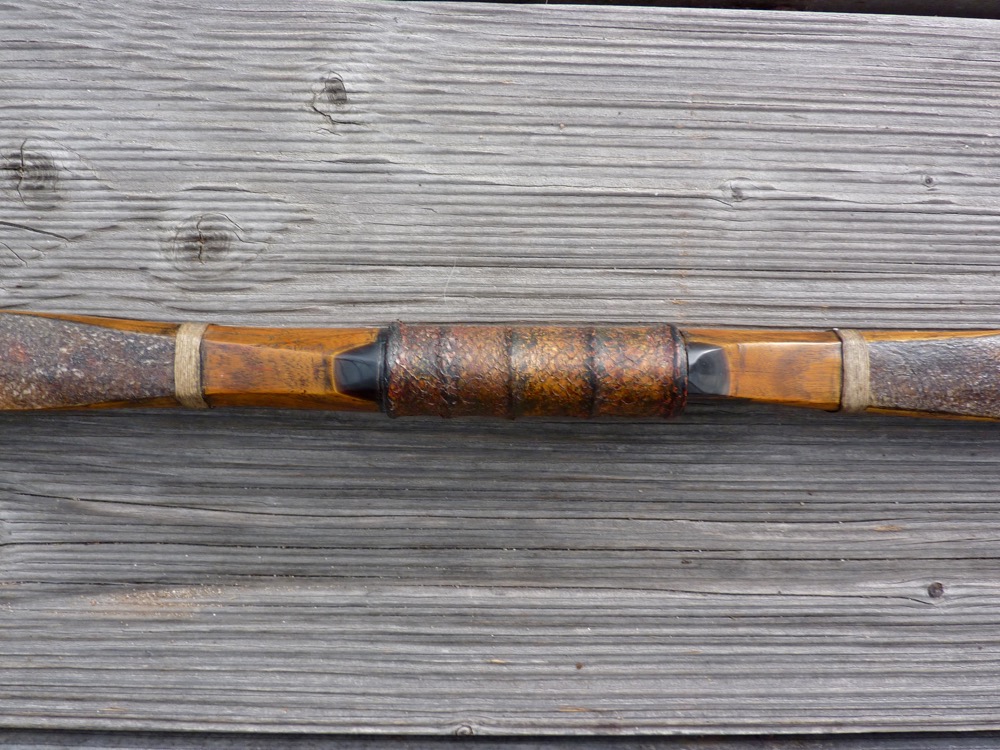
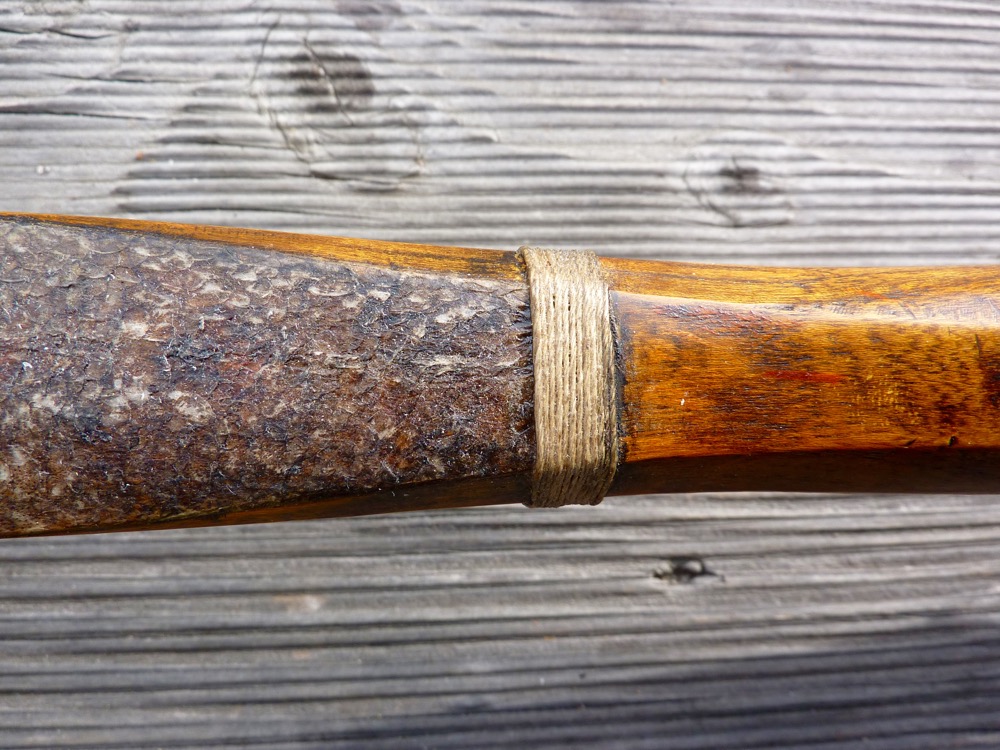
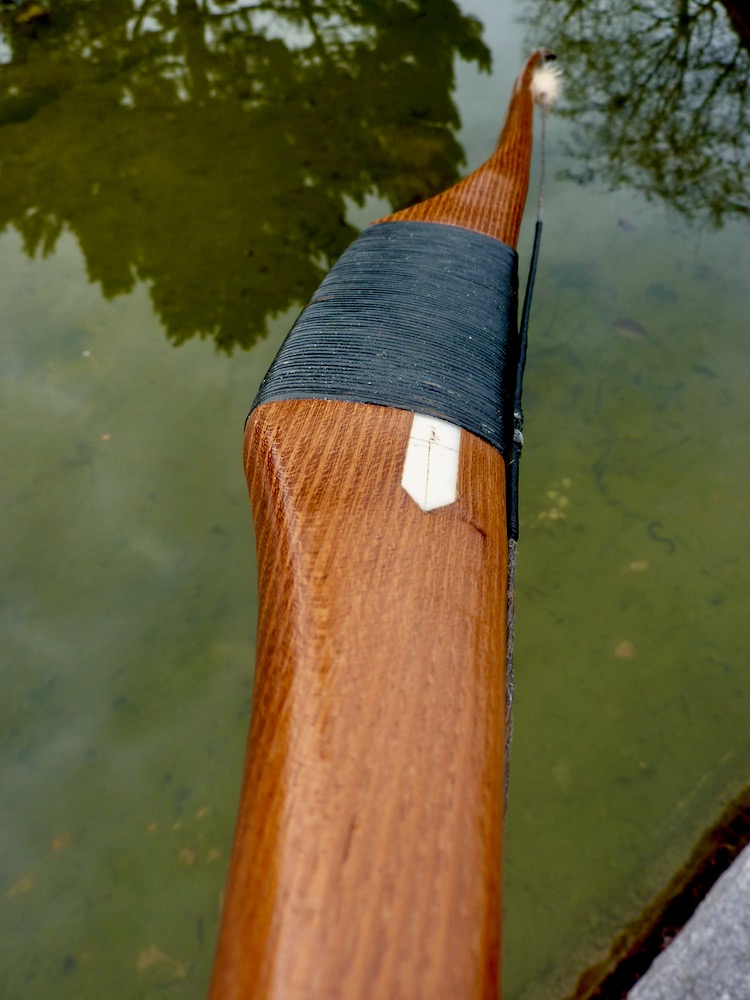
Glueing on was no problem, I added some linnen wrapping to give a definite begin and end. Some horn pieces are added at the handle to get a better line. Handle leather is salmon leather, dyed with several colors. While finishing with some layers of hardening oil I rubbed in some dark pigments at the handle to come away from that bright yeller of the fresh osage.
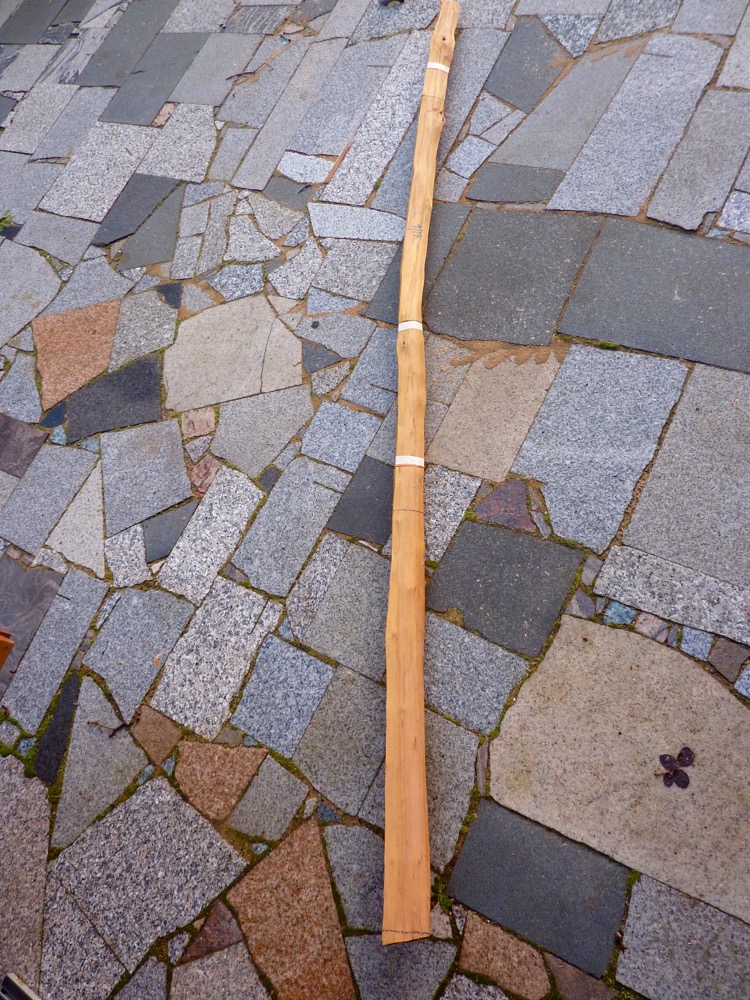
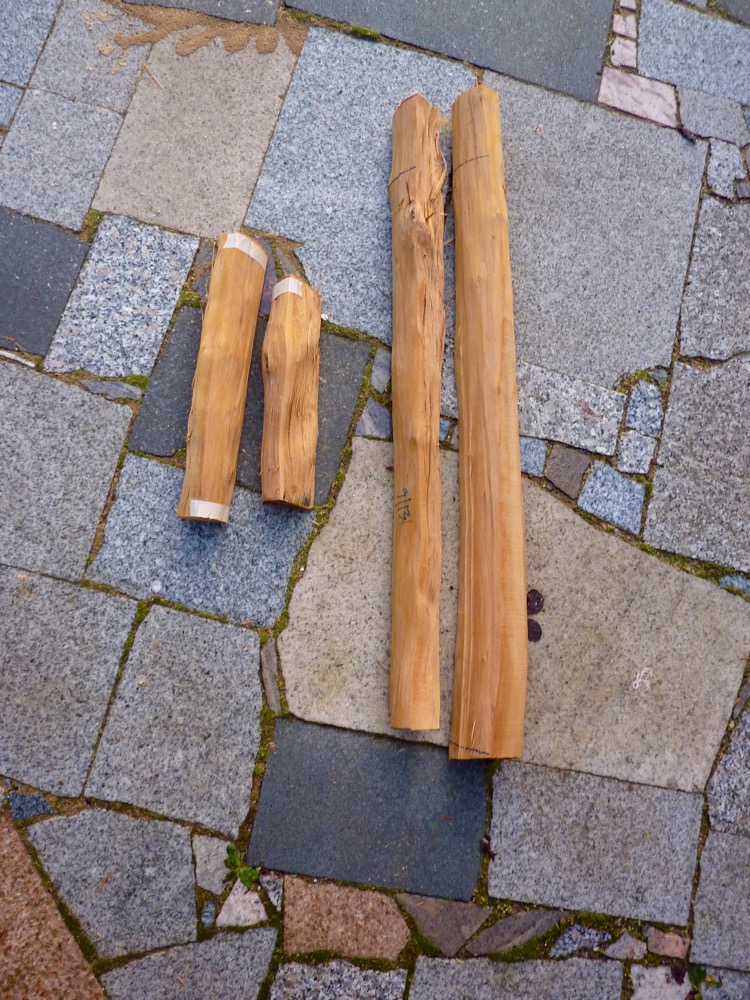
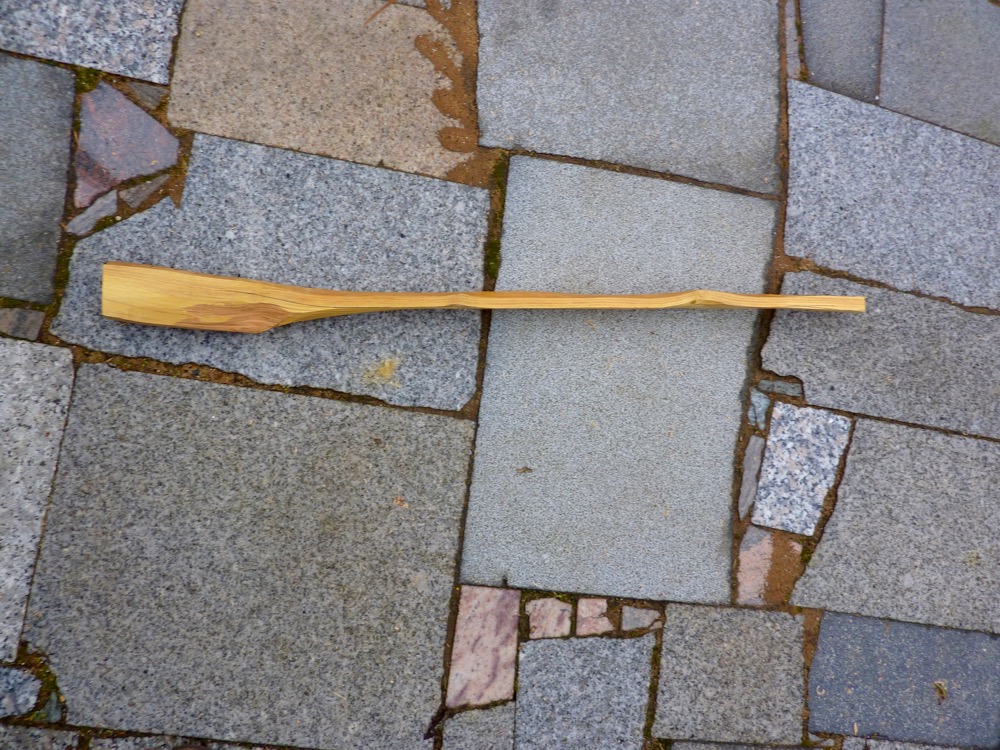
This was one of my best staves, I had to cut it down because I don’t have any billets anymore. It broke my heart but the result is quite o. k. Now I have some leftovers for handles or other things …
I’m thinking on shortening the hooks, don’t know yet …
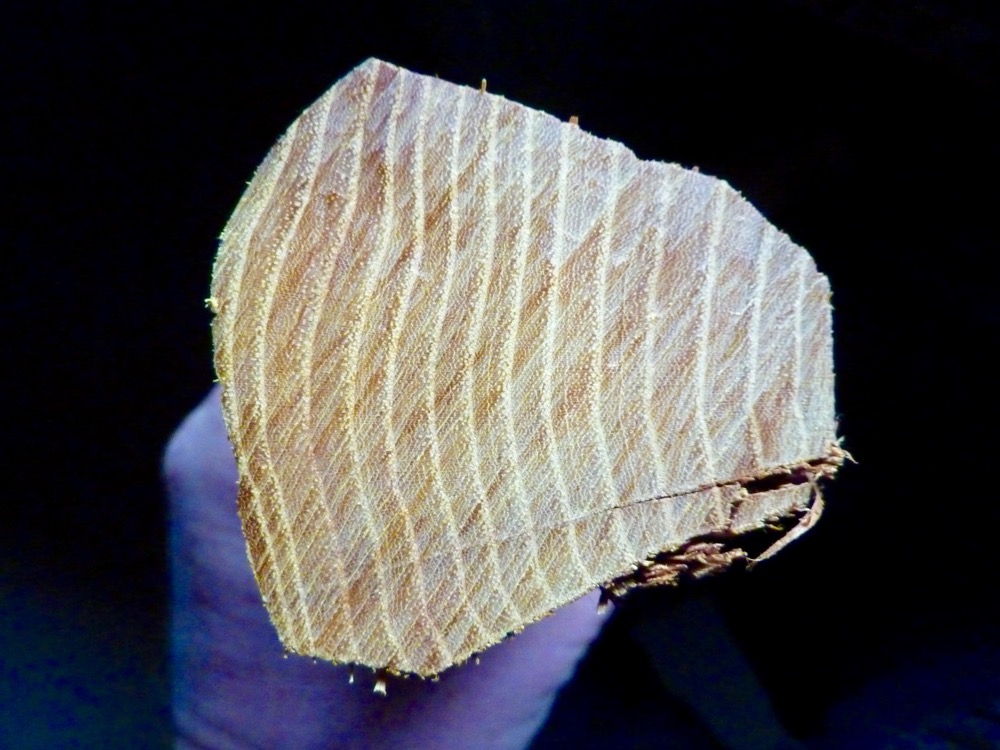
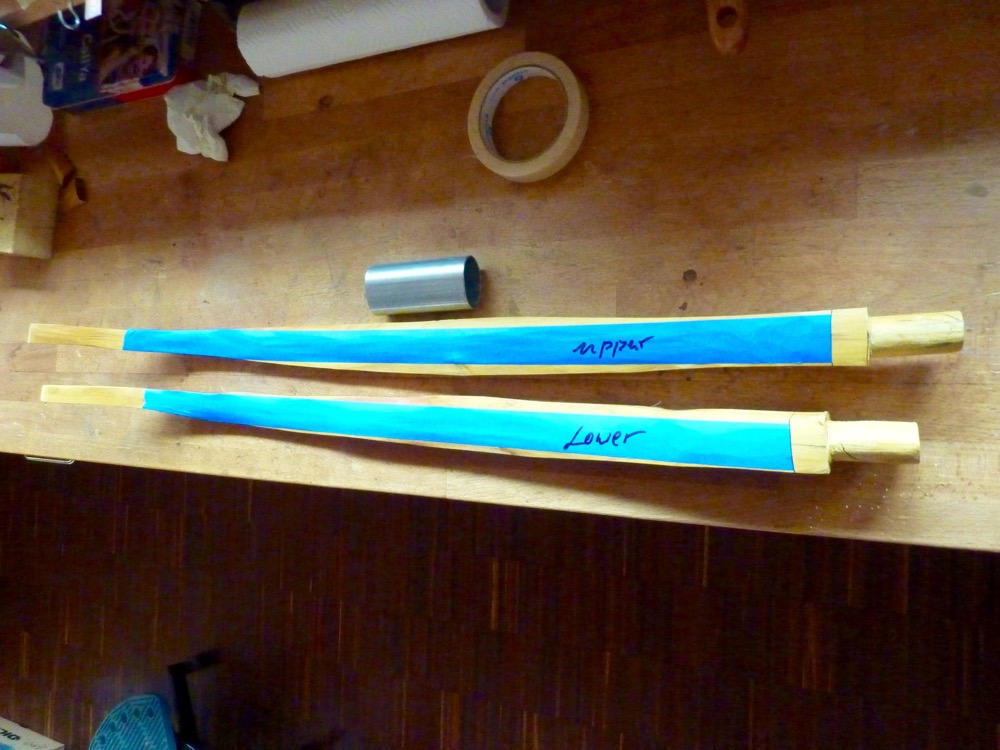
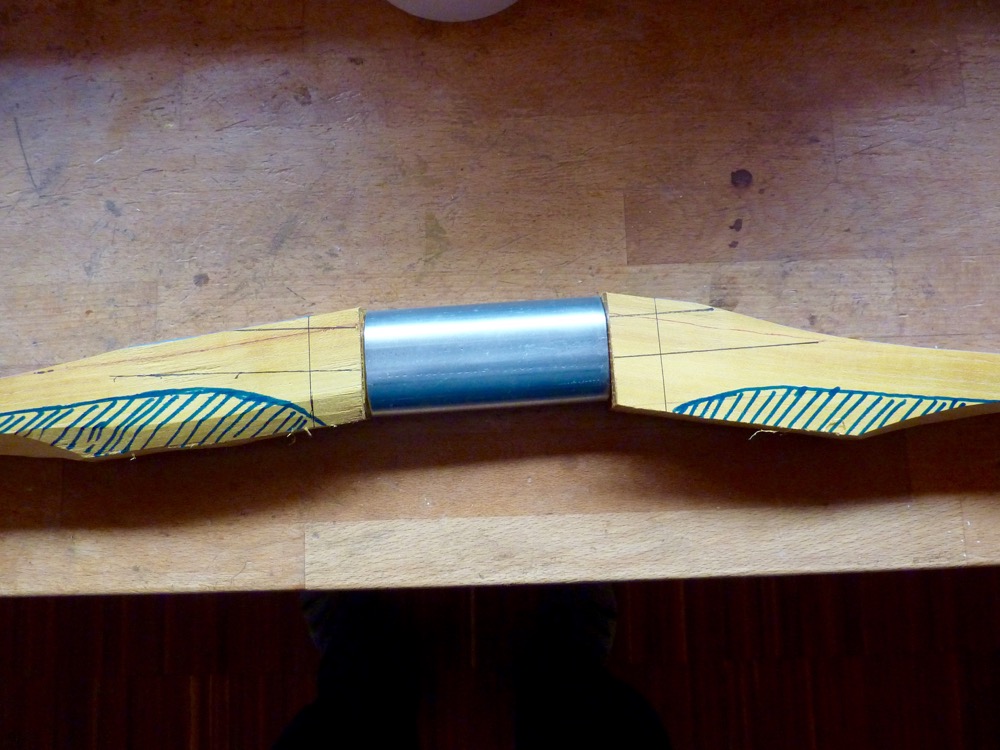
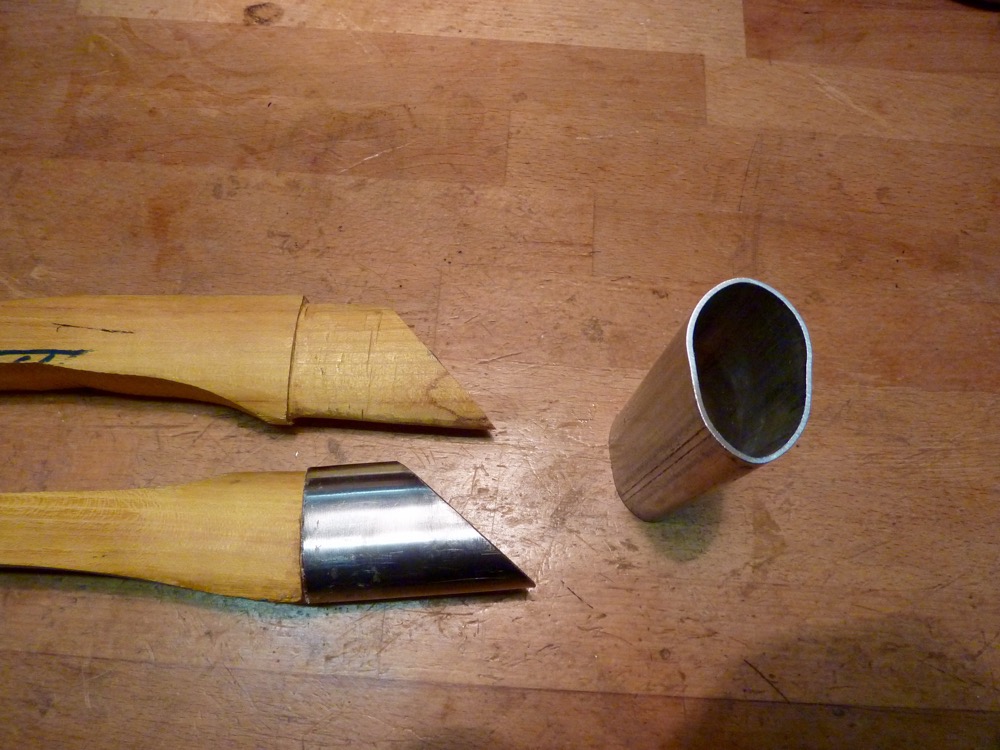
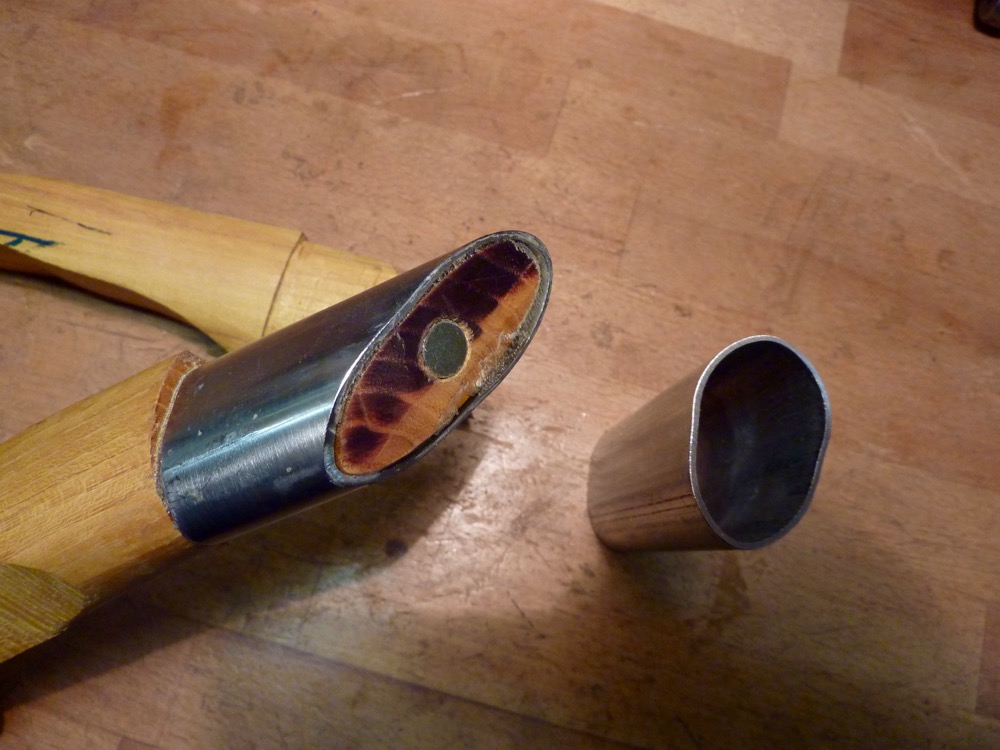
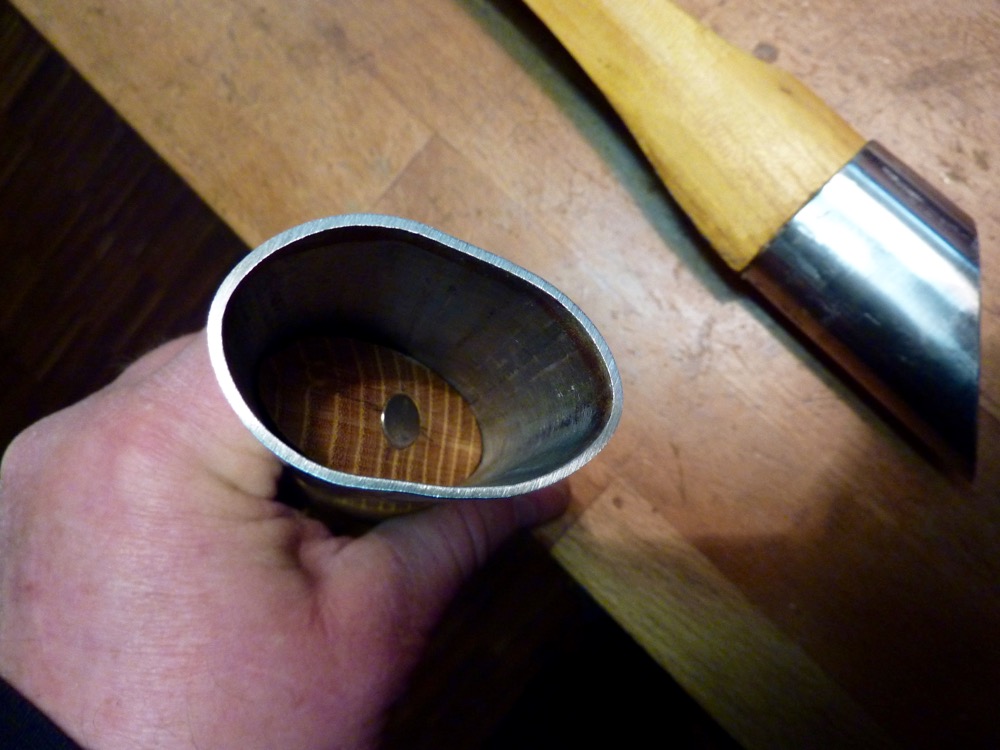
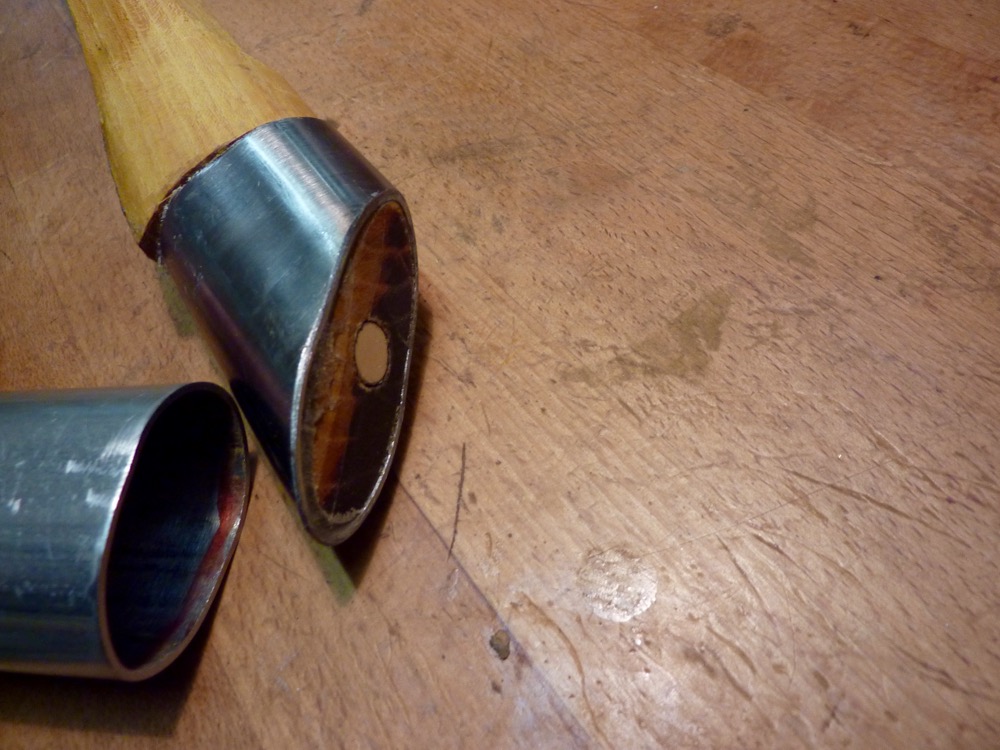
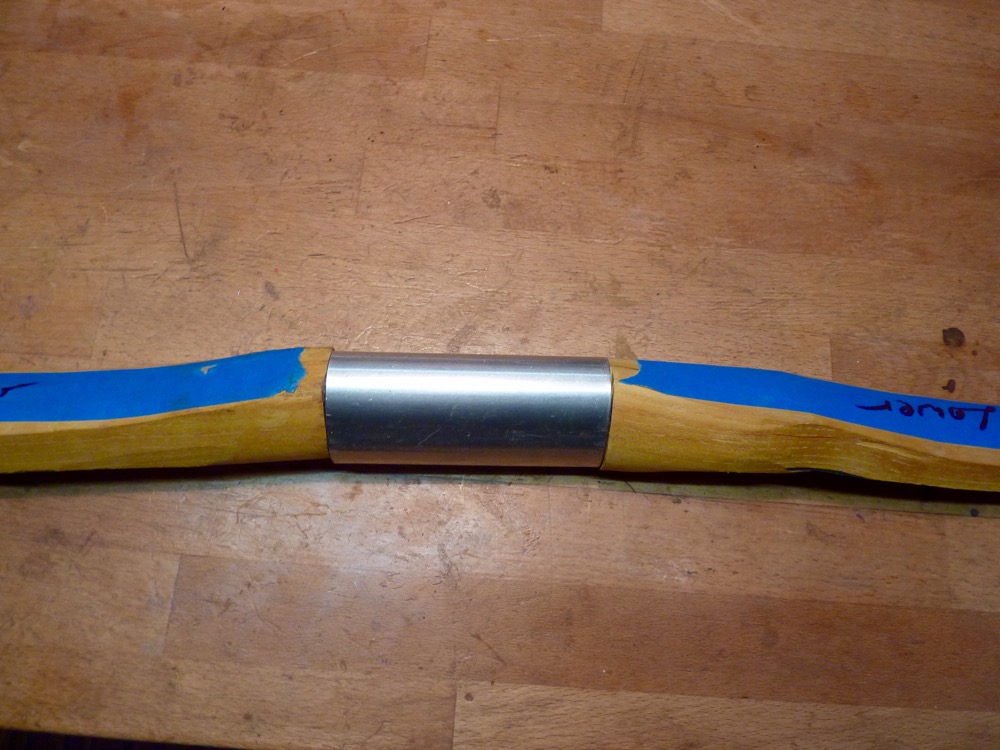
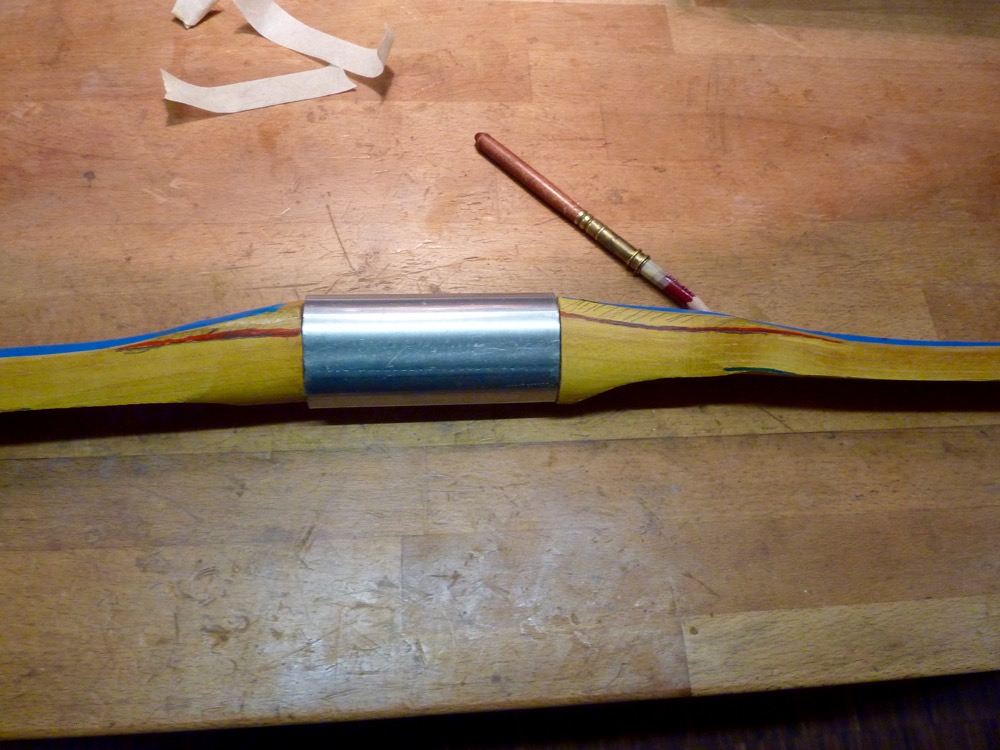
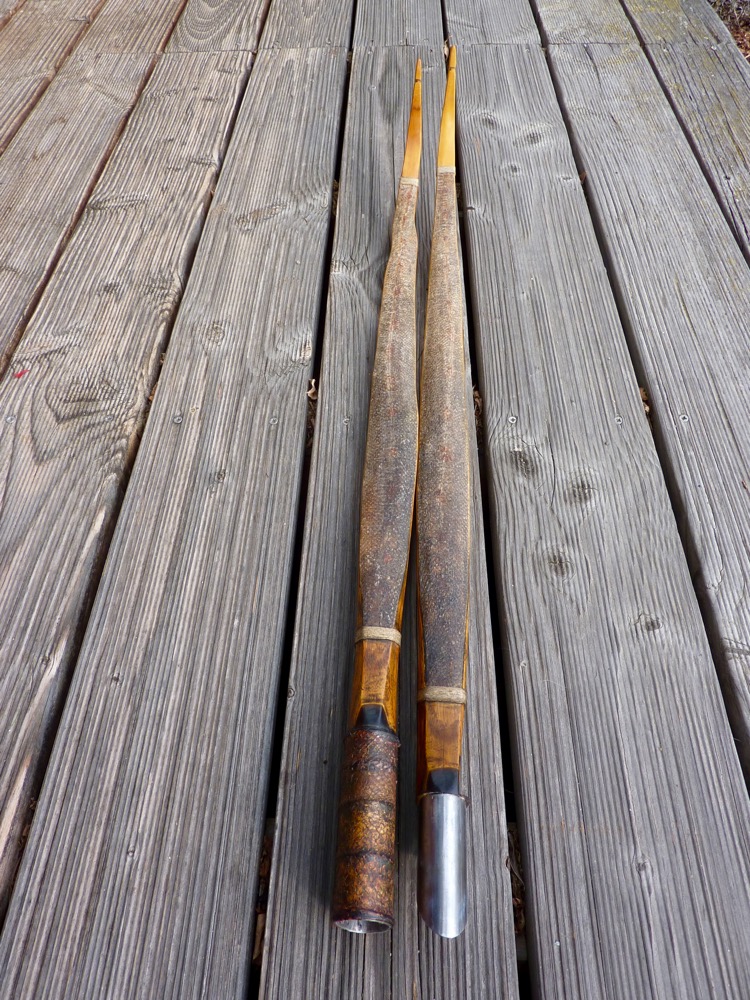
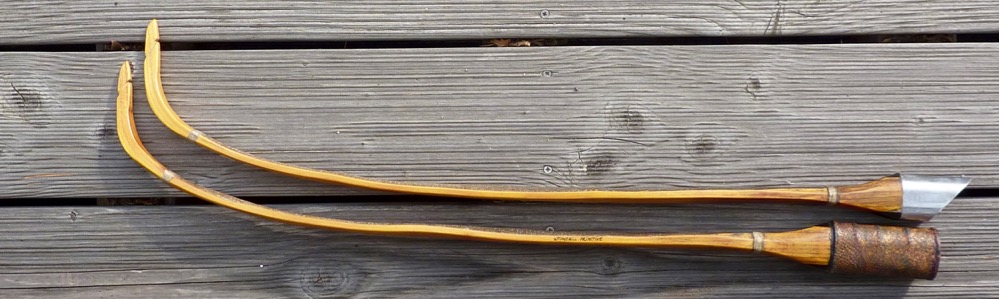
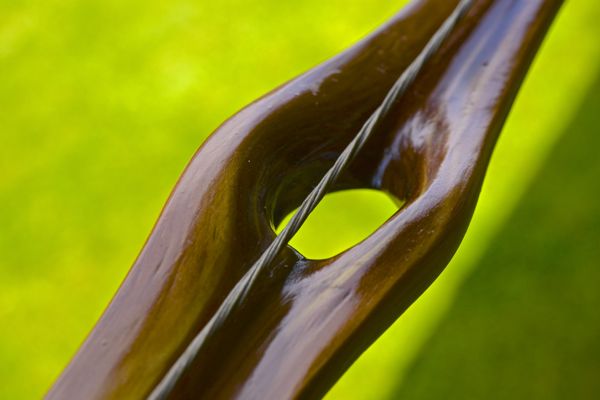
this was the stave, marked where to cut avoiding problem zonestwo billets and leftoversrings are super nice, very good early/late wood ratio and very homogenfirst reducingadditional rings at handle and tipssteamed in recurves, rough prepared for the sleeves, marked where to cut wood offasymmetrical, upper limb is 2″ longer than lowerleaving the limbs rectangular at fades and some guidelines are a great help for installing the sleeves properthe sleeves have an egg shape and are fitting tight, the joints are cut in a 45° angle – makes a secure fitan installed loadstone (magnet) makes a click when the limbs are connected and prevents an unintentionally tear apartthe second matching loadstone in the lower limbthe loadstone are in a drilled out hole secured with super gluethe deflexed (at handle( constructionhere is marked the chaised ring on the back, all material over the red line are the additional rings – needed for a proper fit in the sleeves
Beautifully done! I appreciate that you share your work and document it so well photographically- nothing speaks like good images. I would like to know about the take-down sleeves- were they purchased or did you make them yourself? I have spent some time trying to find metal tube that will fit together good enough to make a take-down sleeve.
And yes I know, it is hard to find matching pipes. But believe me, they exist (sorry for joking).
I get mine from a metal junkyard for free, but searching for them can be time consuming.


2 Comments
Beautifully done! I appreciate that you share your work and document it so well photographically- nothing speaks like good images. I would like to know about the take-down sleeves- were they purchased or did you make them yourself? I have spent some time trying to find metal tube that will fit together good enough to make a take-down sleeve.
Chris, thanks for your comment! Look here: http://primitive-bows.com/homemade-take-down-sleeves/
it’s here on my site under ‘How To’s’.
And yes I know, it is hard to find matching pipes. But believe me, they exist (sorry for joking).
I get mine from a metal junkyard for free, but searching for them can be time consuming.