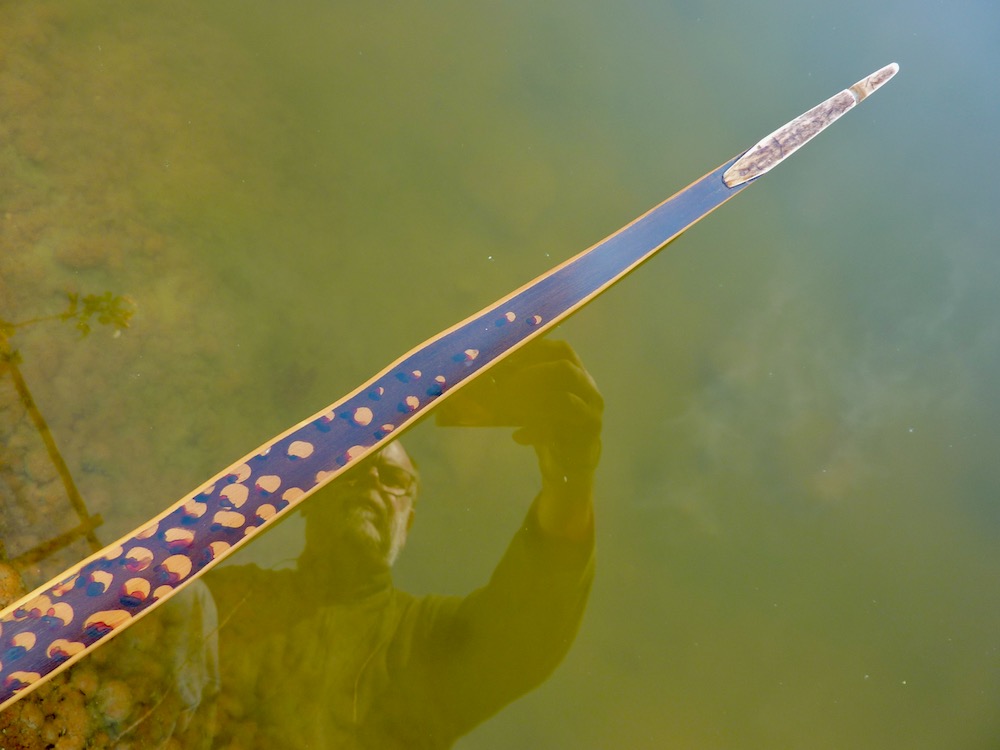
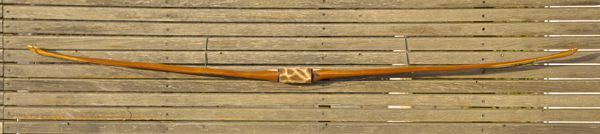
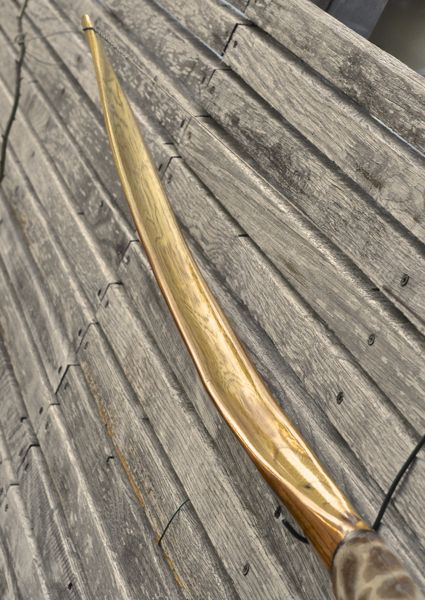
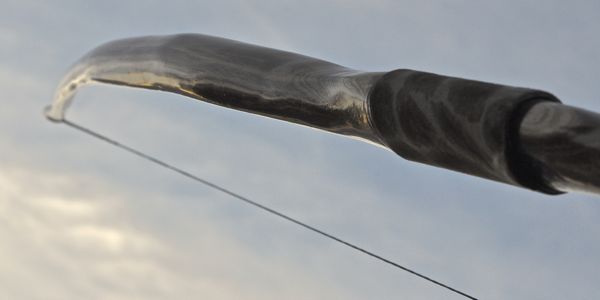
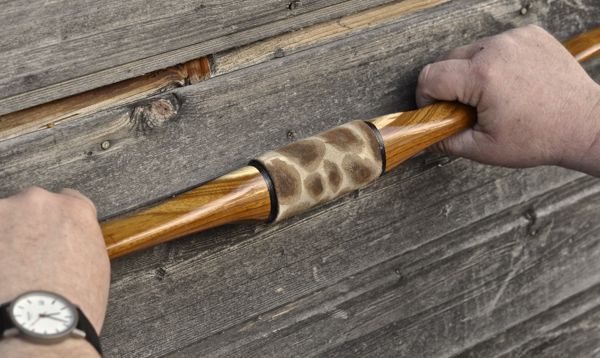
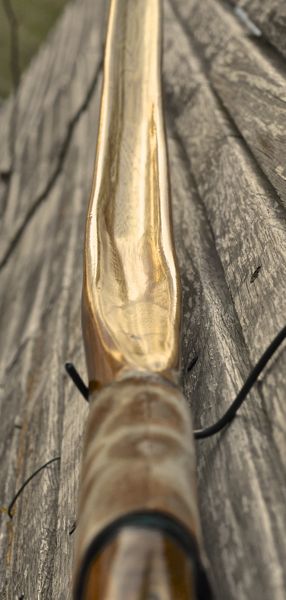
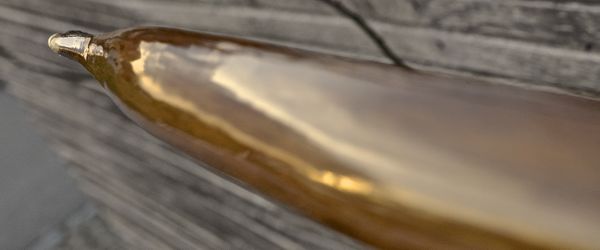
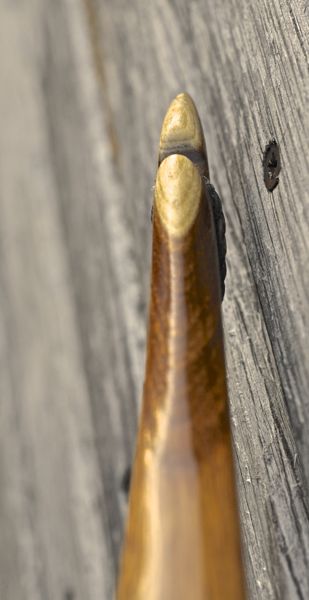
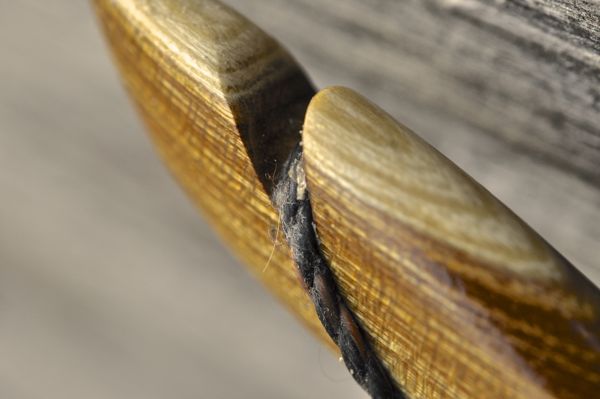
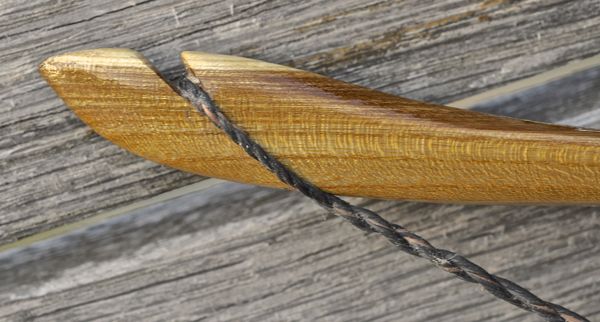
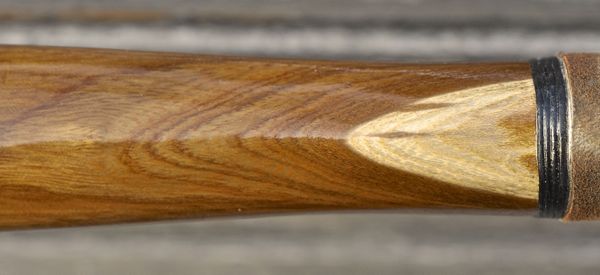
This bow is made of billets, which are split out of an 40″ and 3″ diameter sapling. You sure know, golden chain tree has a wonderful contrast of heart and sap wood. So I decided to leave at least on tips and fade area a natural grown overlay of sap on the bow. Unfortunately the next ten or so rings just below the the sap were rather thin and very spongy because of the high ratio of early wood – I had to work down to the good rings.This is the reason for the relative high overlays and the high crowned limbs (back side of limb only about 1″ away of pith center). Because of the high crown I decided next to try a hollow limb design again, in this case excessive. The limbs are only two rings thick, but heavily crowned / hollowed out. The back side has cured to a darker color than the belly and sides – it was laying around for months, belly and sides shows the fresh lighter color because of tillering. After a few further month the color of the heart wood will be a chocolate brown.
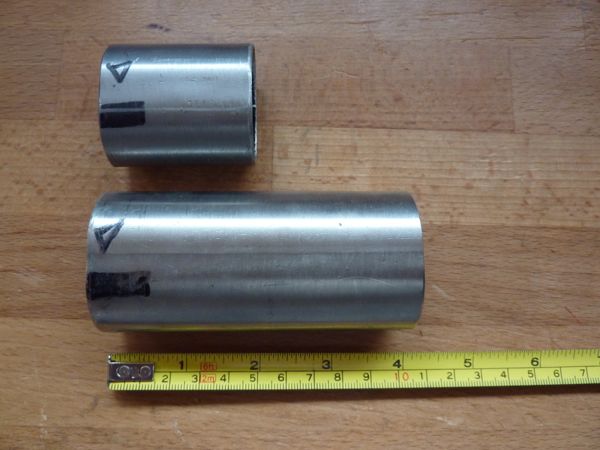
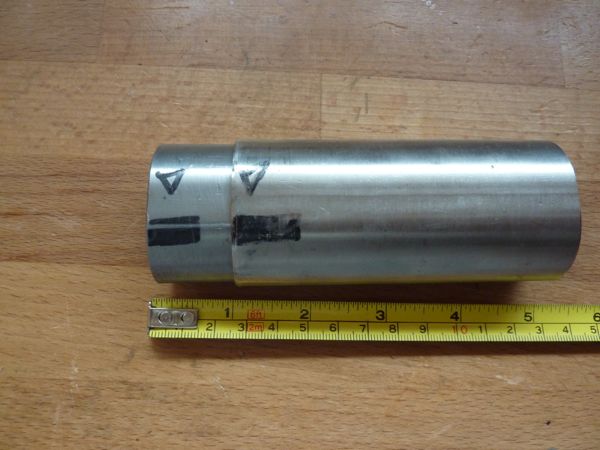
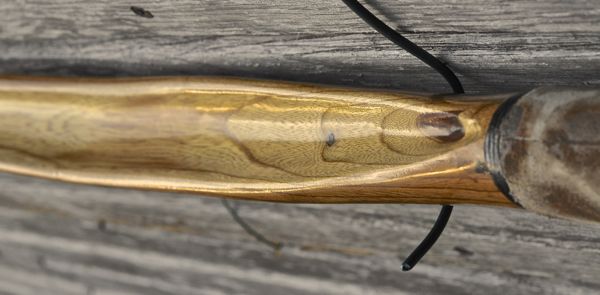
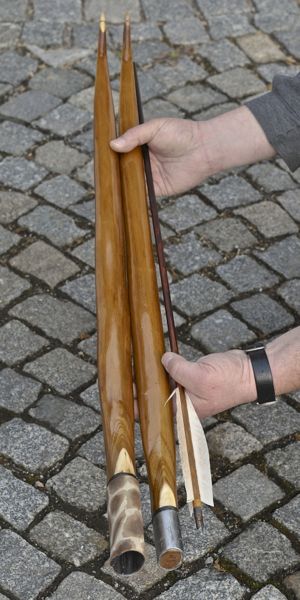
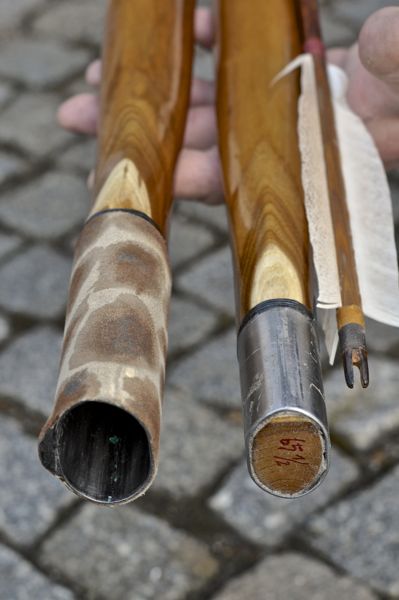
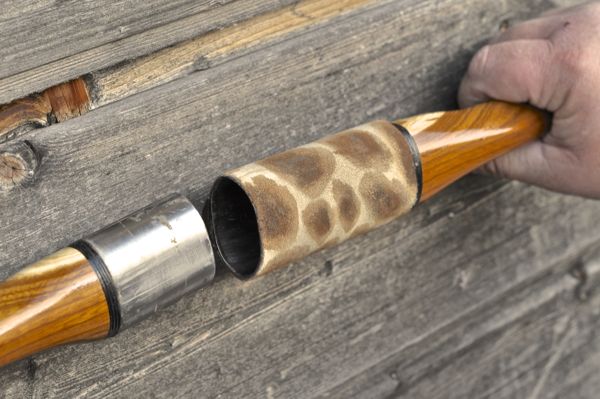
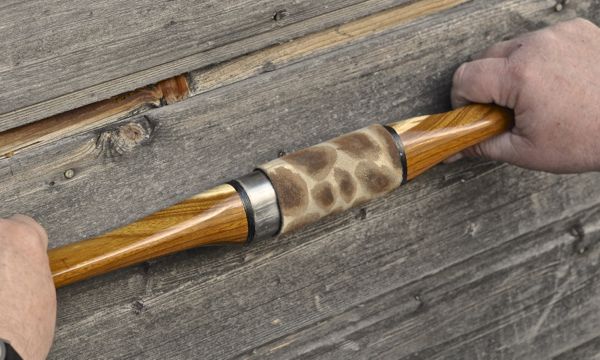
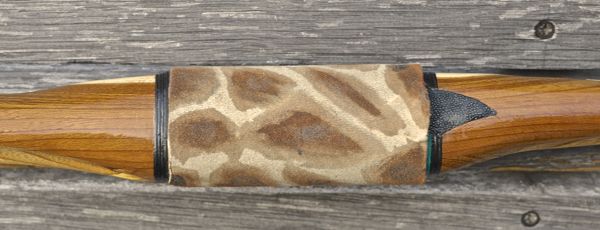
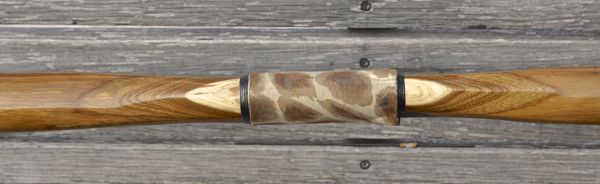
This is my first try on a take down. It is done with self made take down sleeves, which came out a bit too bulky for my taste. Next time I will try some smaller diameter pipes.
The billets were too small to fill the the depth of the sleeves, so i glued on some leftover pieces from this stave.
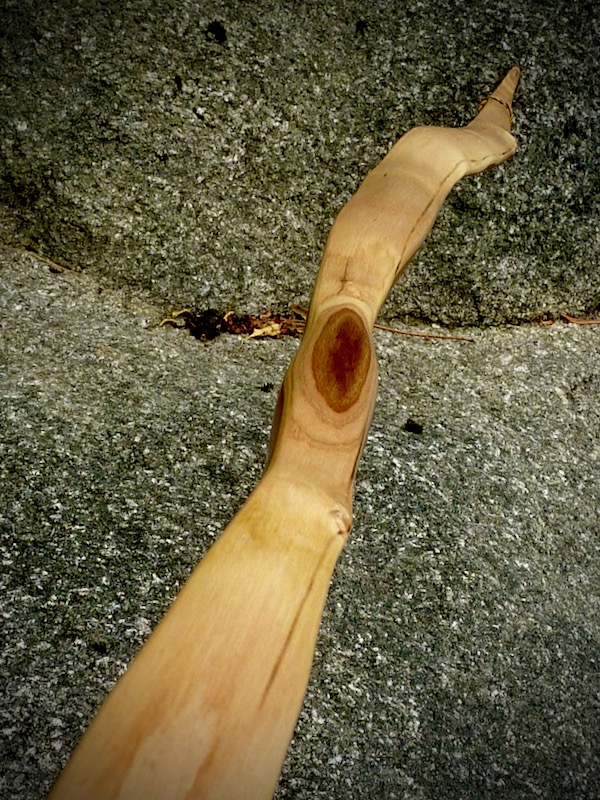
The lower limb looks a bit weird just below fade, but the bow is well balanced and shoots very good. I’m absolute surprised.
This bow pulls so smooth and is incredible fast – I don’t know is it the extreme design or the bow wood. I will search for a small diameter osage and try the same design – then we will see …
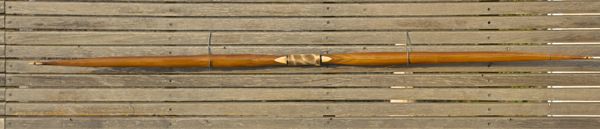
specs:
65,5″ ntn
5″ braceheight
53# / 28″
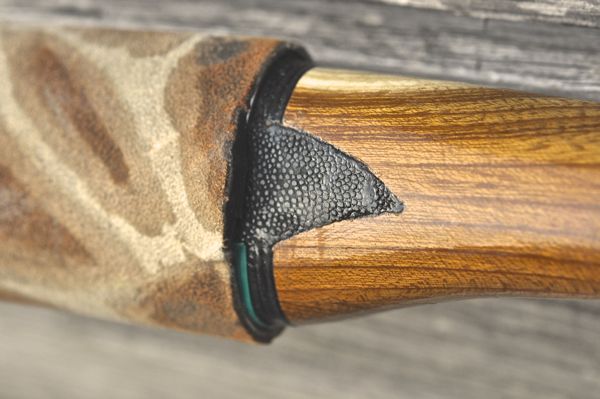
stingray leather inlayed as arrowpass
string: 6 strands of 452X strengthened at the ears


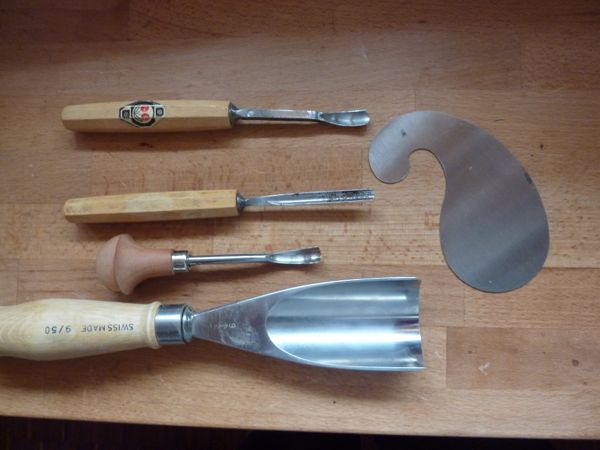
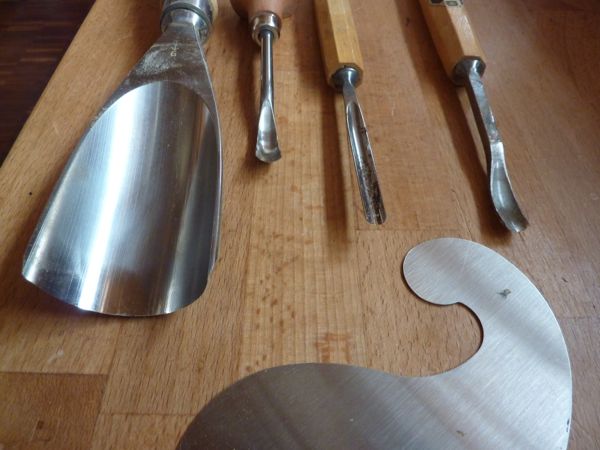
This are the tools for hollow limb design, followed by sandpaper rolled over sticks with matching diameter:
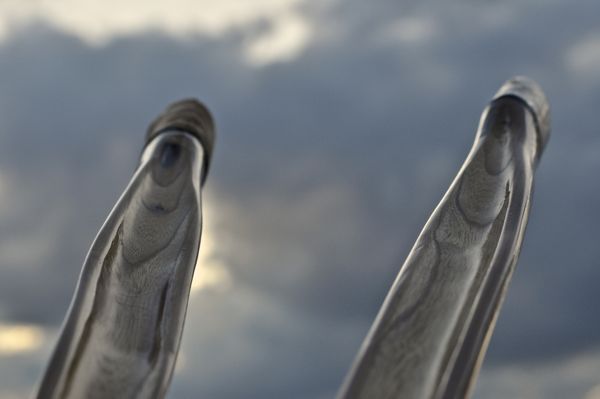
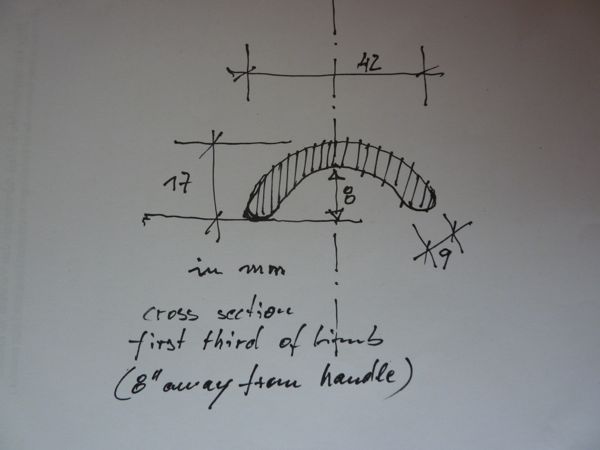
Here is a quick sketch of the cross section it is almost a bit more of a third of circle
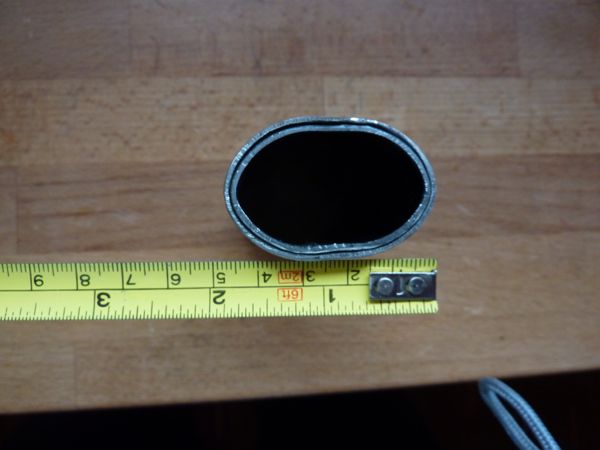
and the pipes I used for the sleeves, the outer one had a diameter of 40 mm and is 1,5 mm thick – the inner tube is matching in diameter. Put both parts together and clamp it in your vice you will get the oval shape in the pic. One tip: make the iner tube a little bit smaller in diameter (sanding) so that it goes really easy in and out, before clamping! Next time I will use about 36 mm diameter for the outer tube and will get a more egg shape cross section.