Well, I always wanted a flat sinewed short osage with static tips. Finally found a suitable nice clean stave with no knots or other complications. The statics are steamed in and the whole stick got an gentle increasing reflex with the heat gun. Everything went without any problems, even string alignment was o. k.
Now for the sinew
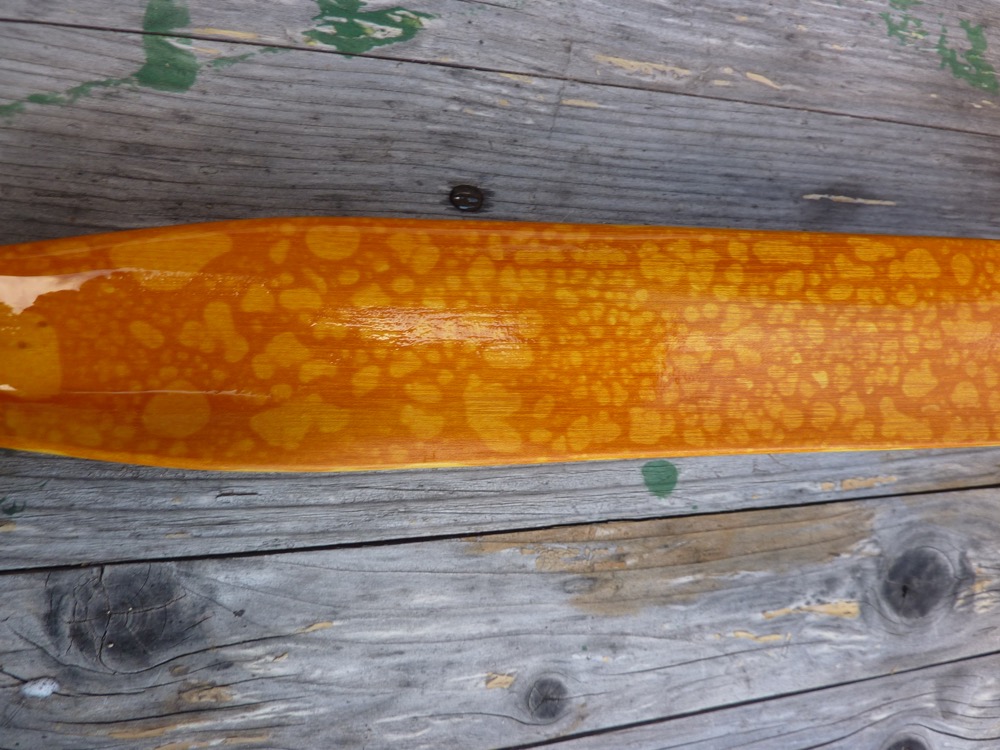
the bow is prepared with oven cleaner spray, looks funny like something to eat:
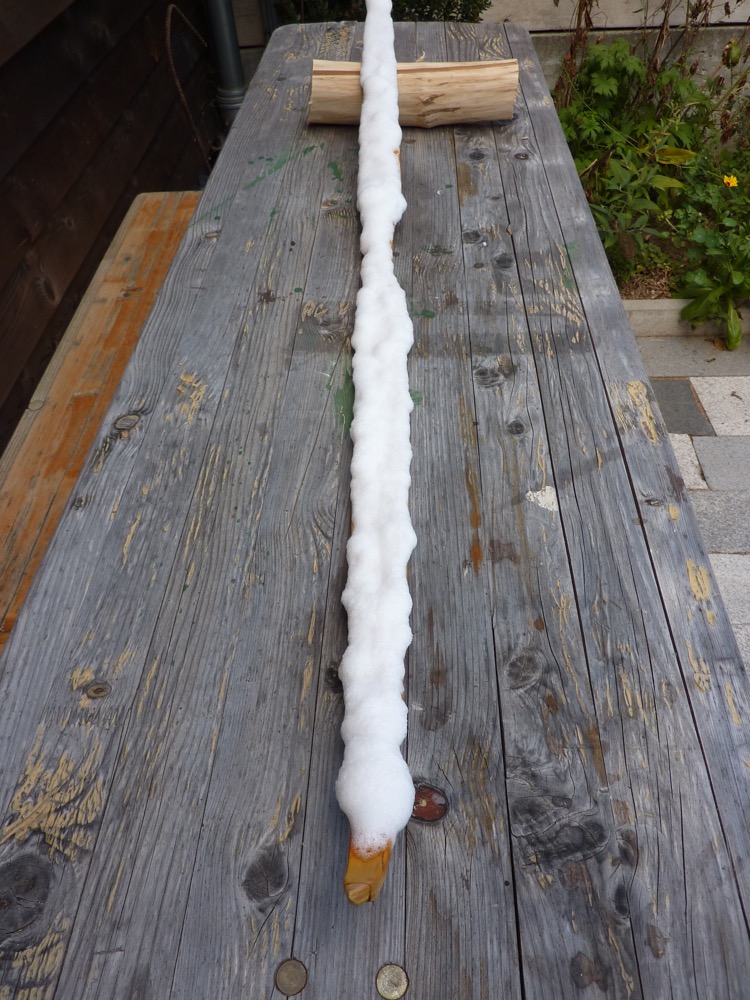
I let the cleaner work for about one hour, then rinse with fresh water. A lot of oily yellow stuff came out and the surface looks cool – somewhat like a giraffe
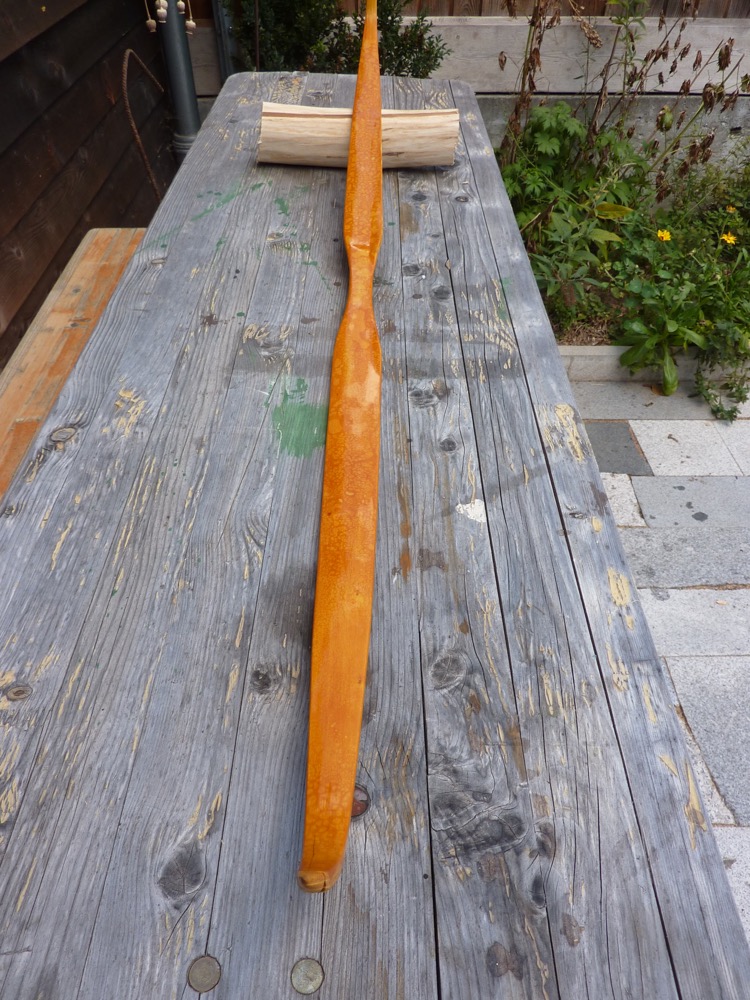
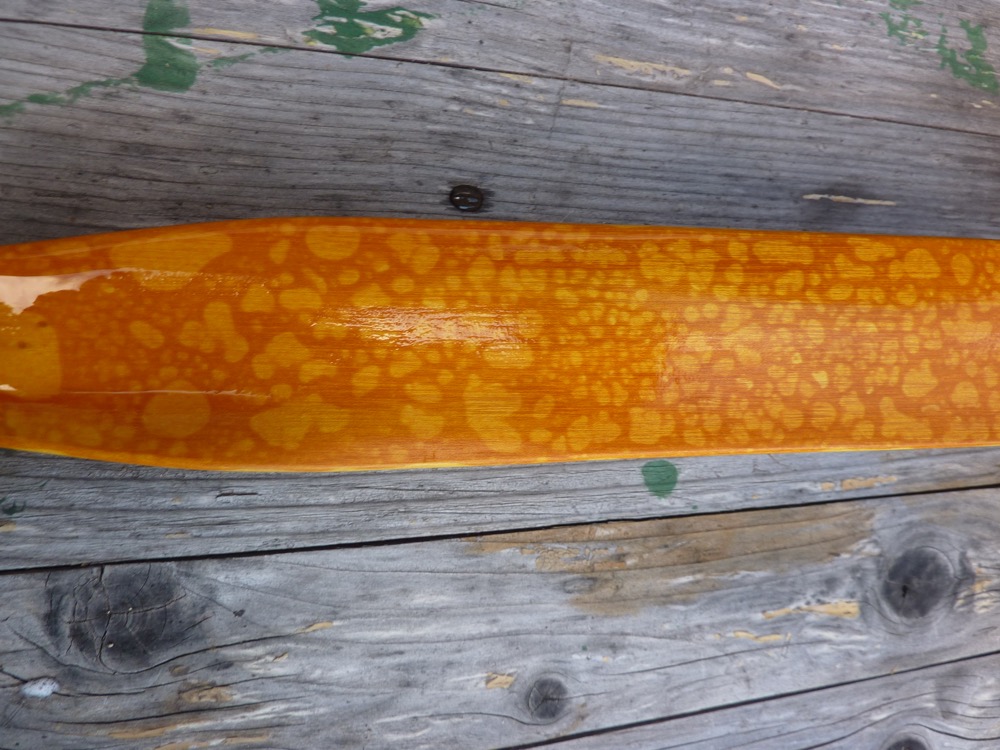
Next step is applying thinned glue in sevarl layers
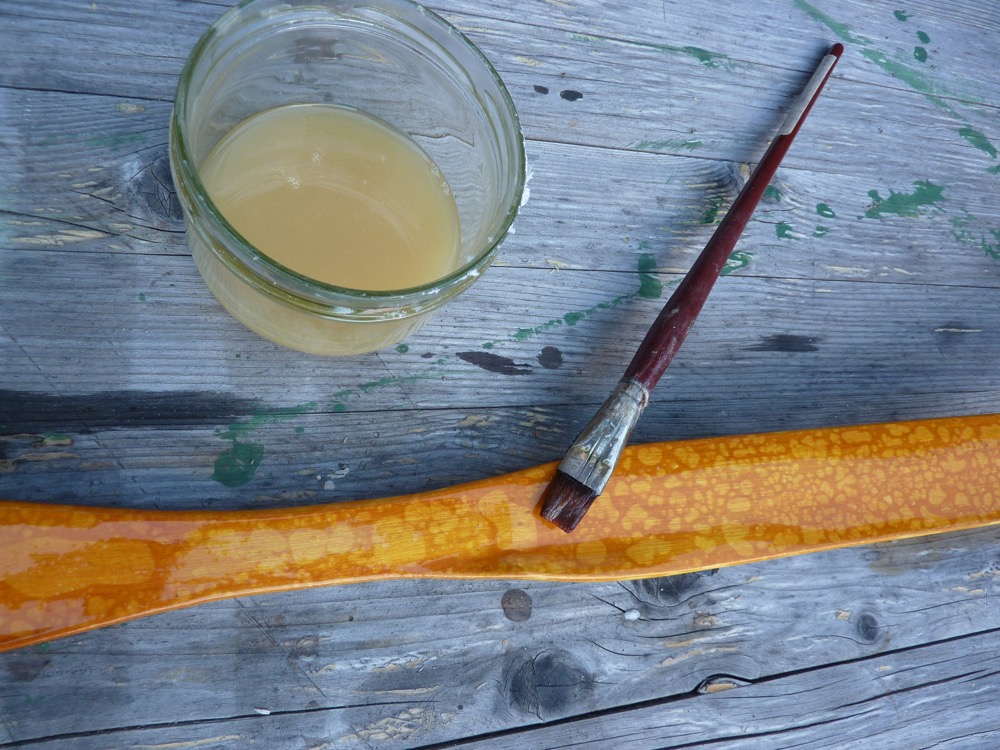
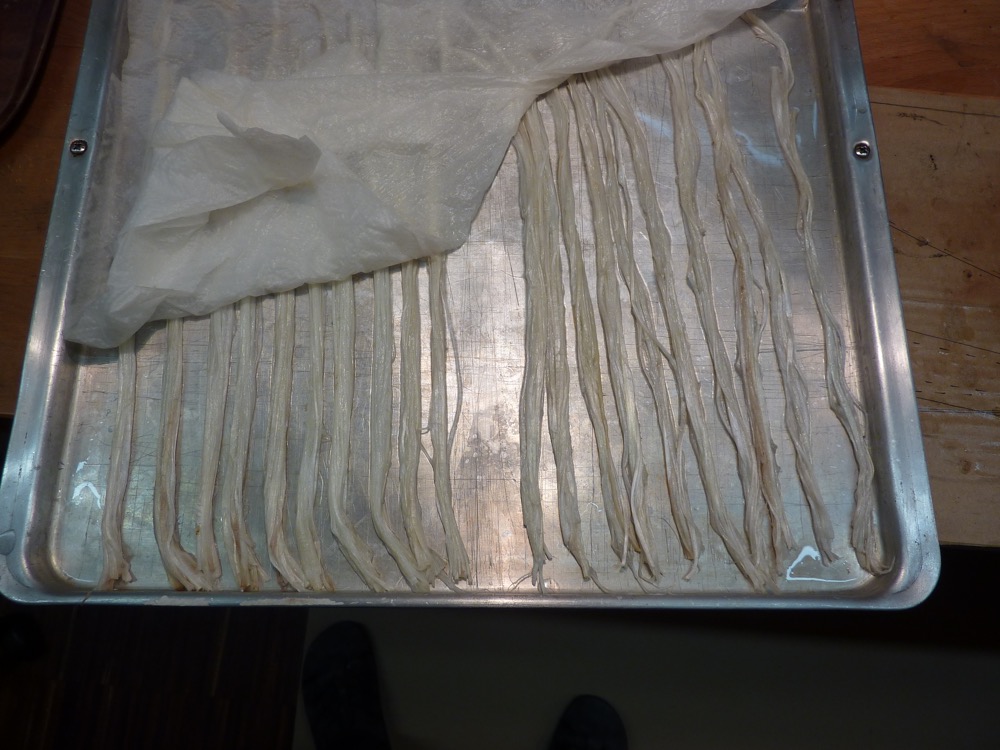
I let it dry out over night and prepared my sinew for the first layer. The bundles are soaked in water, thickness is like a pencil. The tissue spread the water over the bundles so nothing can dry out. I leave that thing also over night.
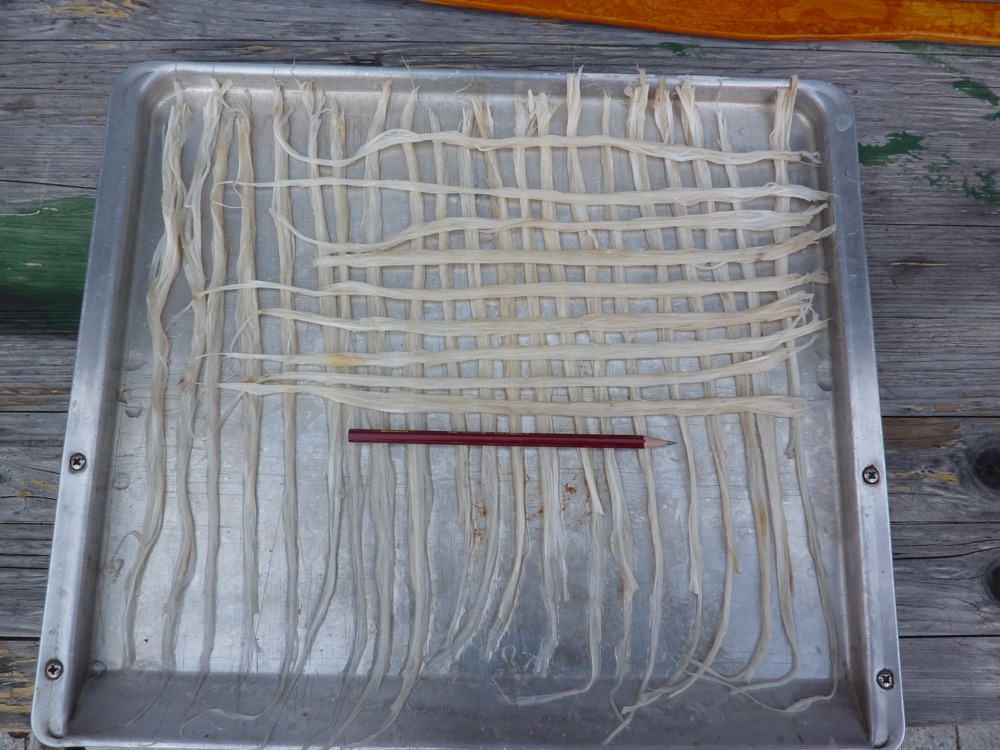
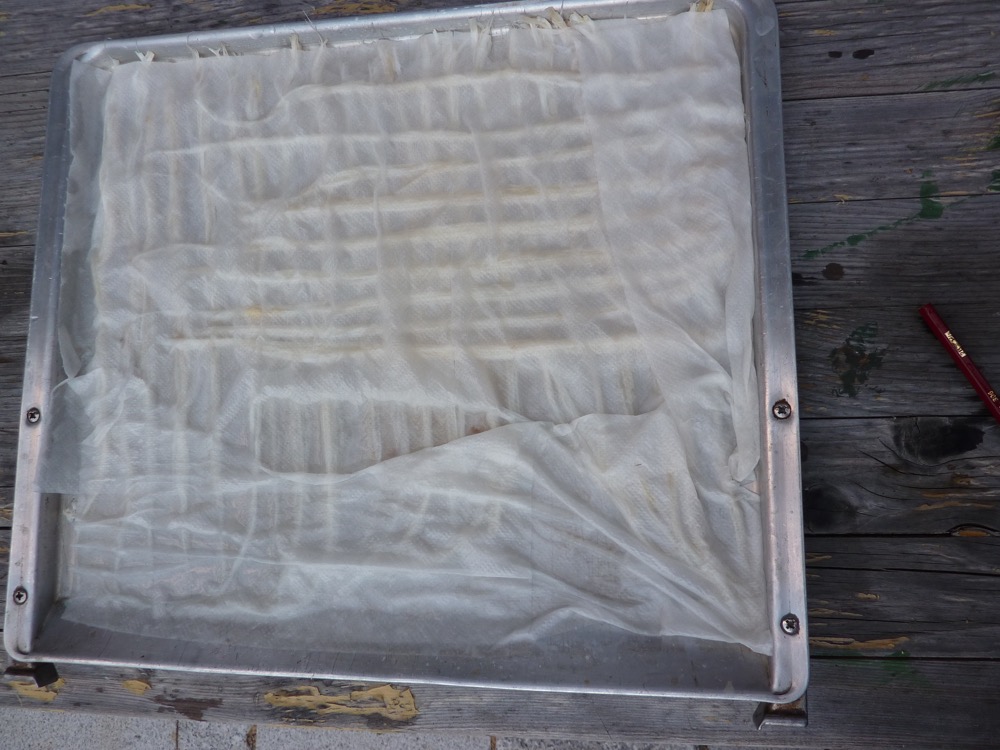
Here is already the next day:
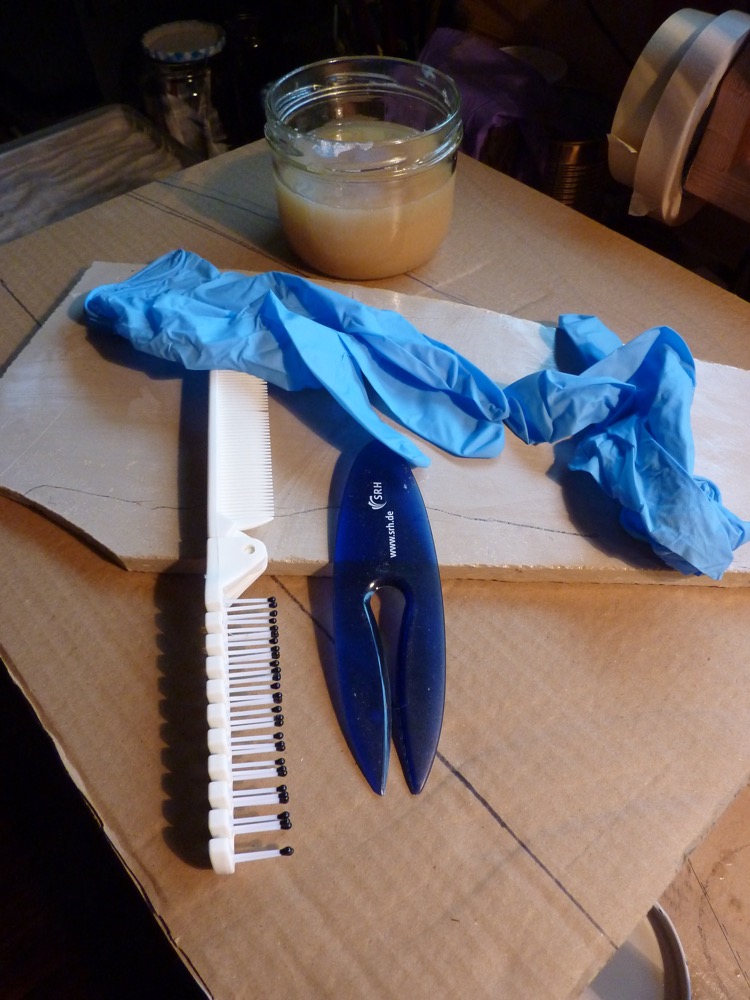
Here are the tools I use, silikon gloves, comb, plastic envelope opener, polished stone and the glue
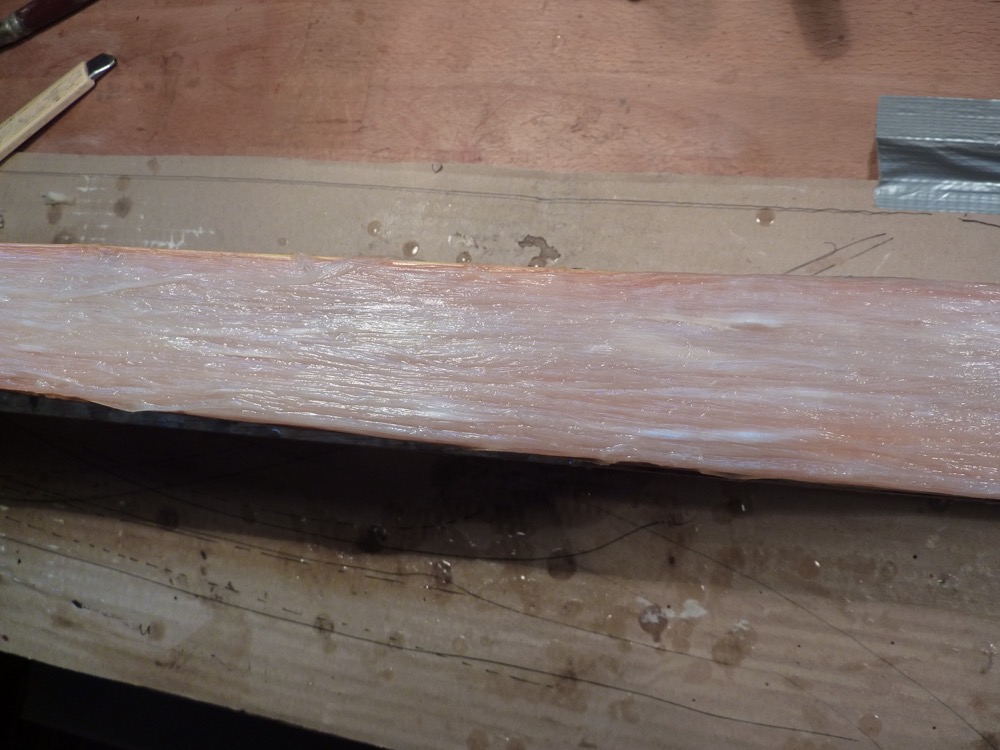
No pics of the process of applying because of sticky gloves, but here is the result
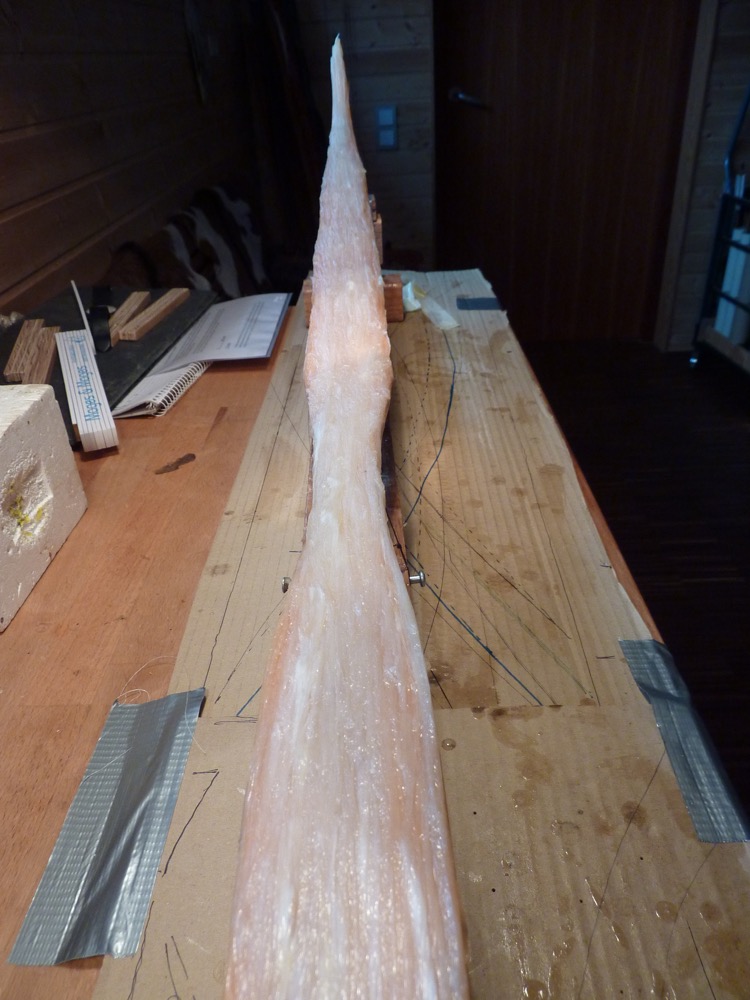
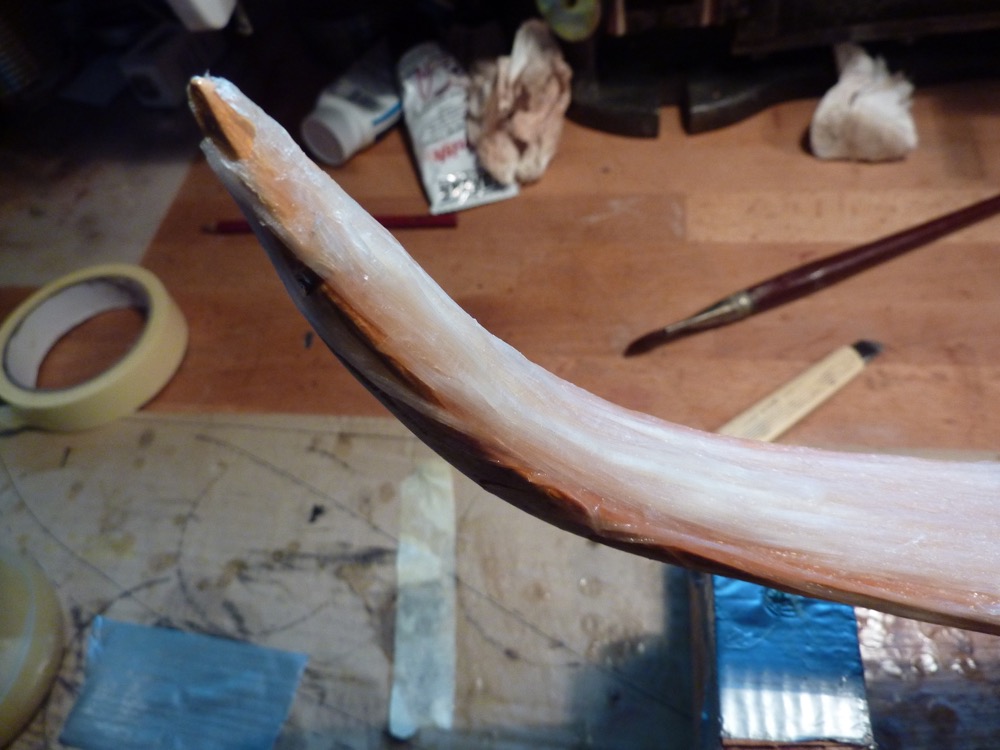
Ah, forgot one tool. This is an old marker with a steel wire instead of the  (word)
with this instrument it’s easy to press out excess glue.
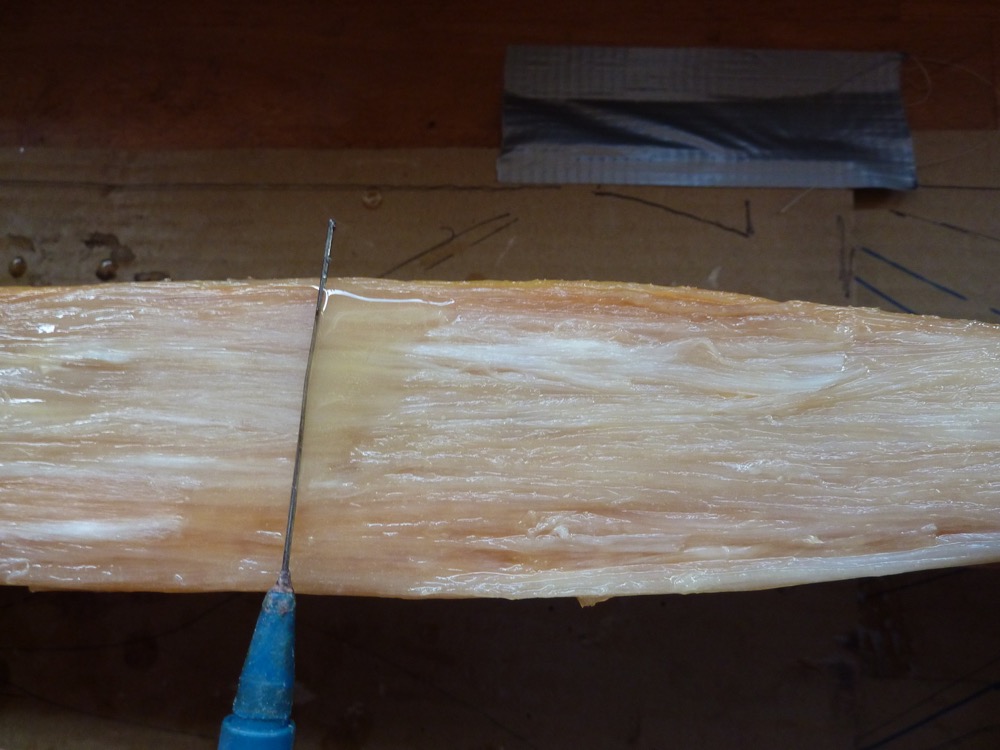
From time to time I control the surface, just when the upper surface is not more sticky the bow can be wrapped. I like to use rubber textile for this. After some hours the whole thing is unwrapped and the wrapped again but in opposing direction. This prevents excessiv marks of the textile rubber.
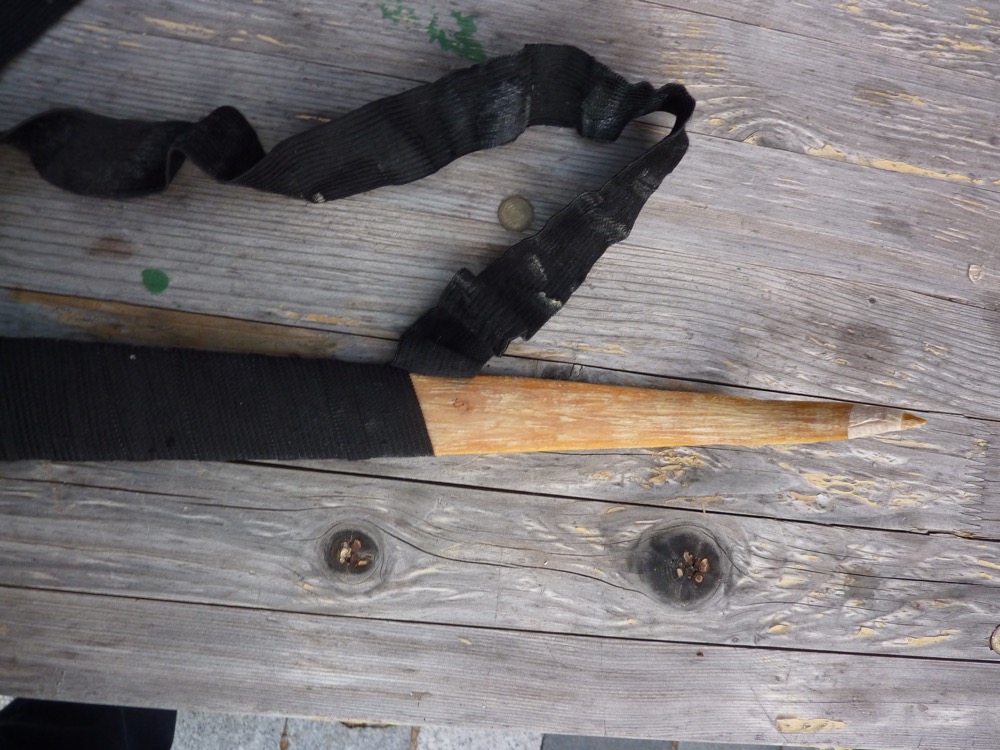
Above is a pic showing the first unwrapping process. I repeat this about four or five times, leaving the wrapp on for some hours.
Here is a pic from the whole bow wrapped and braced backwards. The backward string is also tightened every now and then

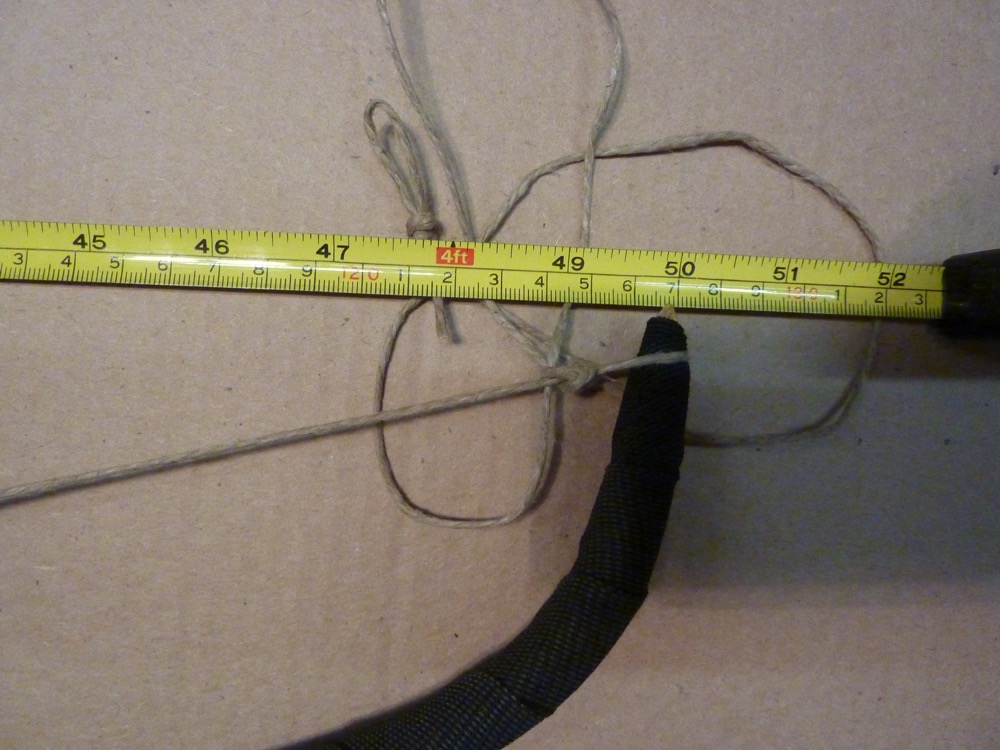
Well, now for the hard time waiting two weeks for the second layer.
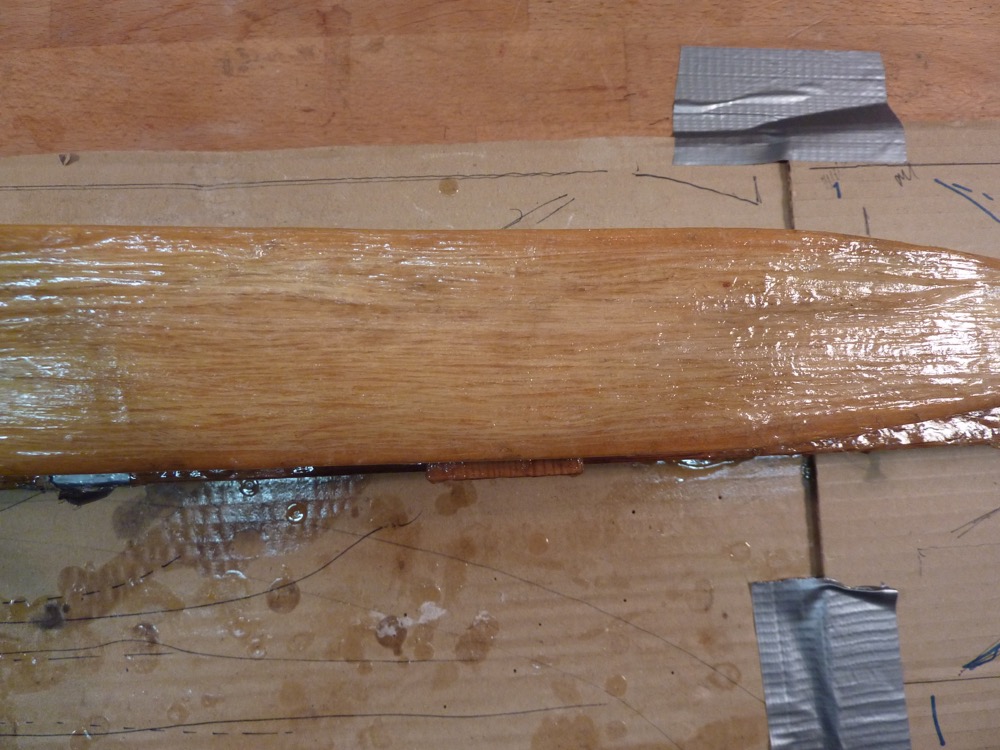
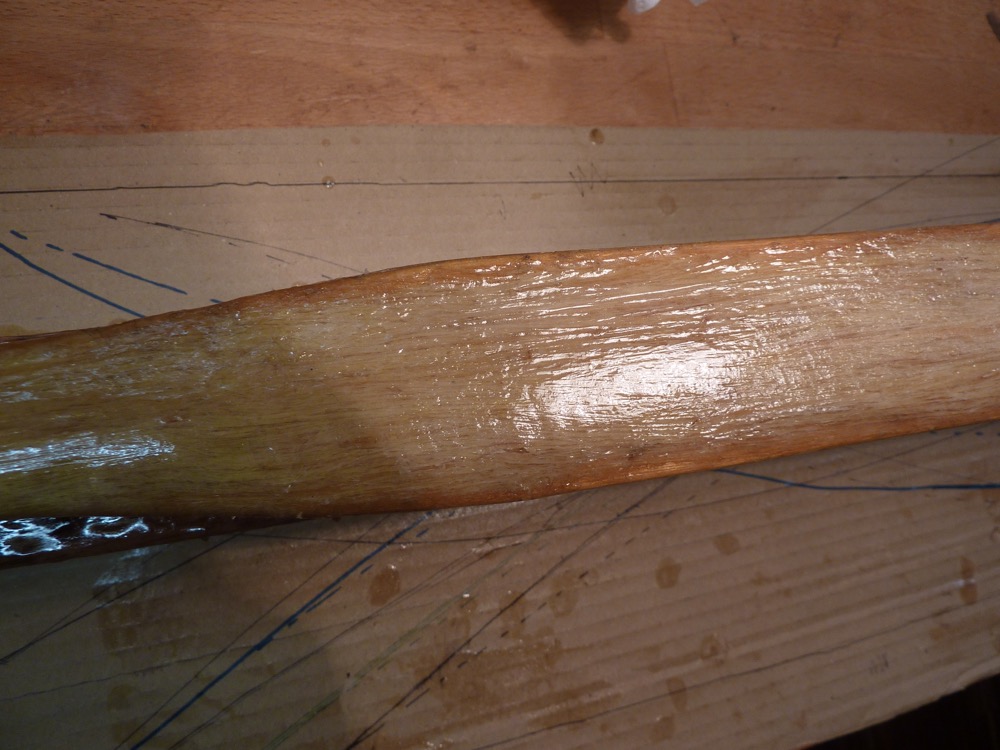
I preped the first layer carefully with some layers of thinned hide glue.
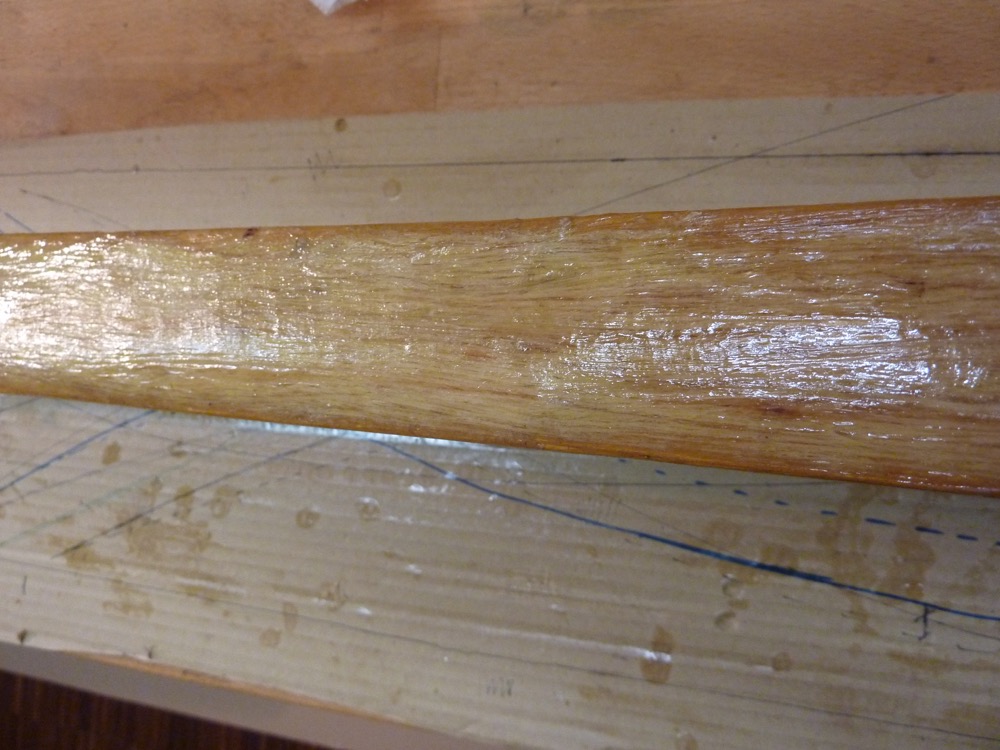
Here you can see how the bow is attached to my sinewing rack. A short piece of ff, two srews and two wedges do the job.
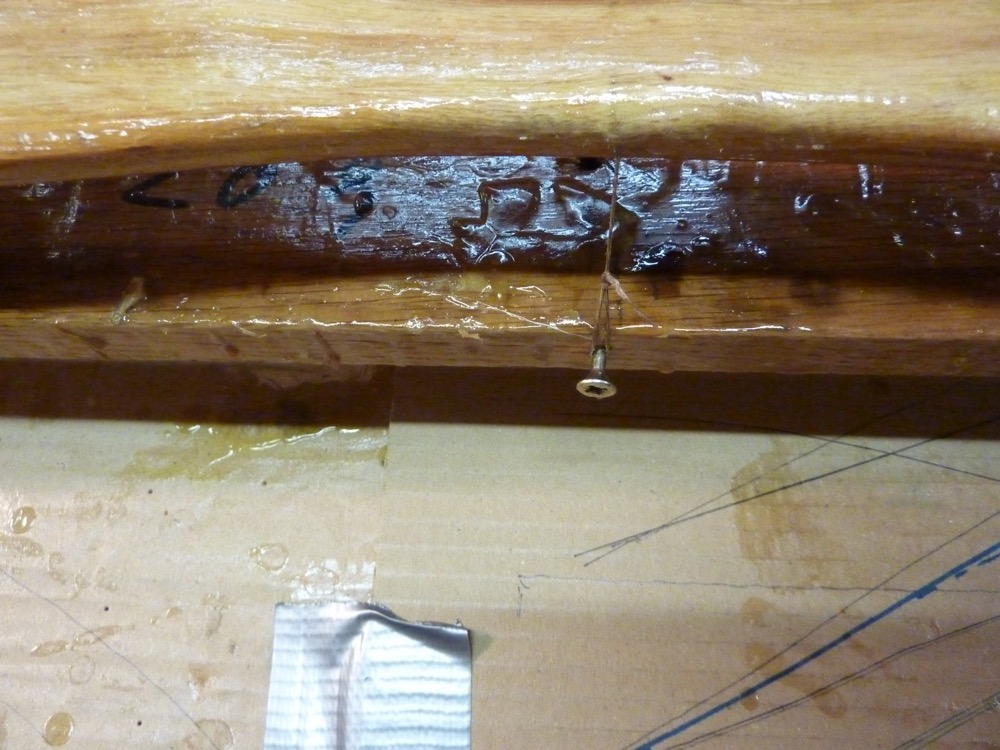
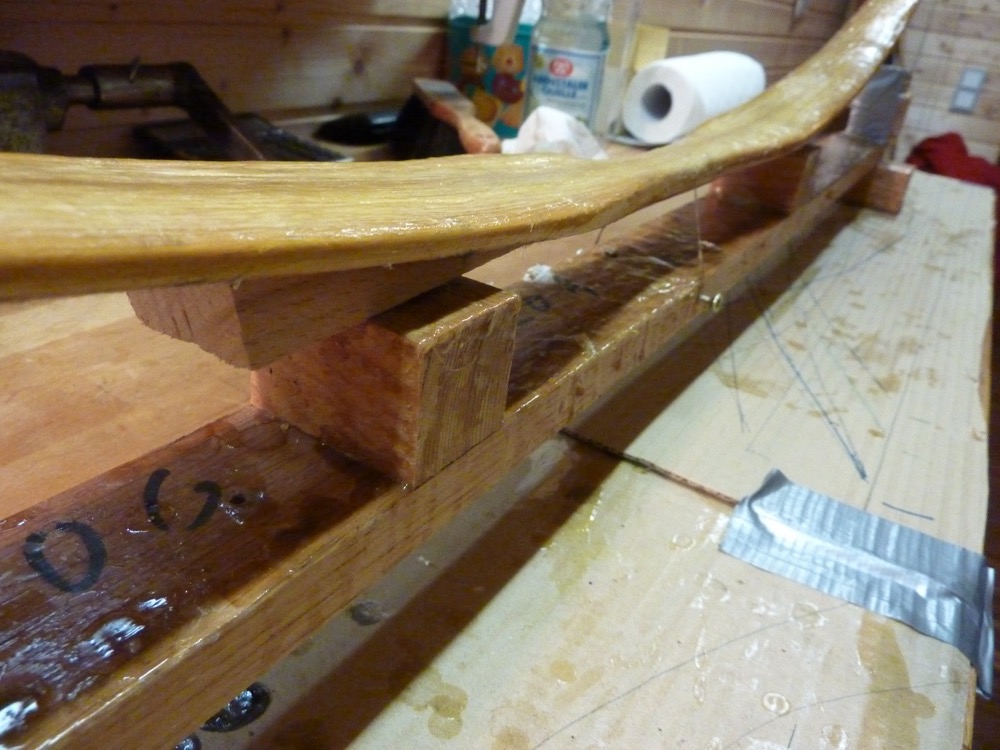
The bow is braced backwards like in the first sinew session
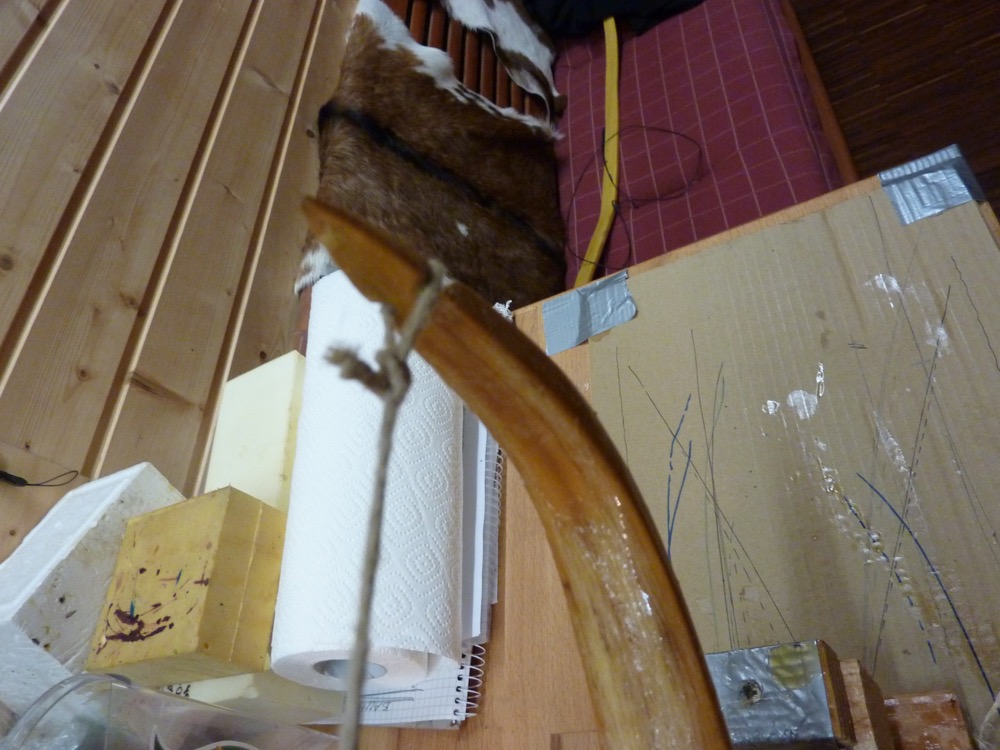
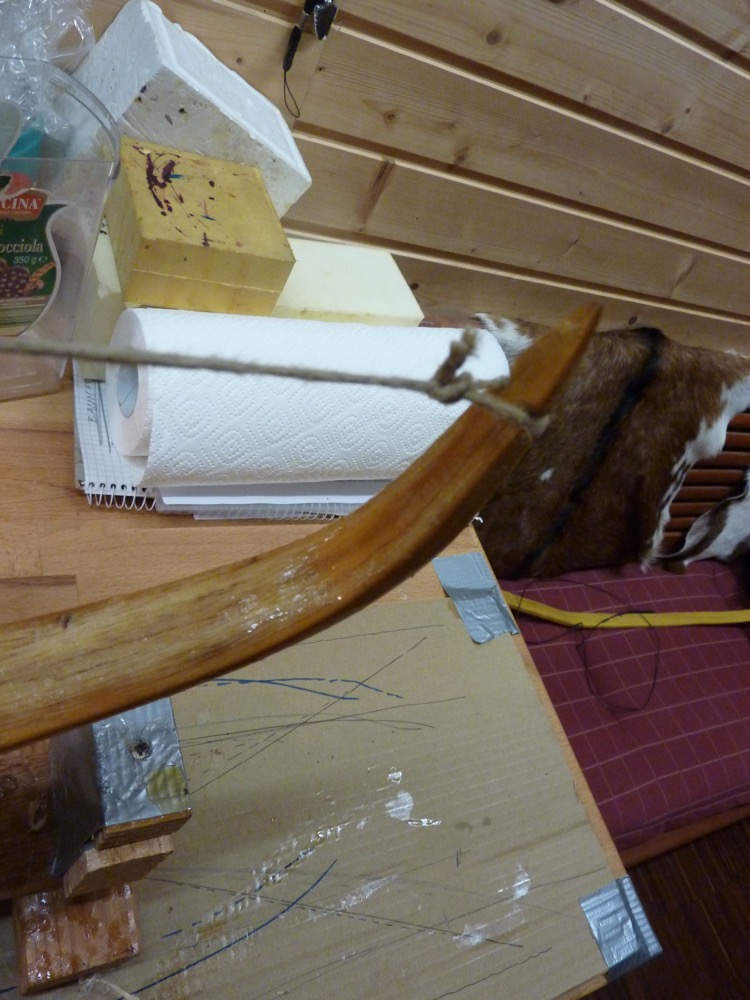
No pics from the sinew job, because of sticky glue …., but this is how she came out after 3 days of wrapping with rubber textile
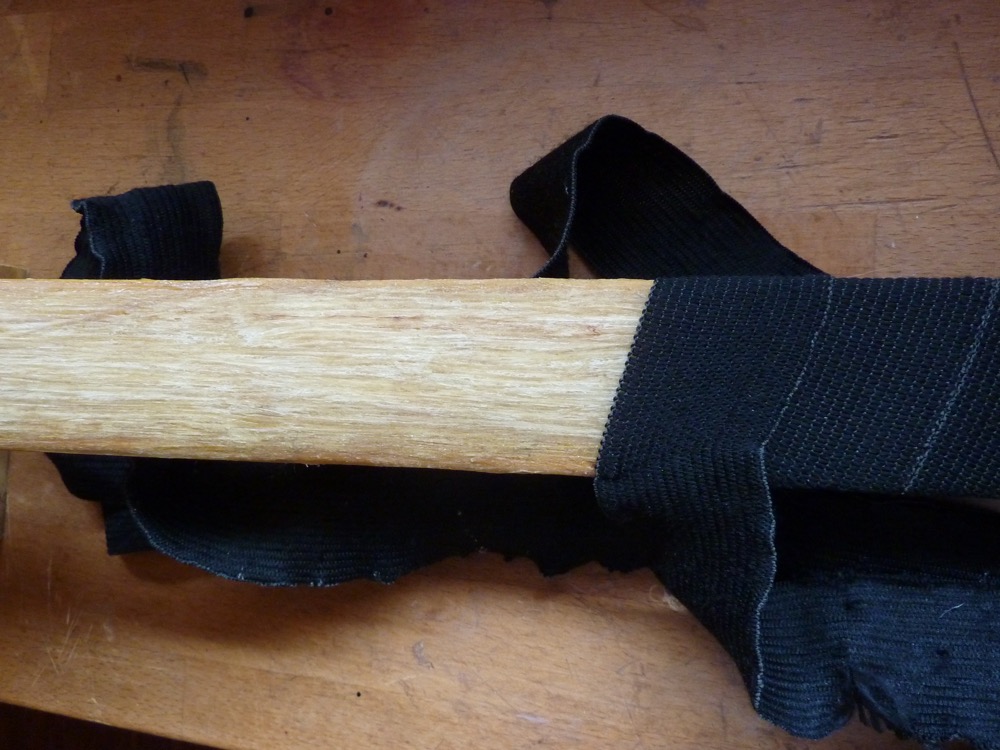
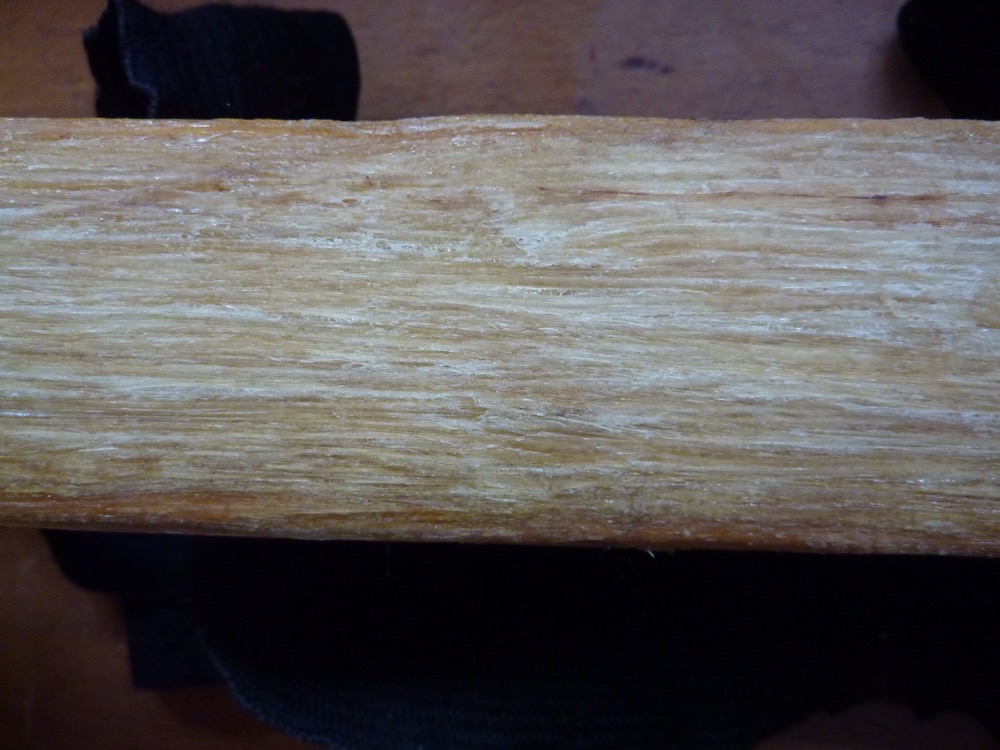
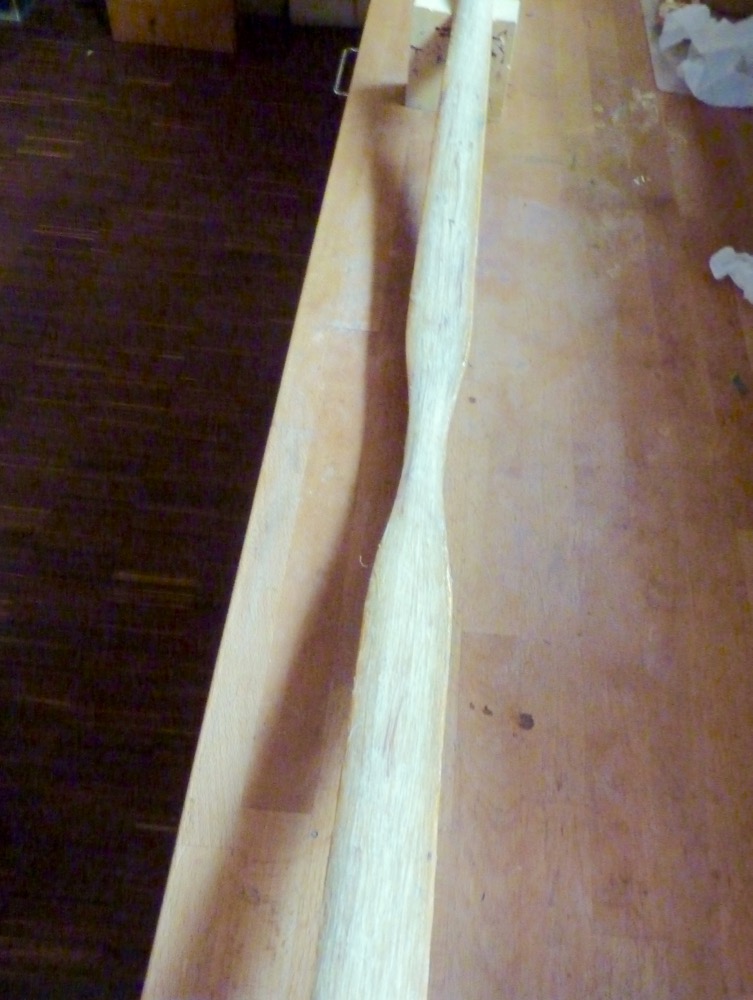
After further 10 days I did wrappings at handle and tips. I secured the parts left and right with tape.
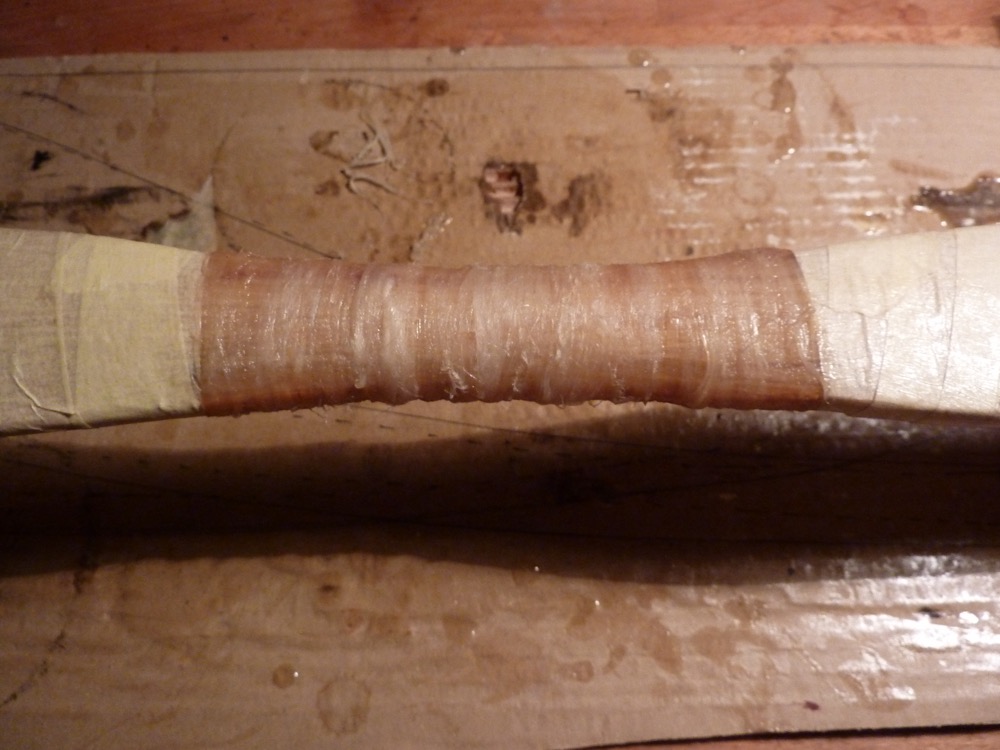
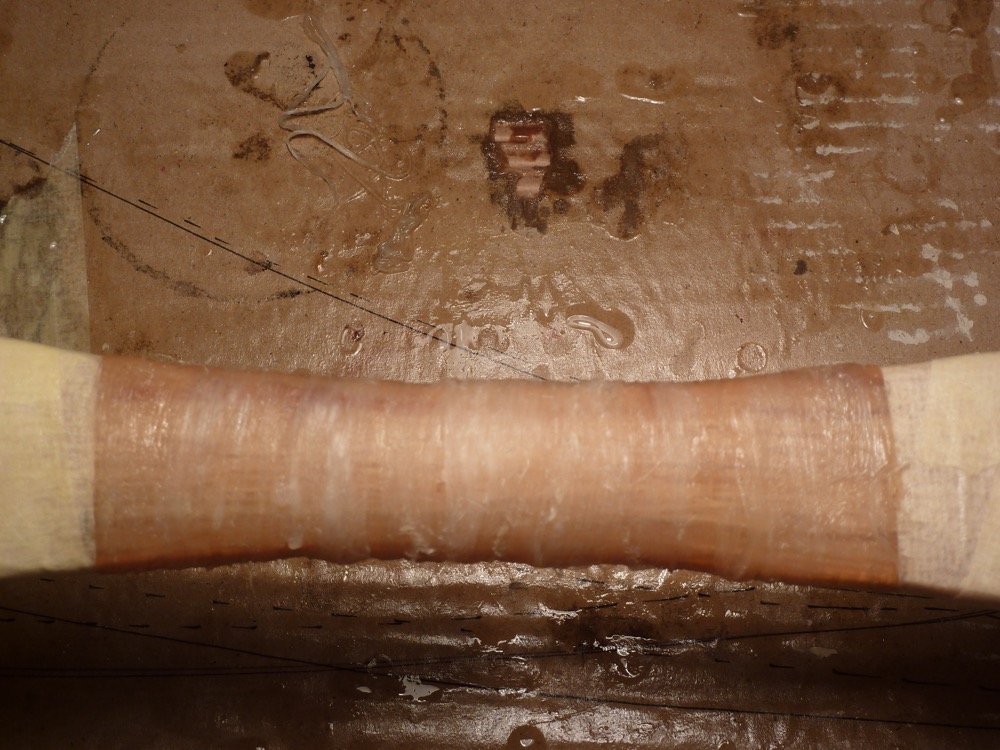
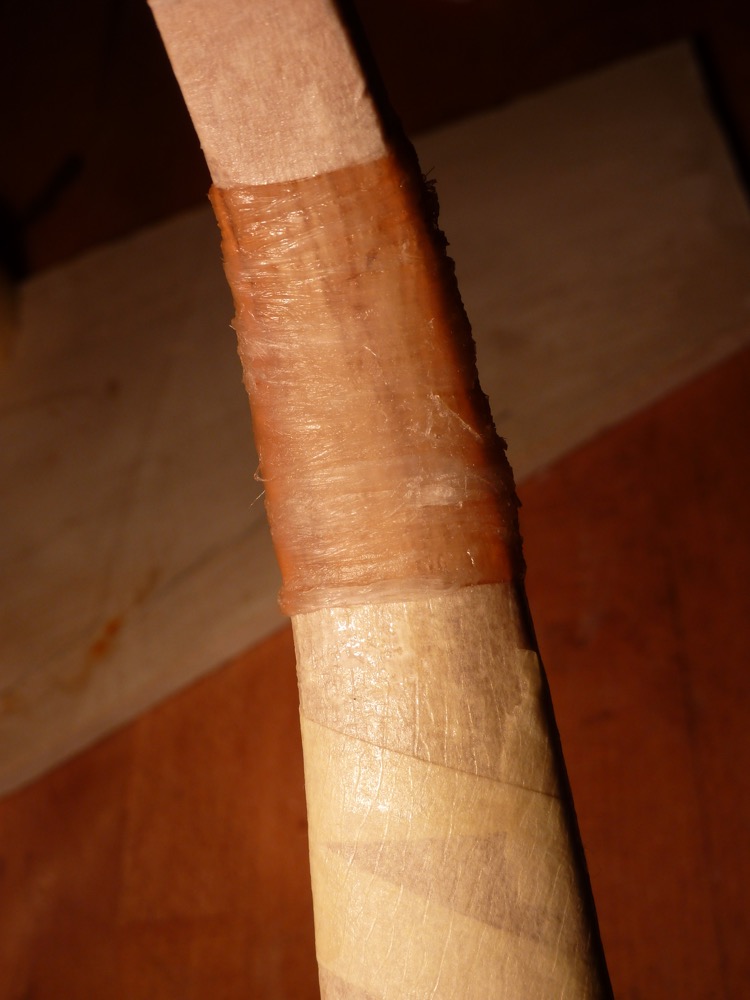
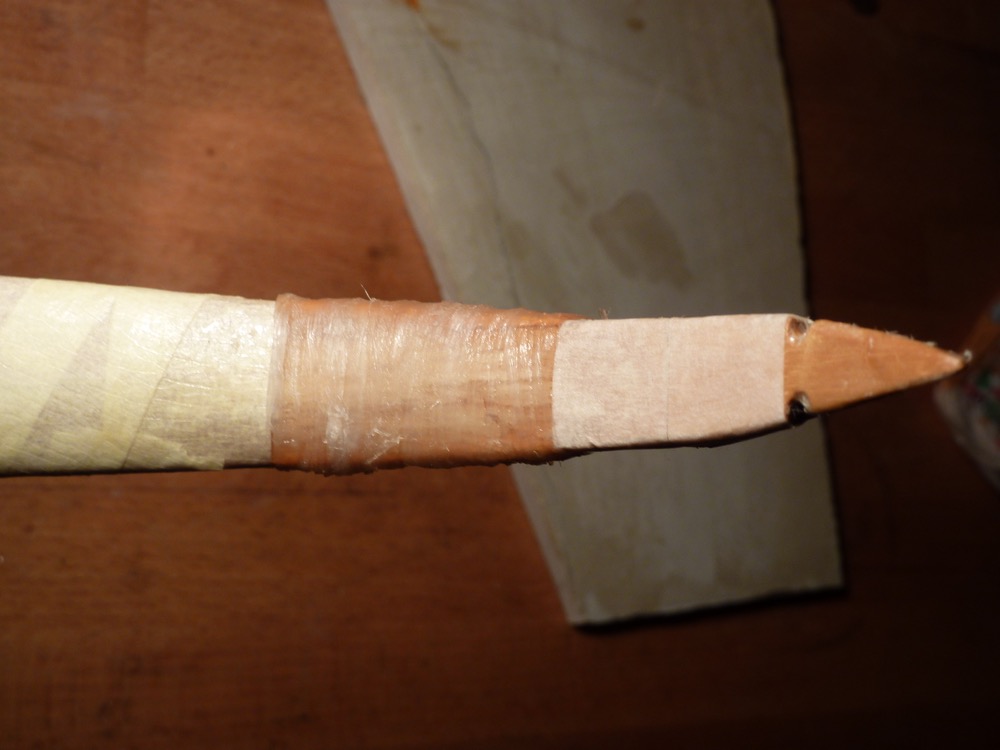
After a week the sinew wrapping has cured enough to go for painting with earth pigments.
I always wanted to make a nw-coast bow. But wasn’t lucky enough to get my hands on a suitable piece of yew. This bow has nothing to do with nw-coast, but it’s a shorty and a good spezimen to improve my skills in nw-coast art. So forgive me when I try to do a nw – coast motive on a sinewed osage with statics. It’s just an exercise …
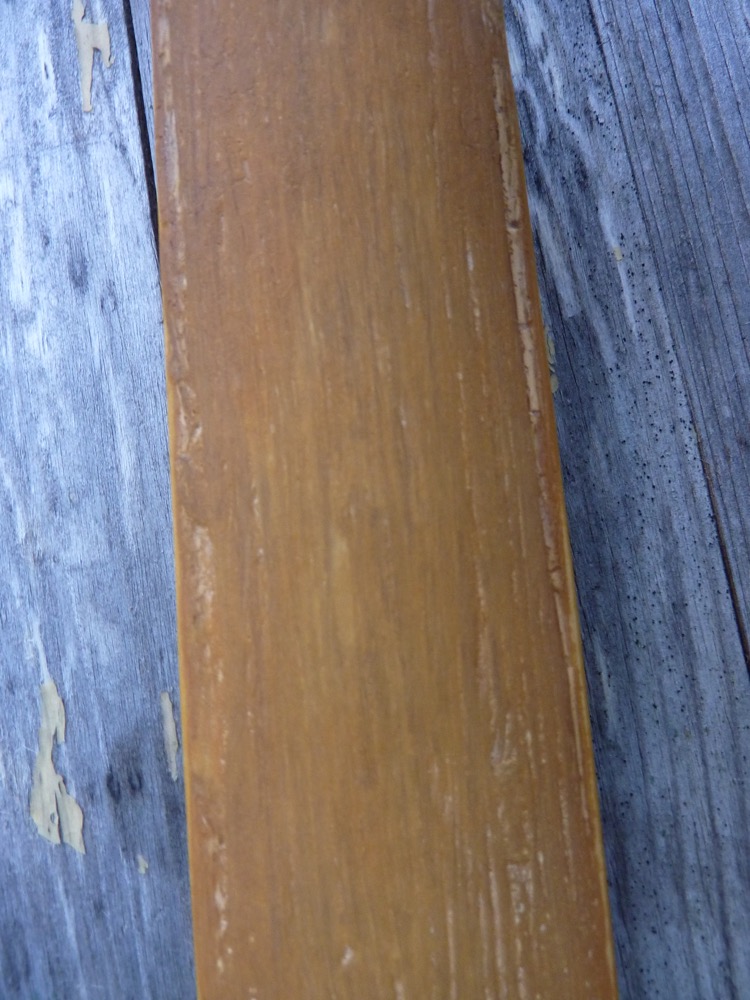
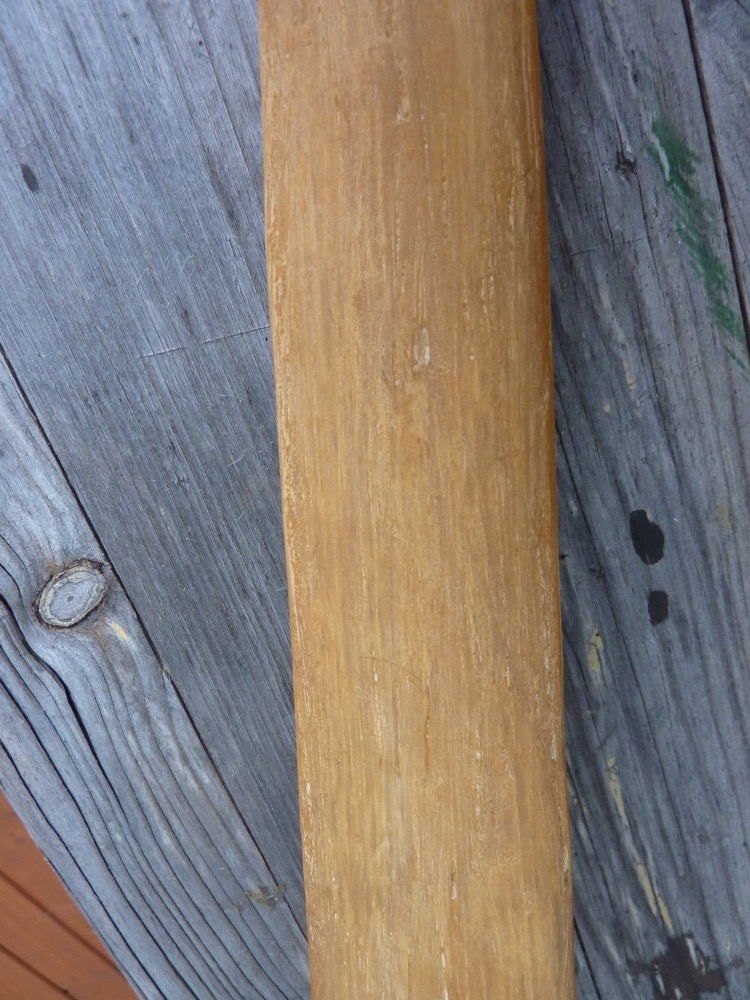
First the whole sinewed limbs get a first layer of bright ocre
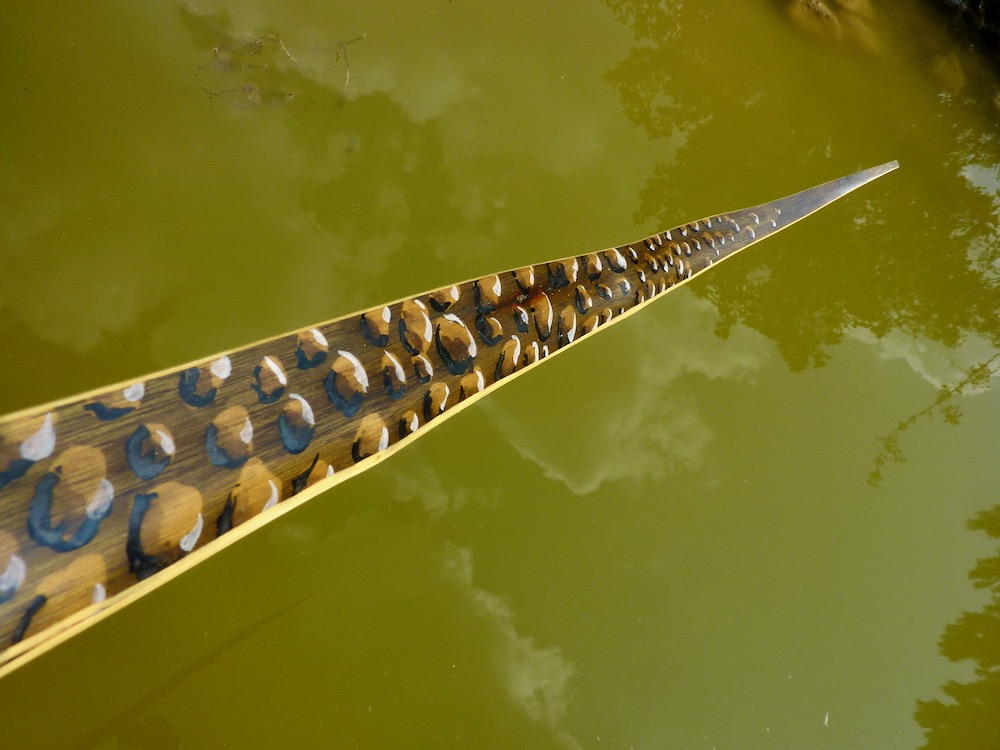
I will try a thunderbird on one limb and a lizard on the other
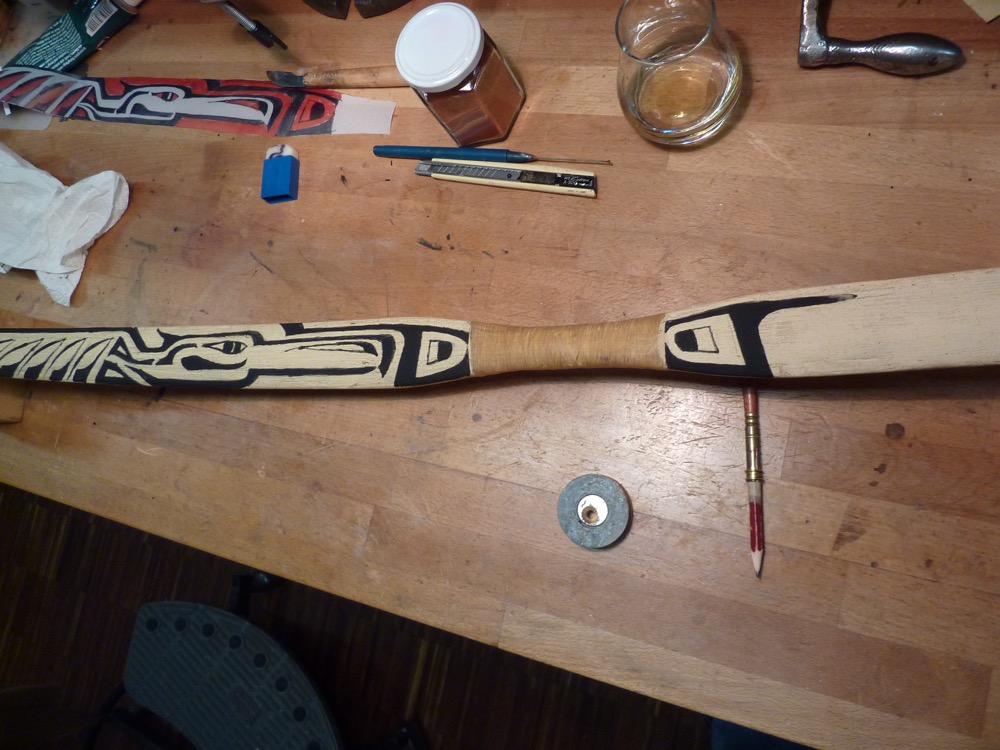
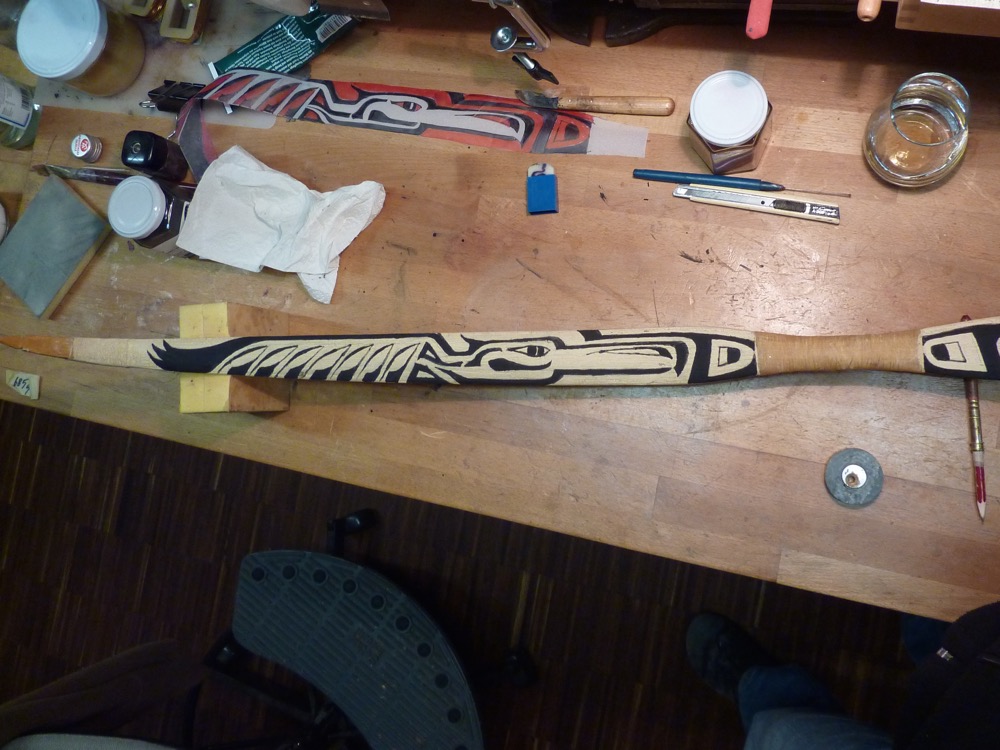
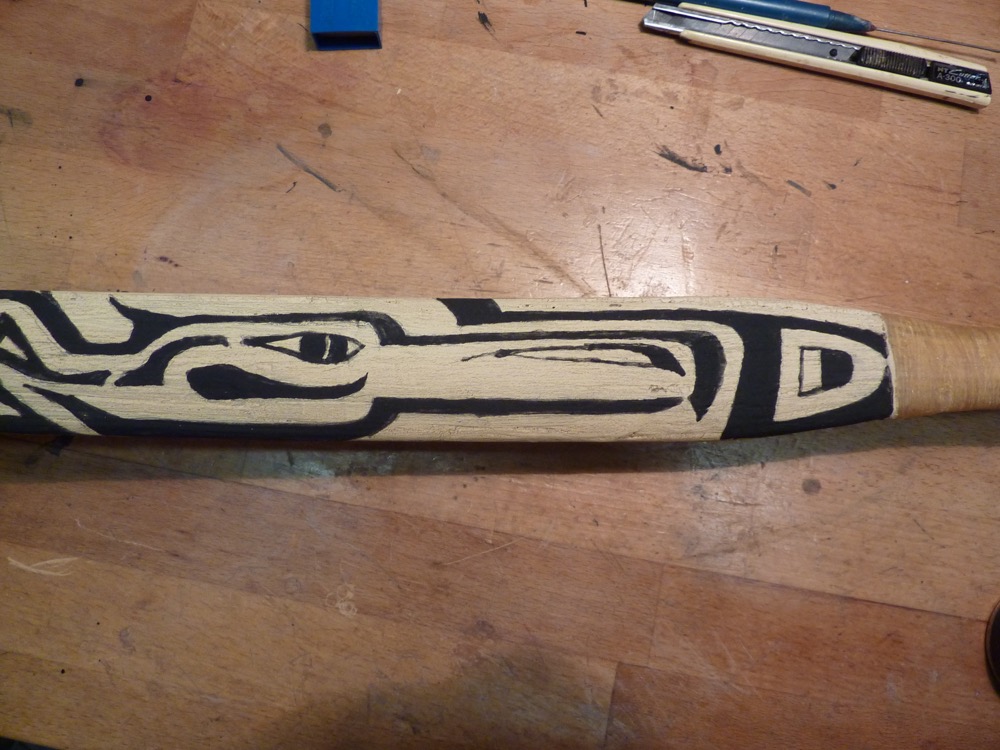
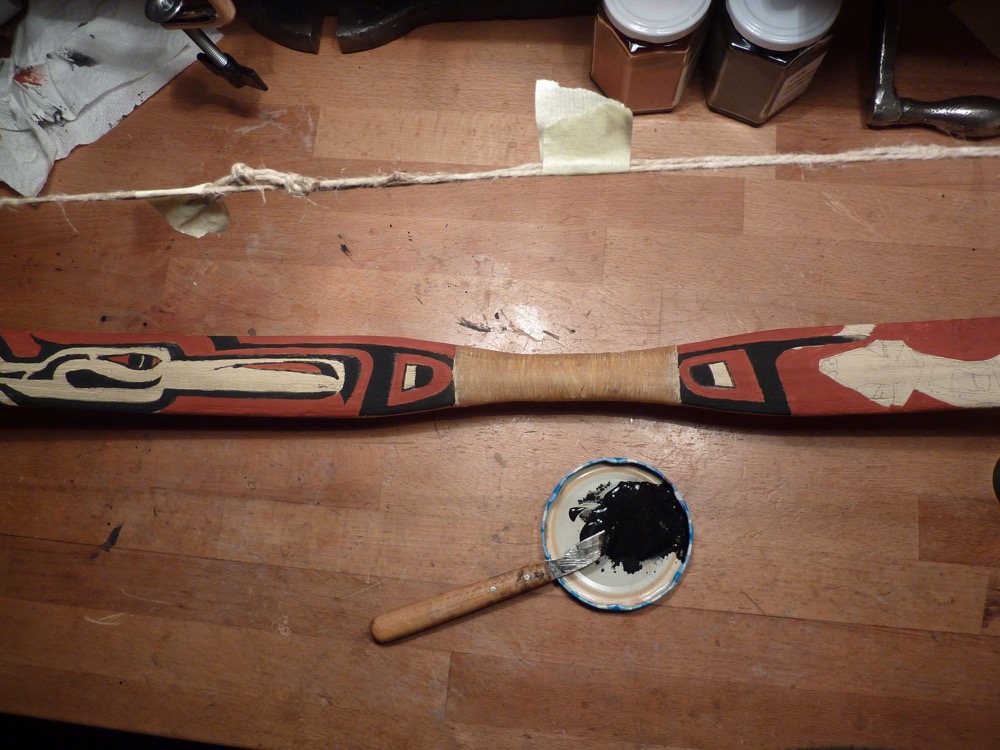
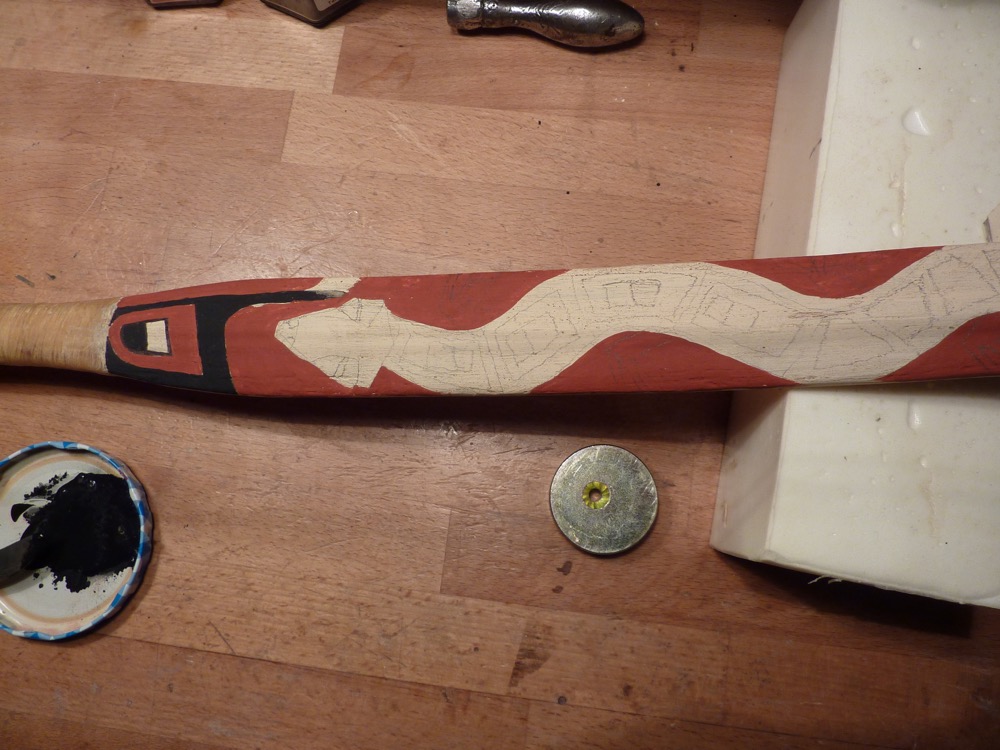
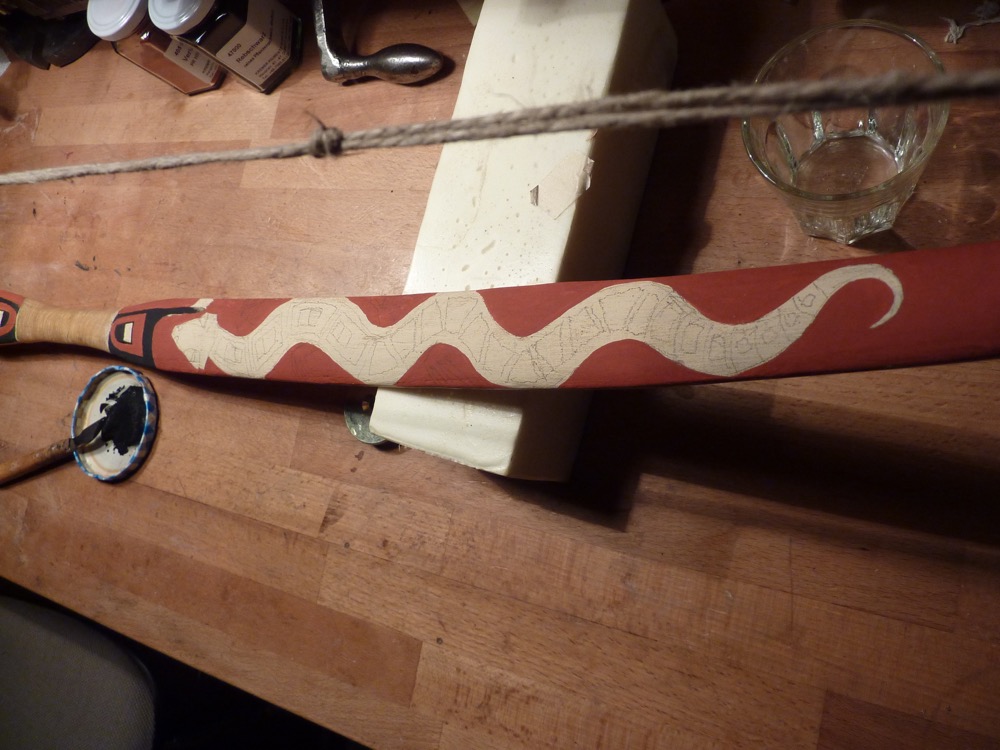
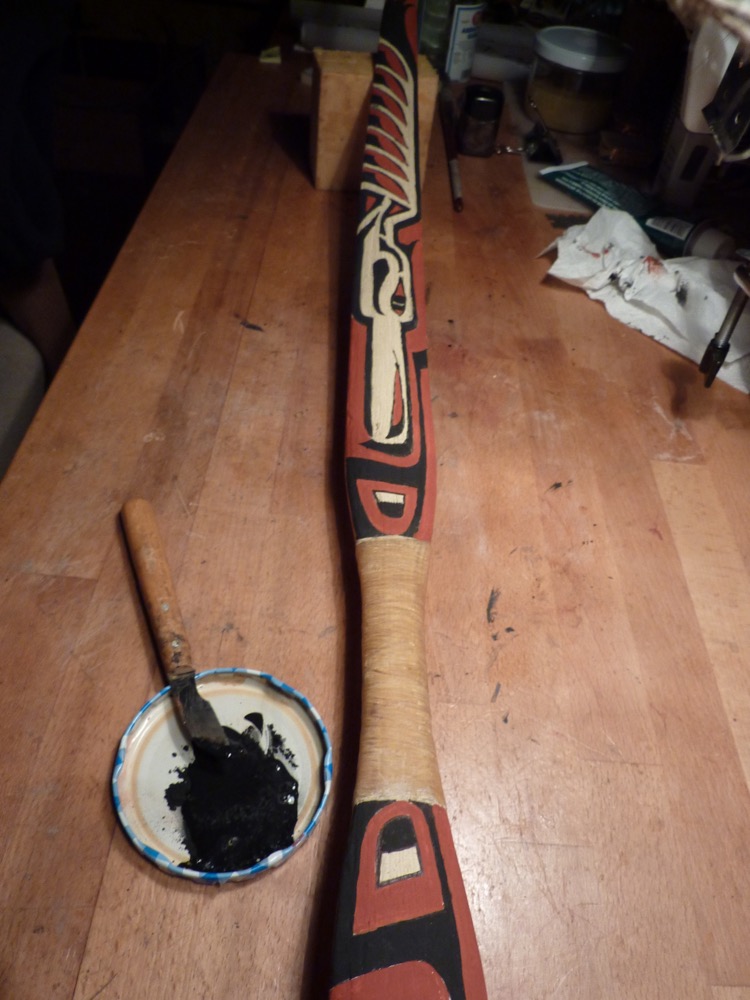
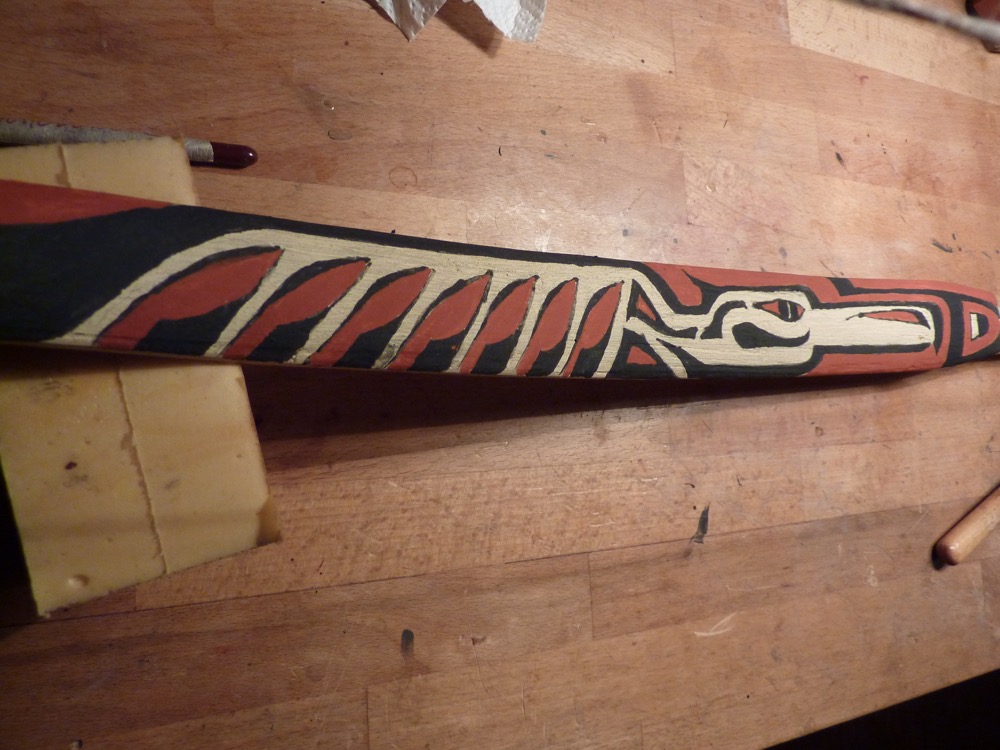

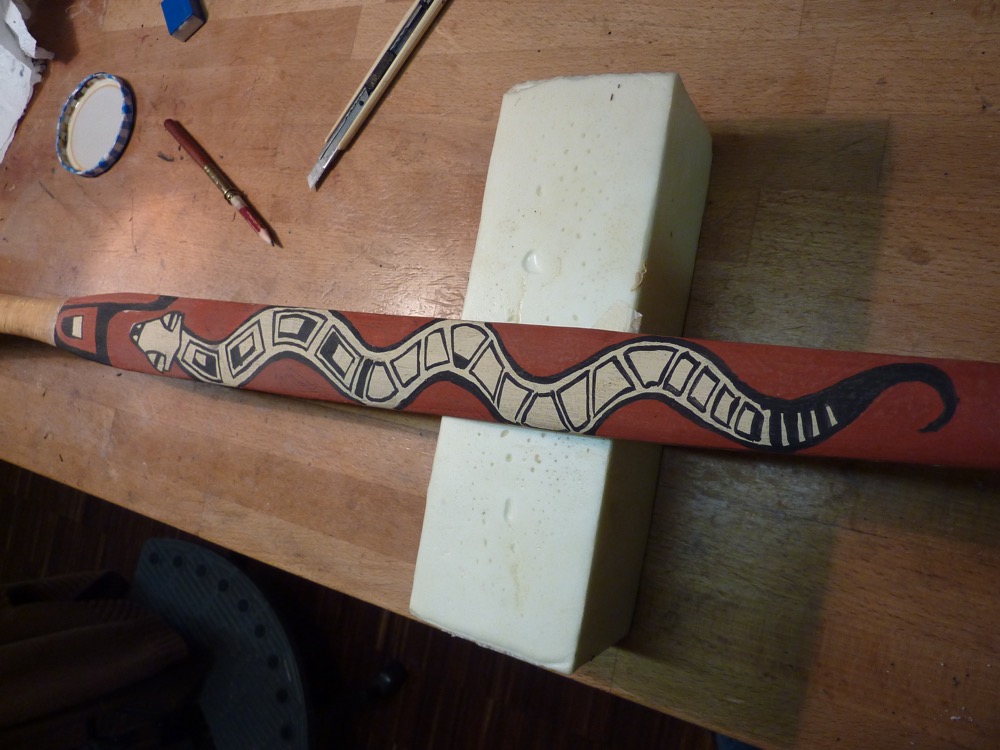
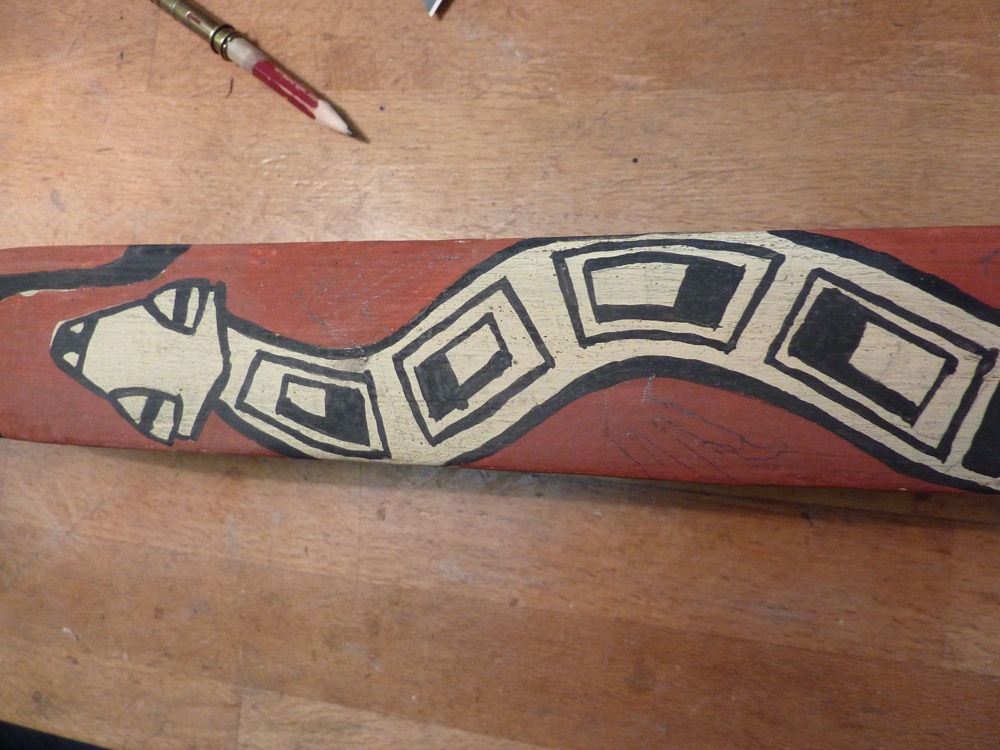
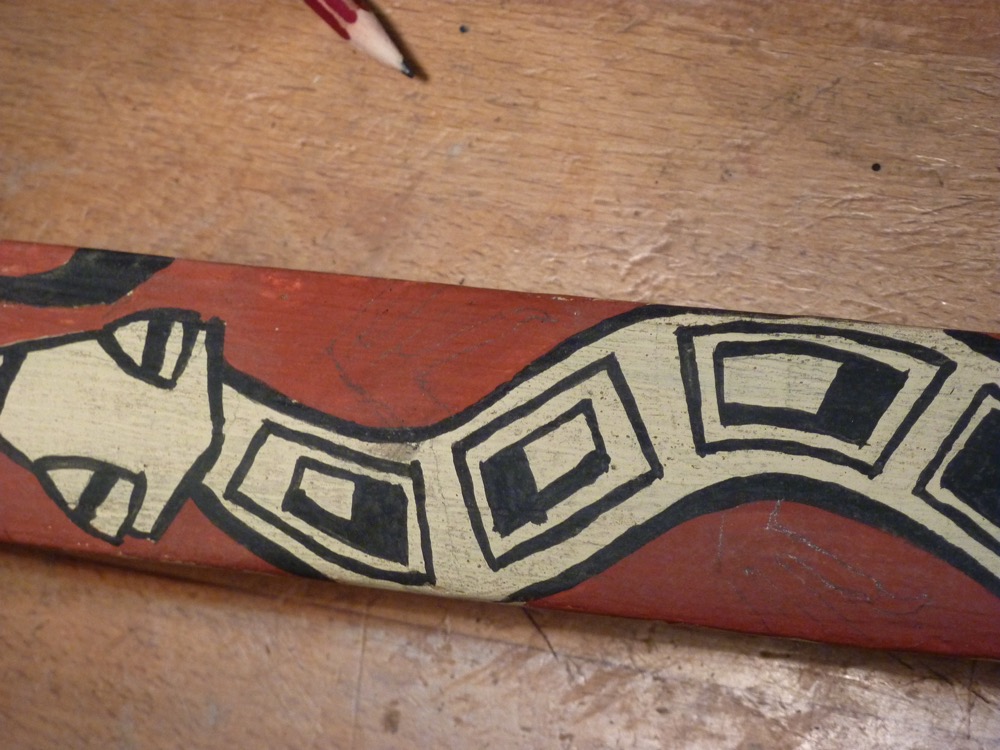
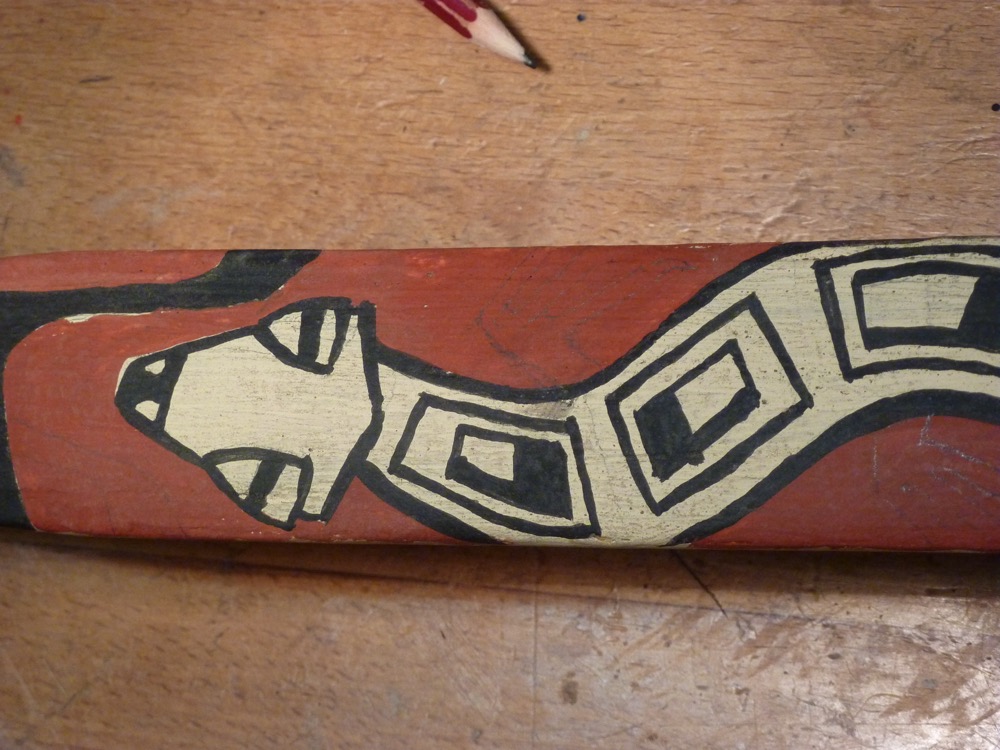
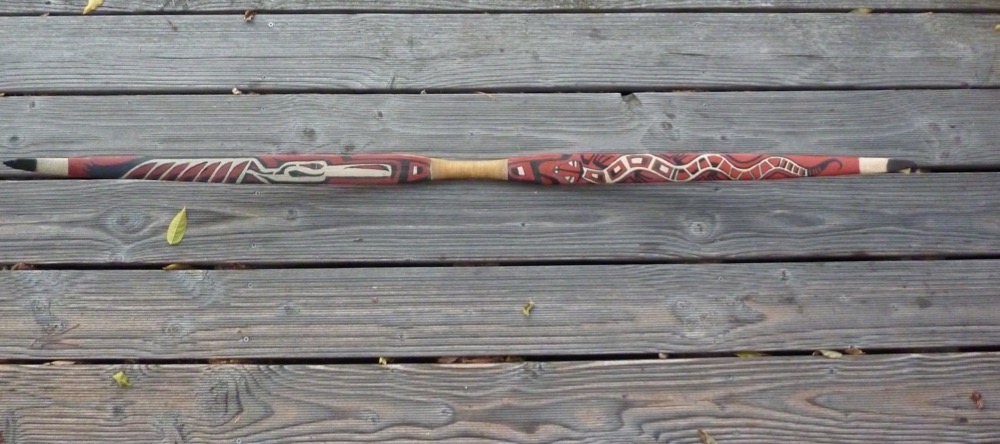
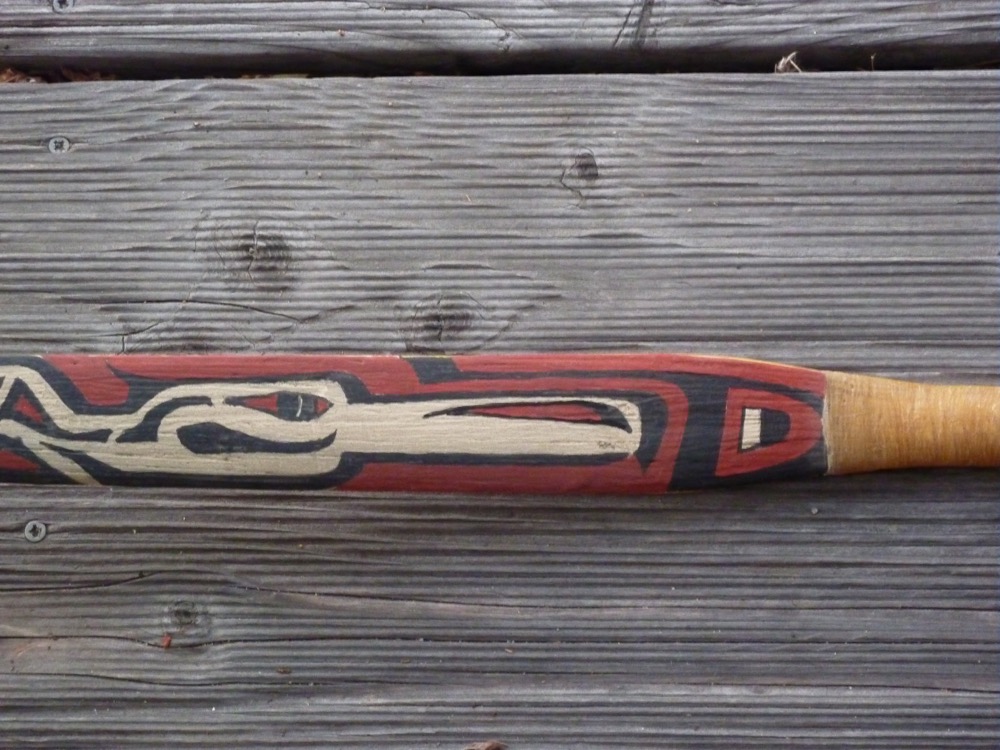
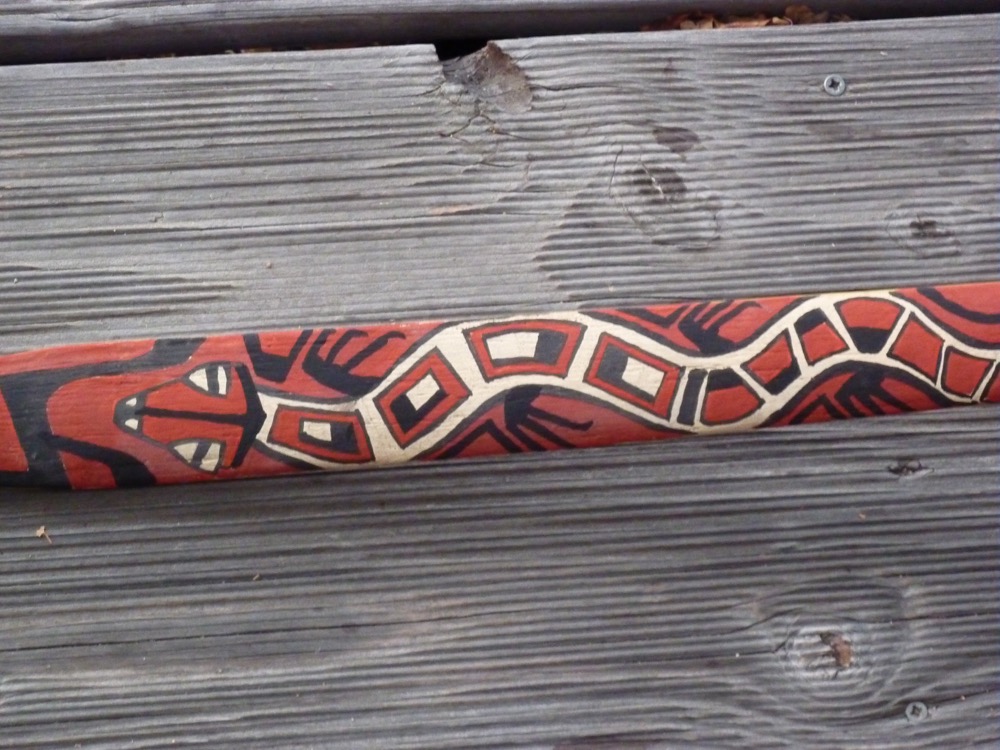
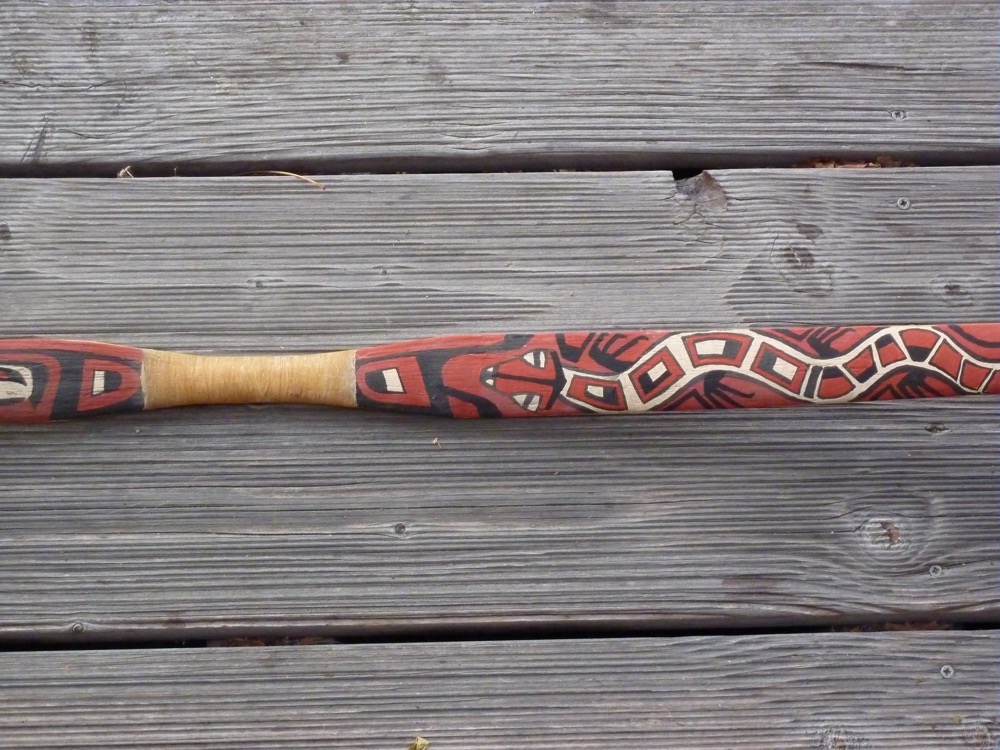
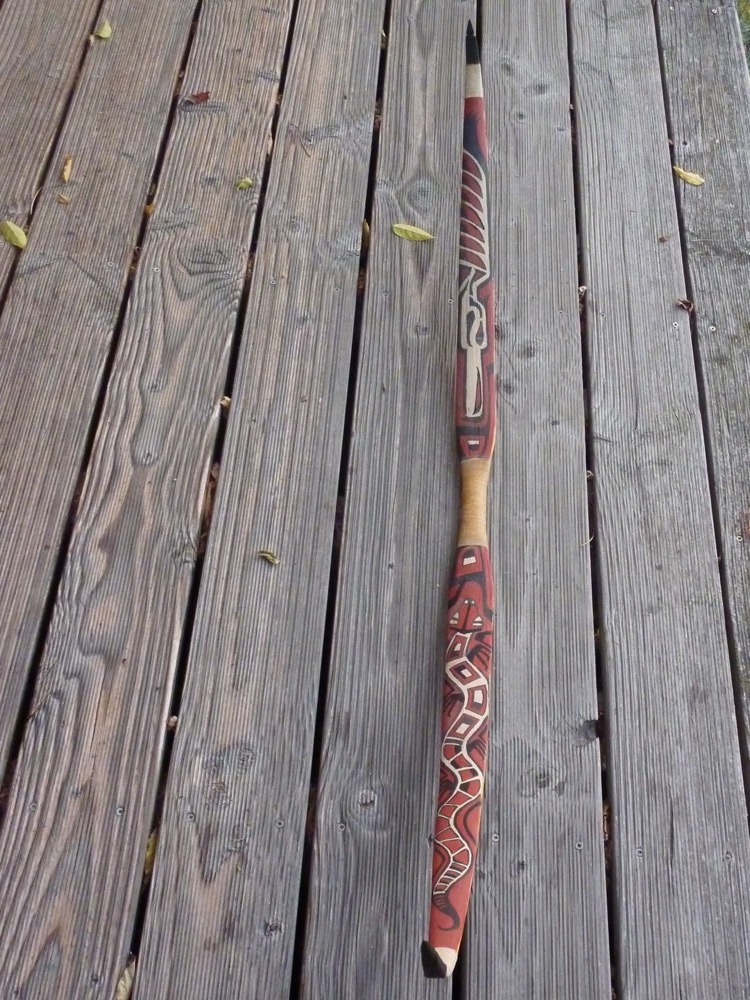
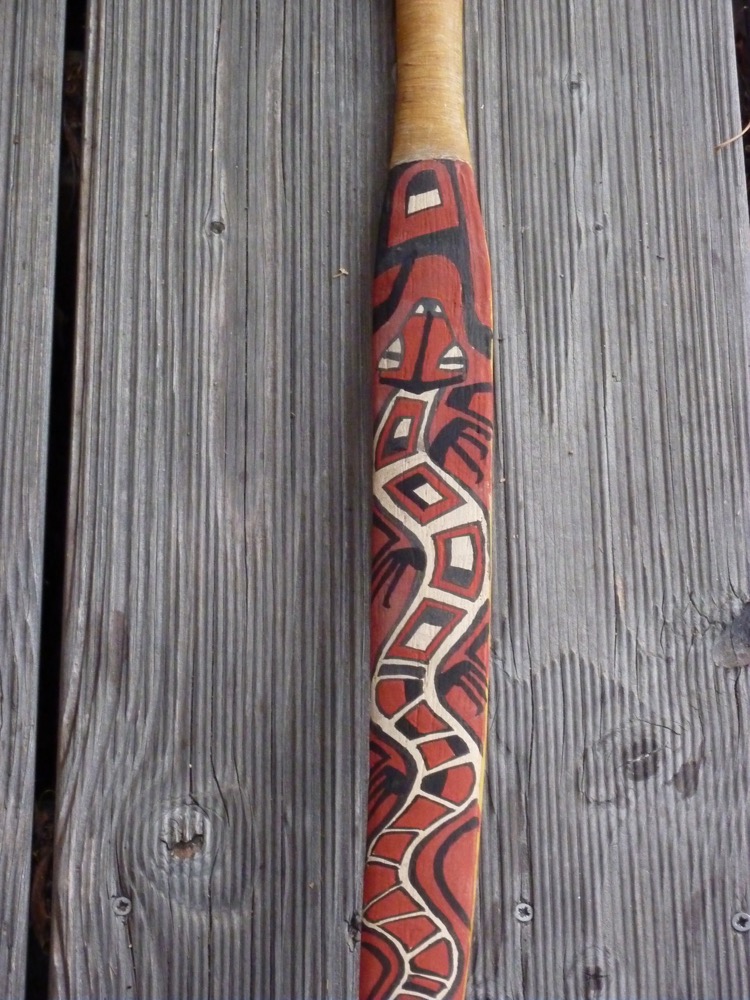
Well, the paint job turned out quite nice (at least for me  ), but looks something new kinda clean. I will let cure the whole things for a couple of days and then go for finish the back with my hardening oil and rubbing in some mud and dark brown pigments. Additional sanding here and there will provide the desired used look, hopefully.
The finished bow is here
2 Comments
Hi! Beautiful bow! I love the art! Would you mind explaining what a “Bright Ocre” is? And also what type of paint you used! Thanks
-David
Hi David,
I use homemade paint, made out of earth pigments + thinned hide glue + a bit of soda. Ocre is an earth pigment (iron oxide) which comes in different colors from bright brownish tone to a deep red. I like this paint, it is the recipe used by our ancient for thousand of years, very autentic.