Osage is rare and expensive here, so nothing to be wasted. I’ll take any stick, no matter how twisted. By now I am very well set up for aligning sticks. A number of home-made tools complement clamps and a hot air gun. Two homemade dampers with different attachments allow damping either an arm or just part of it. The alignment itself is done under controlled conditions, i.e. first we analyze how much movement in which direction is necessary. The process itself should then deliver exactly this desired result.
Several guys asked me to explain how I do string alignment, heat corrections, recurve bending and so on.
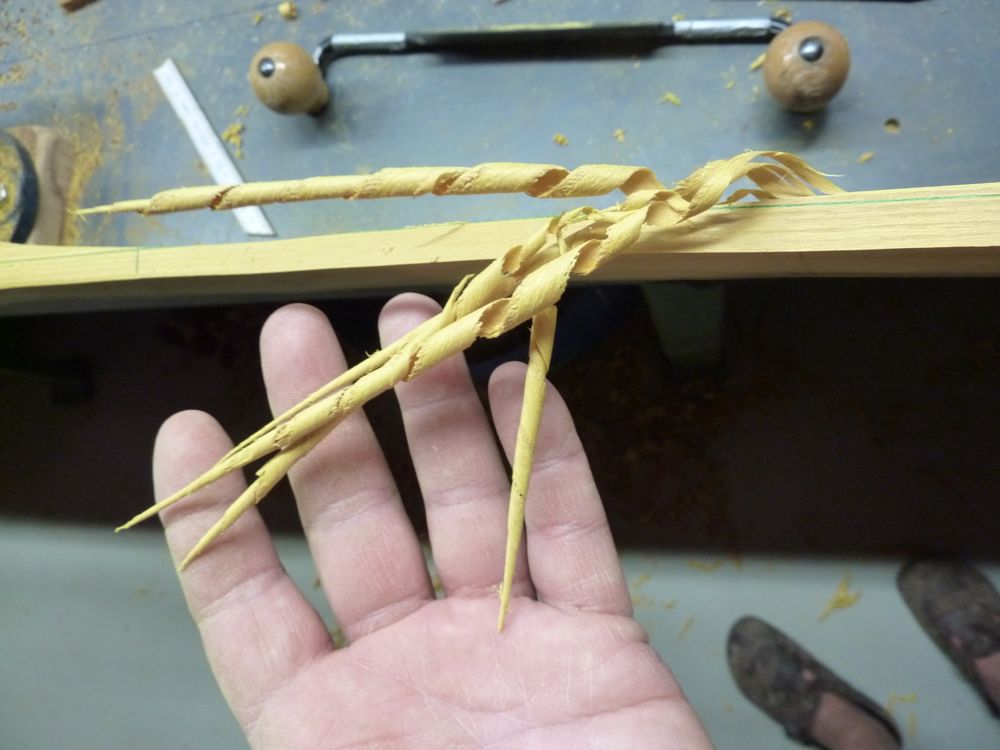
Here I will show some of my methods on a very special stave. This specimen is very fine ringed (some about 1 mm) and it was already hard work getting the ring chased. And this stick has a lot of imperfections (at least nobody wanted to buy that stave, hahaha).
But, in fact, it is a character stave, it’s osage (best bow wood ever) — so let’s make a nice character recurve …
What I did so far:
– the final ring is chased
– the handle section is determined, using a grain wiggle from a dead branch for arrow pass (being a righty this wiggle also determines upper and lower limb)
– the stave is cut to length, design will be asymmetric
– the handle is roughly worked out, very little wood here and at the fades (dangerous narrow)
– width and depth of the limbs are roughly worked out, this shows much better the imperfections of this stave
– sides and belly are cleaned with the scraper for a better view
– the fades are already symmetrical worked out (front profile), the wiggle caused the serious fragile looking front
let’s do the analysis:
1. There is a twist in/near the handle of about 45°. little chance to bring that out completely by heating (dry heat) or steaming. For better comfort I will build up the handle with cork or leather
2. Upper limb leaves the handle reflexed, lower limb deflexed, both with an opposing twist. I will try to steam handle and fade section to equalize deflex and reflex and hopefully get out some of the twist.
3. Both limbs are more or less a saber (front profile), the lower more and with a definite kink.
Steaming the limb and flexing on a caul and induce a continuous and symmetrical (balanced) reflex or flip (side view).
4. The stave has an uneven, inhomogeneous crown, I will react on the belly side. Where’s a mountain on the back, there has to be a valley on the belly. In other words an even thickness.
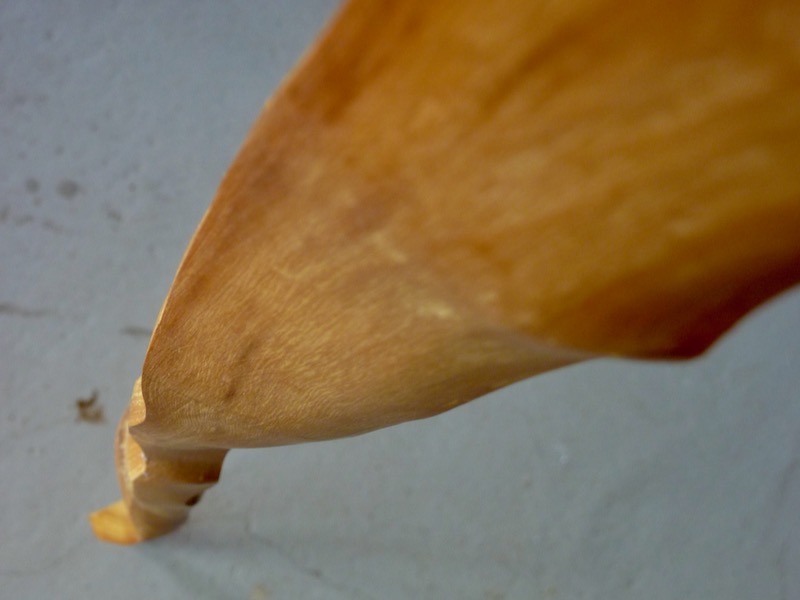
5. At arrow pass (I’m a righty) is a torn out grain / splinter, coming from splitting around the formerly branch. I can not rasp down more, it’s already extreme thin (narrow) there. So the only thing which came in my mind was to glue on a piece of horn or bone as arrow pass to hide that failure and get a pleasing surface. Maybe I just try to glue that thing with super glue or epoxi.
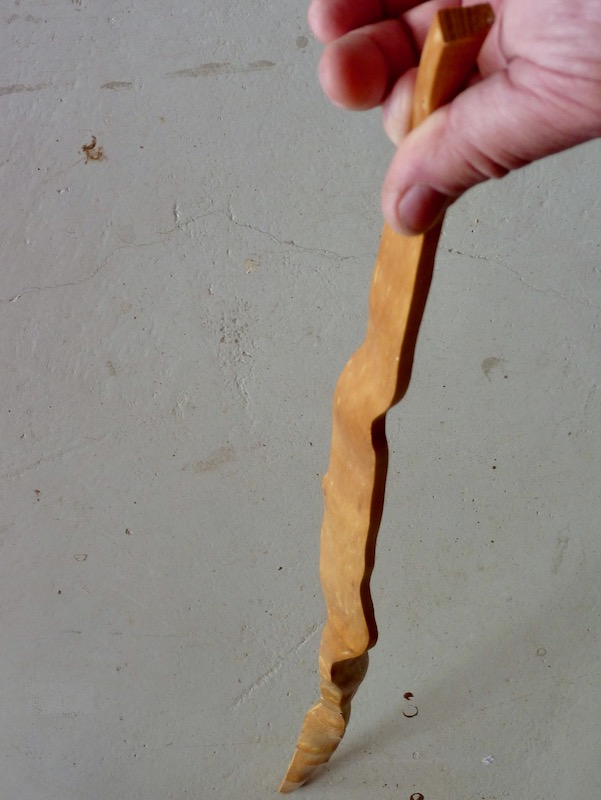
6. The stave has a twist of about 80° from tip to tip.
Maybe a good amount of corrections could already be done with No.3.
If not, I will do additional sessions with the heatgun.
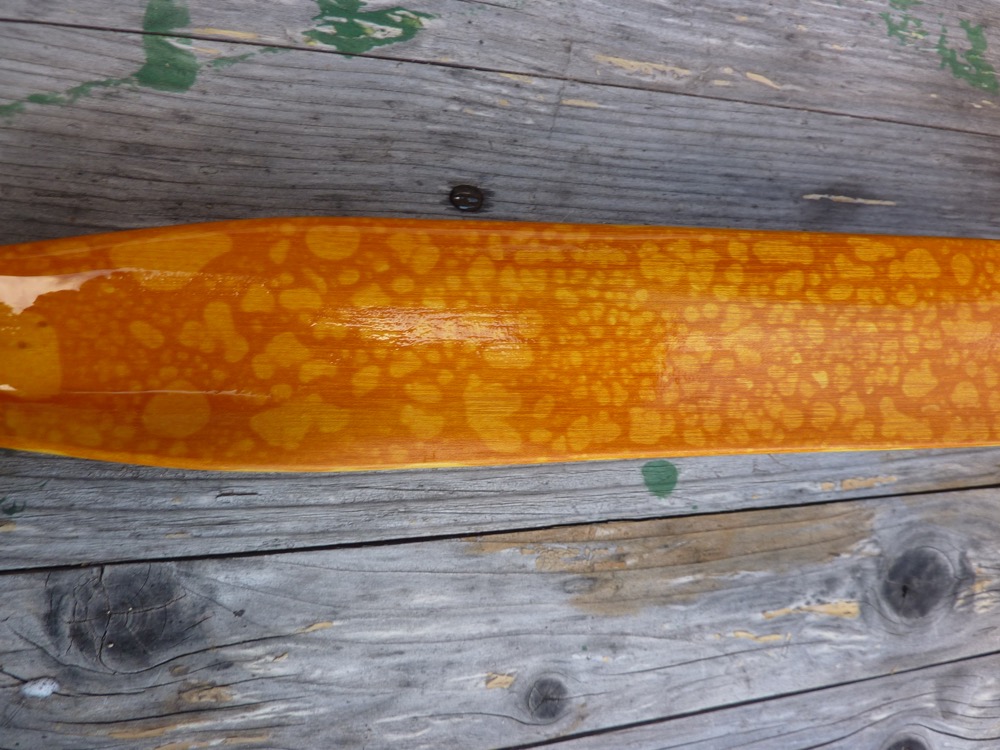
7. The stave has, as already said, very fine rings. Those fine ringed specimen get a really great look when fumed.
I will do a fuming session of about a week or so.
Hard to show all the wonky up and downs, sideway bends and so on in pics, in reality it looks much more dramatic
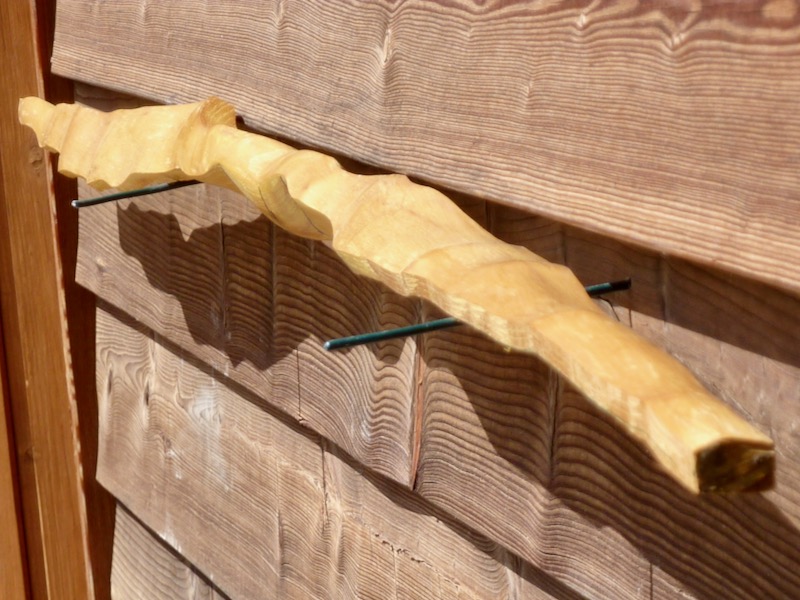
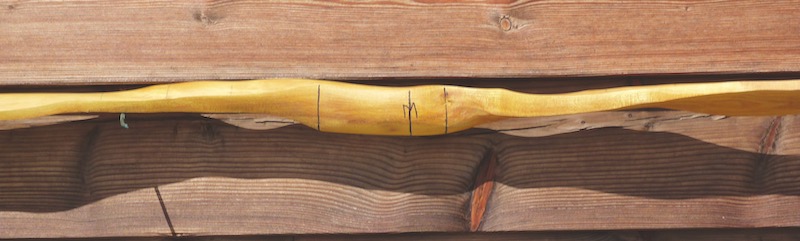
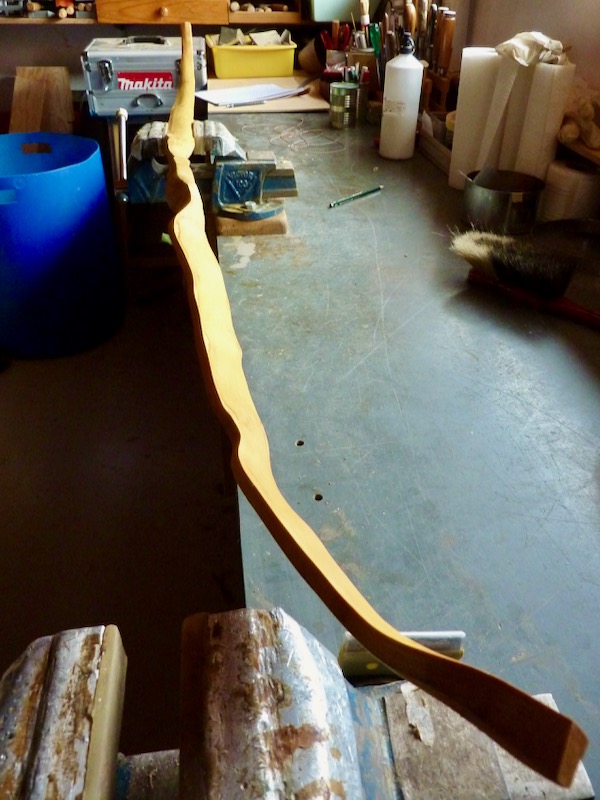
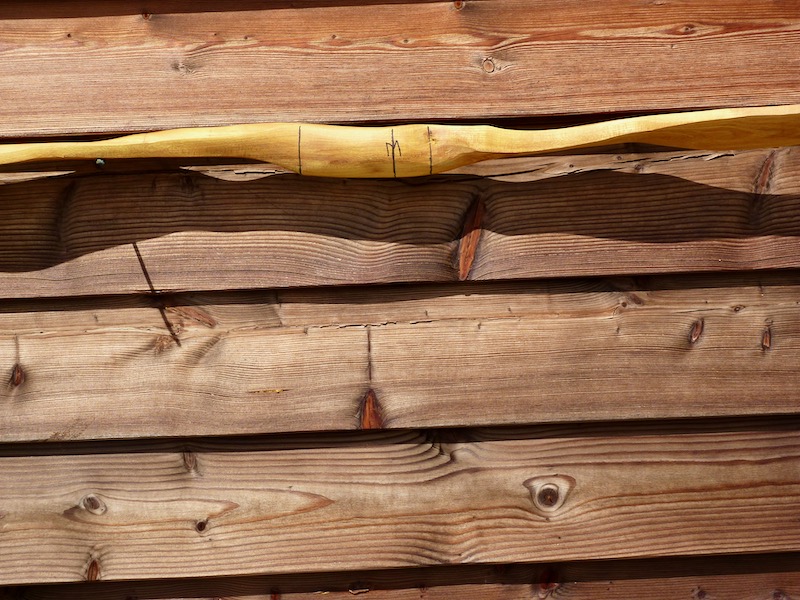
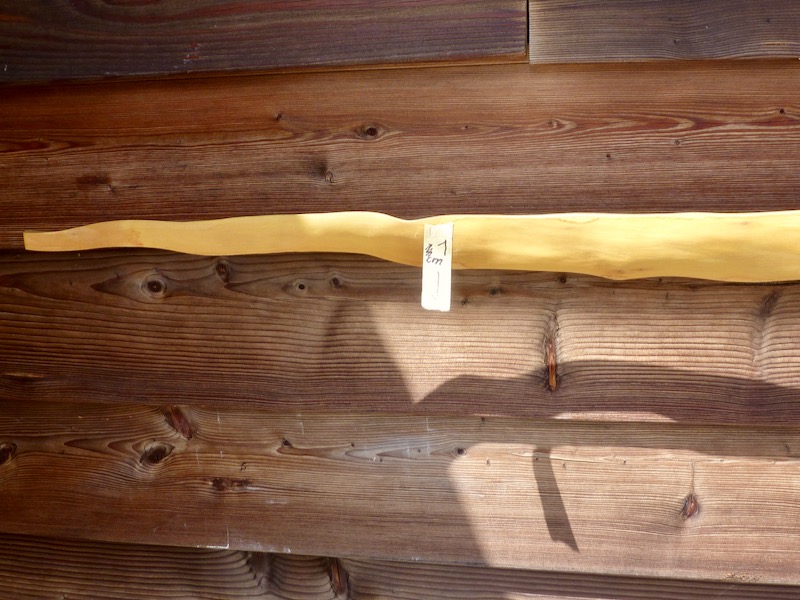
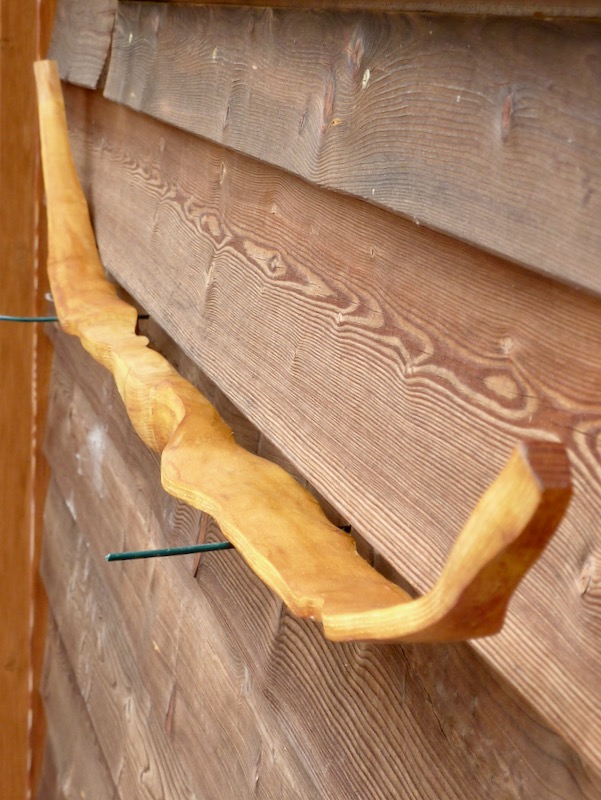
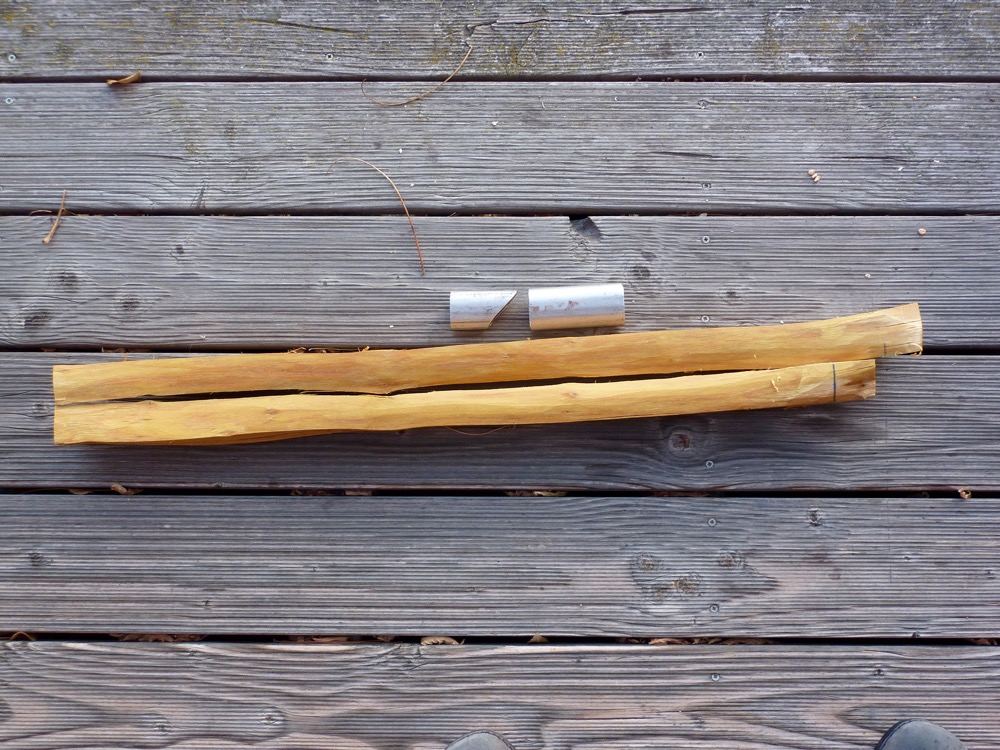
Here is stave/blank before corrections
looking down from lower limb
the wiggle determines handle position and what is upper and lower limb, the stave is very narrow here; I leave the splinter first; bow will be asymmetrical
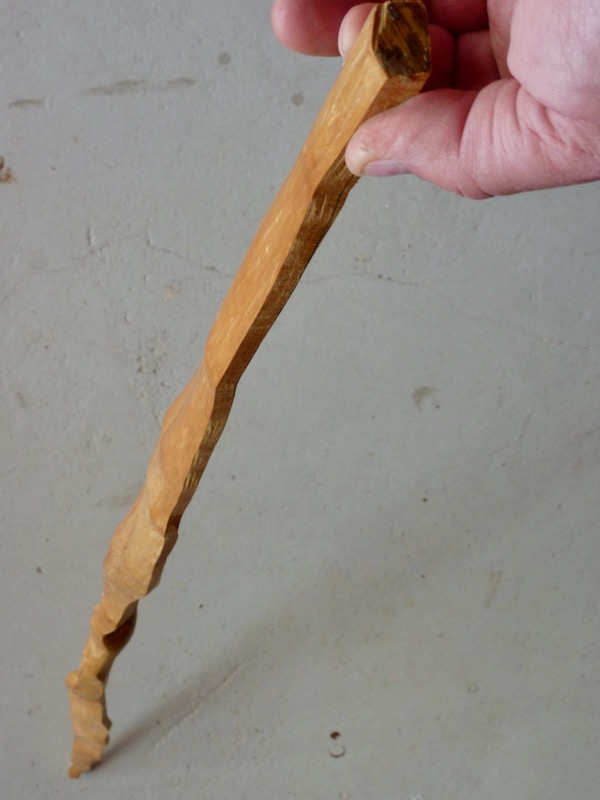
looking down from upper limb
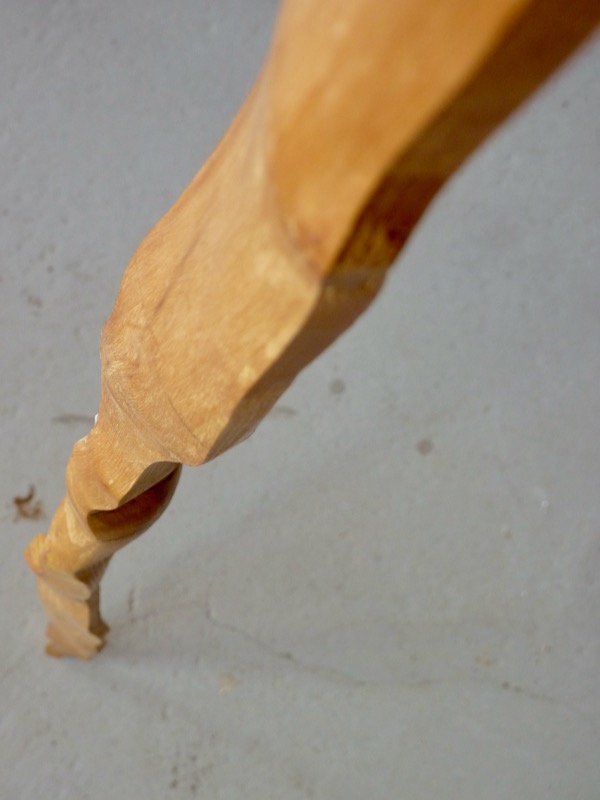
looking down from lower limb, this tip is mighty curved sideways
humps and uneven crown
looking down from upper limb, twisted and misaligned
twisted and misaligned, upper limb is right
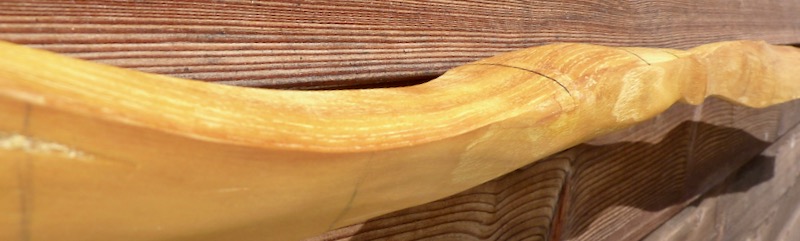
deflex on lower, reflex on upper fade: both twisted

upper limb is right; the back shows the arrow pass (wiggle); the back at the handle has a sideway angle about 25° (I will build it up to an O-shape with cork)
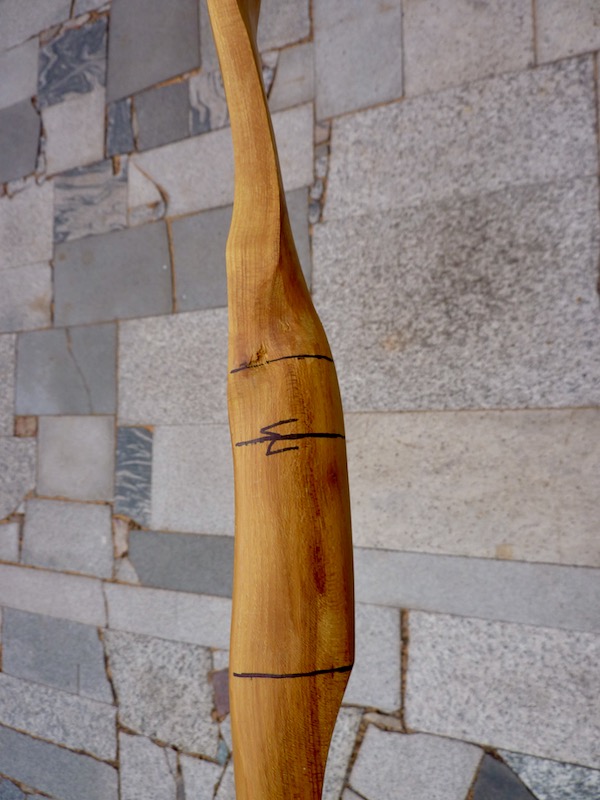
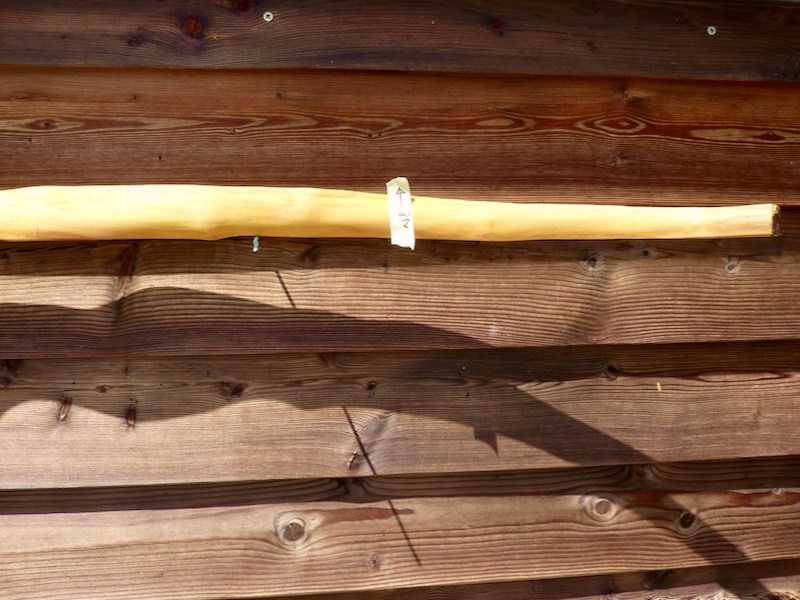
Also a view of the handle section, pencil marks (at the right half) shows the handle position

good view of the total twist of 80°
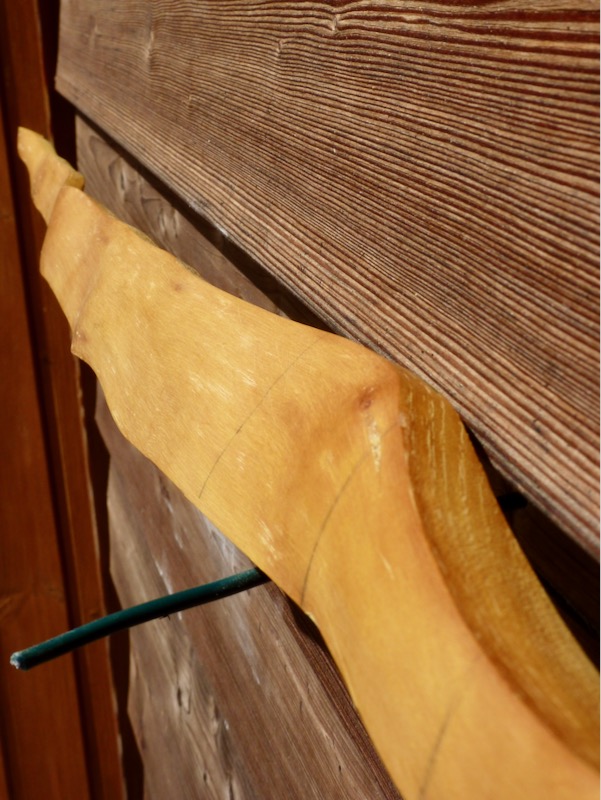
Lower fade and limb, the grain makes a side curve due the knot; the pencil marks are position marks for comparing lower and upper limb width
The sessions:
First session: steaming the outer ⅔ of the limbs and bend in the recurves on a caul.
I do this always in two steps, every limb gets it’s extra caul. (I have made me a 5 or 6 different curved cauls, all as a pair). This is much more handy and maneuverable and you have more time for setting clamps on the right places.
A good amount of twist could also be corrected in this first session, but there is still a lot of it present.
Look at the direction of the cauls, about 50° remaining twist. Lower limb is in the foreground
Another view, upper limb in foreground. Look at the hump, two clamps reduce the amount, but still a lot of character is there. Good visible, the most of the twist is near handle and fades, and much more at upper limb.
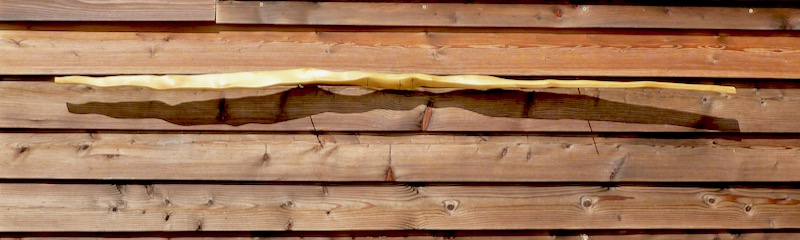
I have steamed the recurves in the night before. Here it is naked the day after, lower limb in foreground
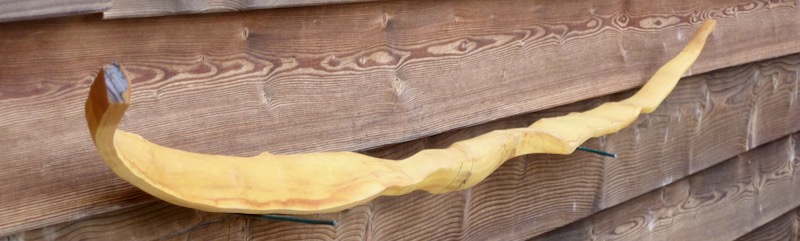
From this perspective already looking like a bow. Upper limb is in foreground
Upper limb is at left side, you can see the back, handle and lower limb are more or less visible in side view.
Here is more dramatic pic, lower limb in foreground.
Second session: Heating out the remaining twist in the upper limb with the heatgun.
This twist is mostly located at the end of the first third, so I concentrate the heat at a 3” long area. Because the stave is already near bow dimensions it shouldn’t be a great problem.
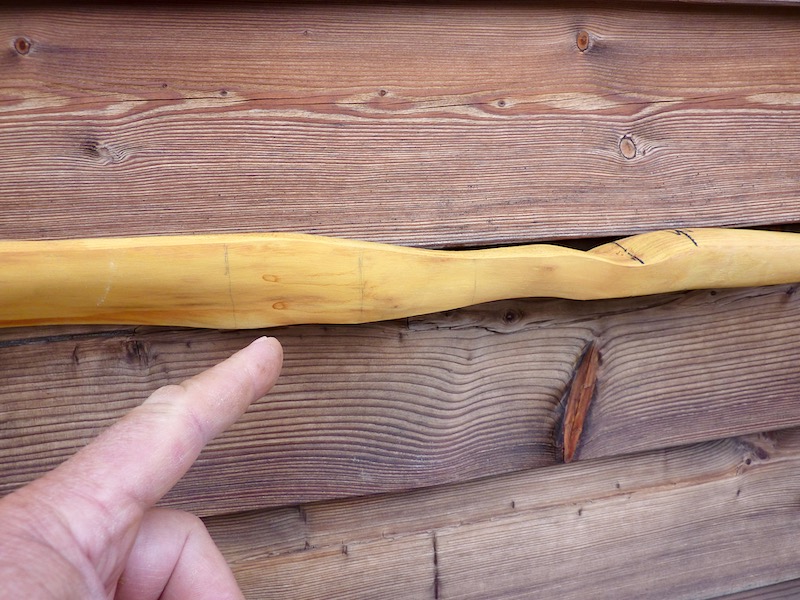
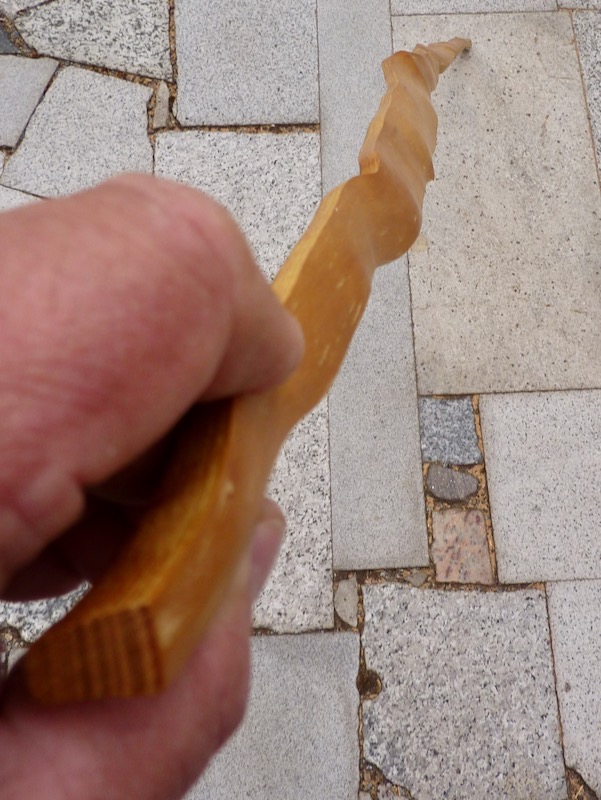
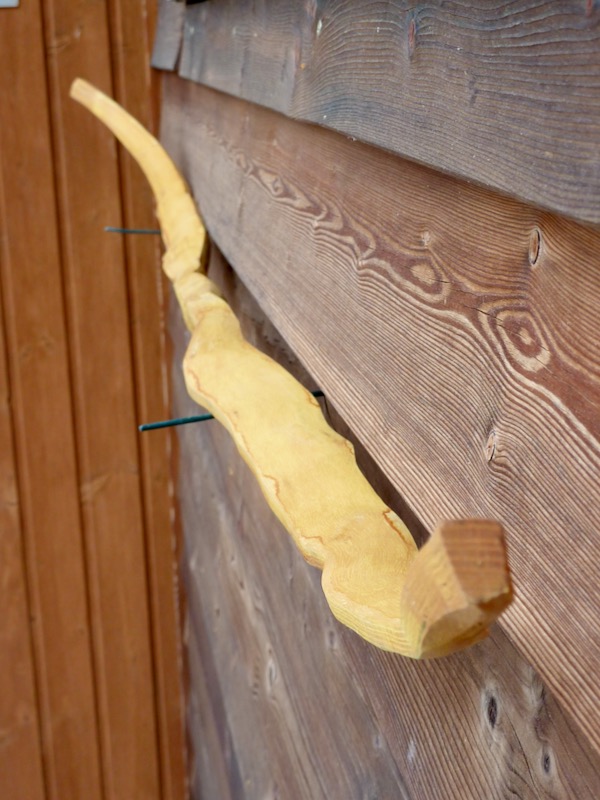
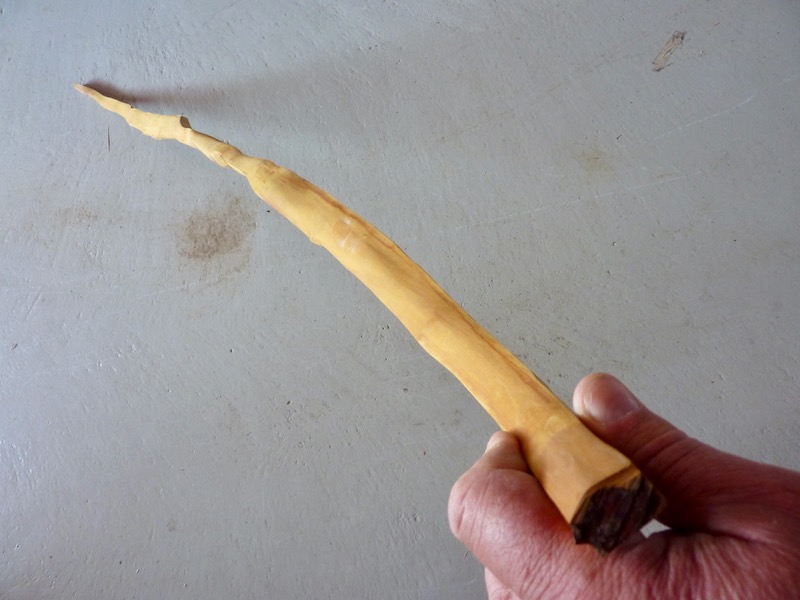
my index finger points at the to be heated portion on upper limb
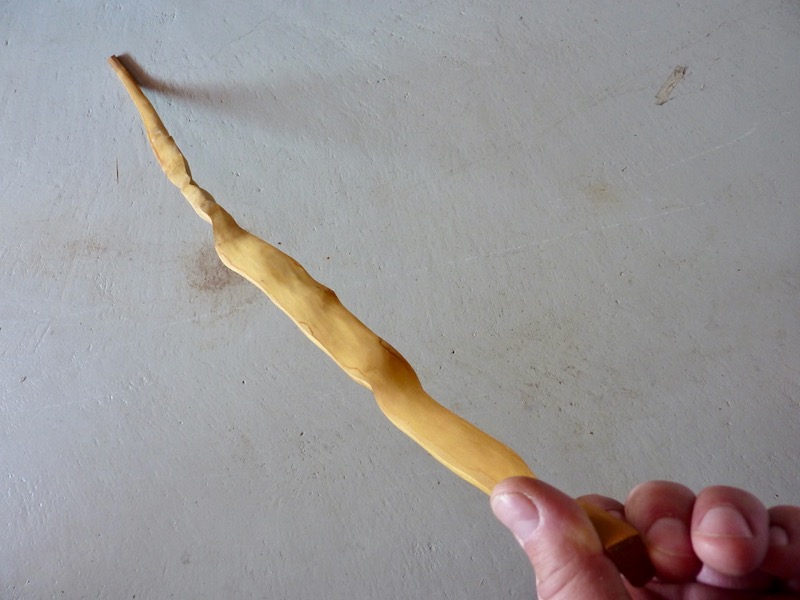
Side view with a pronounced hump near the upper fade, here is the most twist concentrated. I’m aiming for reducing the hump and untwisting at the same time.
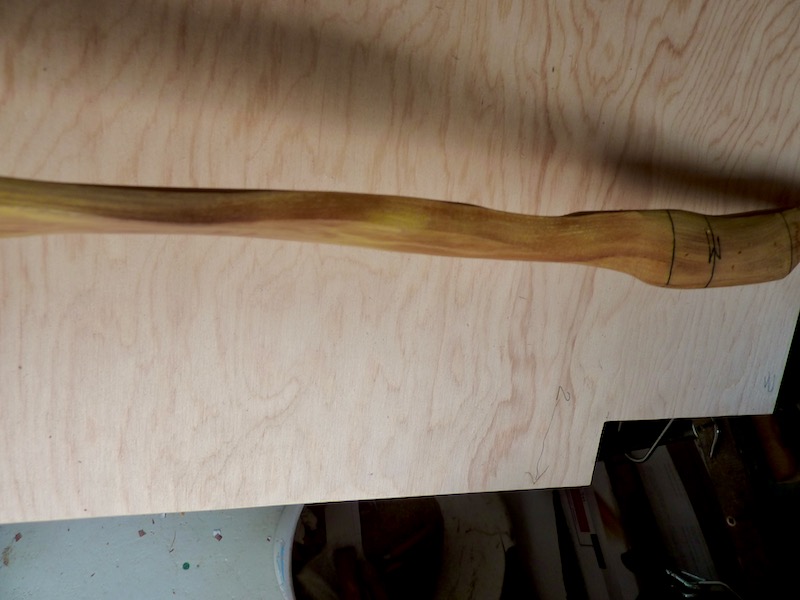
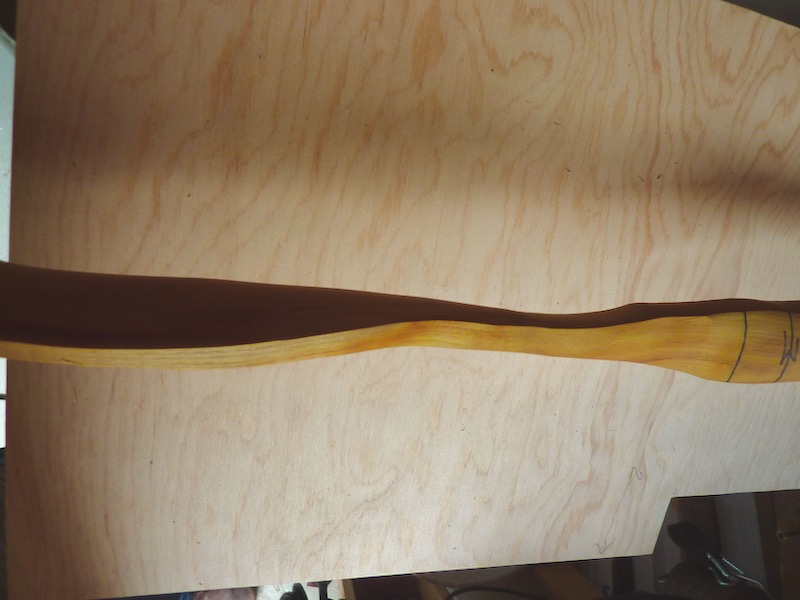
For comparison, this is the pic after heating. Looks not to bad.
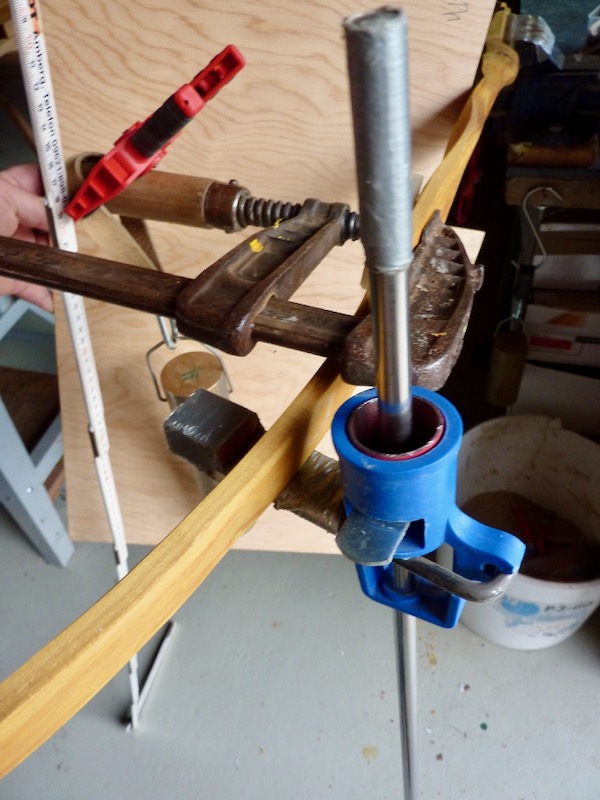
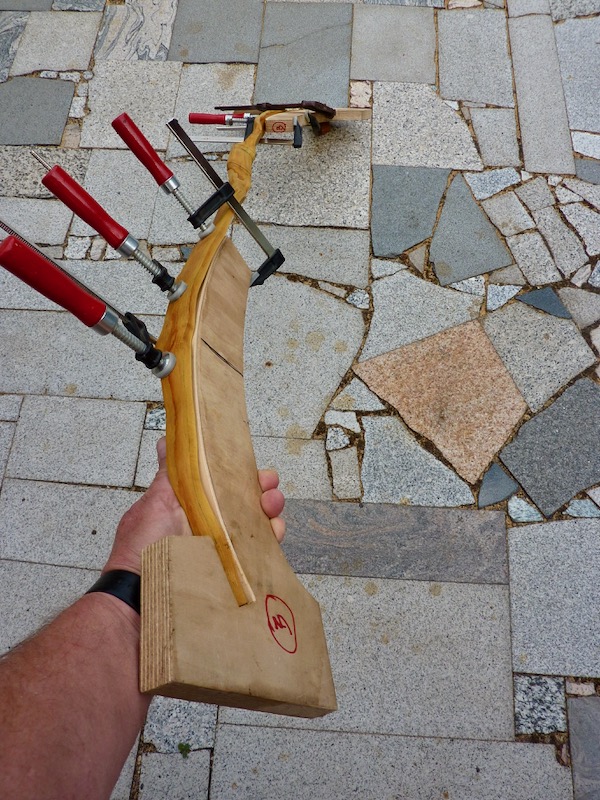
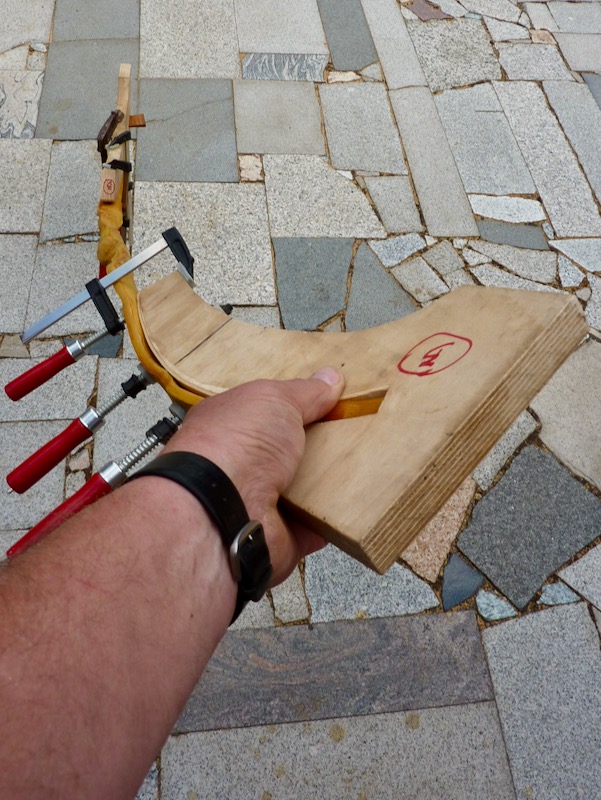
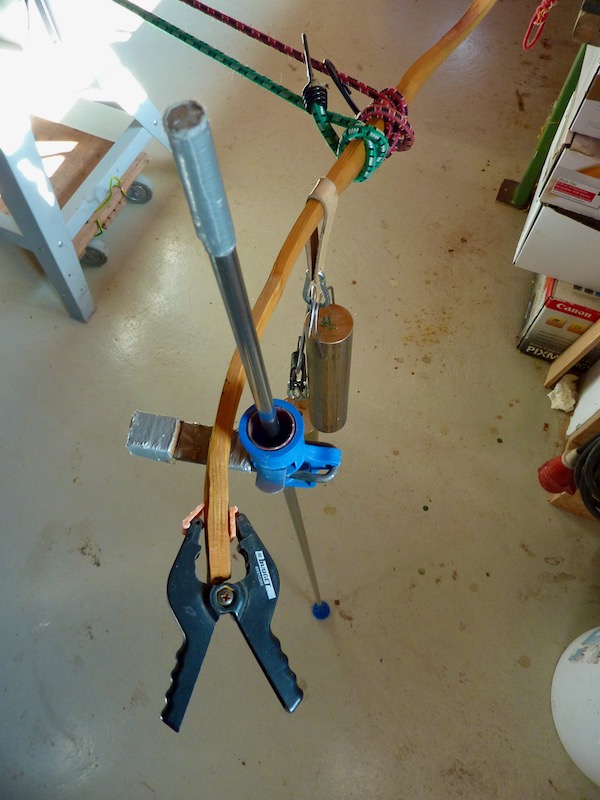
This is the set up, for doing it. This pic shows already the correction. The bow is clamped in the vice (background). The big clamp is mounted on the limb with a rubber underlay at bow’s back (as it is already the final ring) and functions as a lever. On the handle of this clamp hangs my weight (brass cylinder about 10 lbs), a leather loop prevents slipping of.
Also on the handle is a second clamp, the red plastic thing – it works as an indexer. The yardstick is leaning against it and I can read the amount of movement easily. That blue thing is my stopper, it has an adjustable head with a rest for the bow limb. In this case it prevents the limb movement downwards, I want all the movement as a torsion.
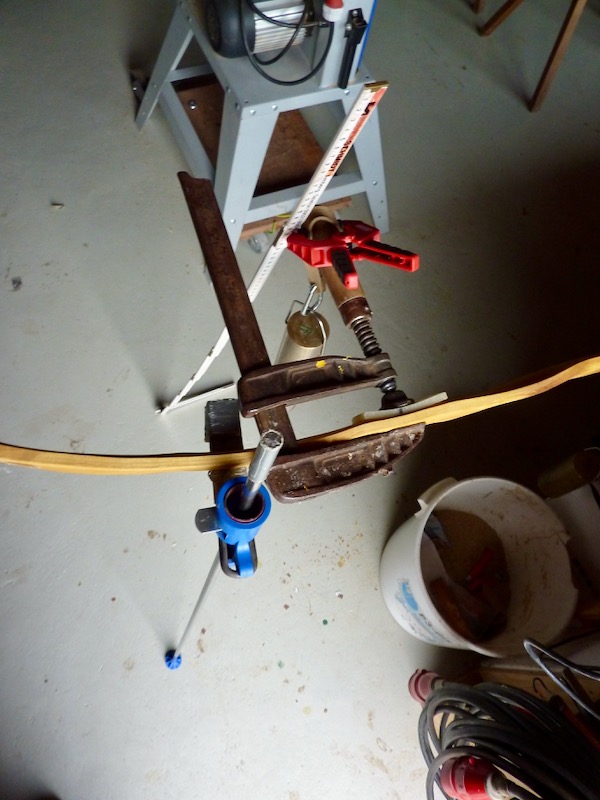
Like pic before, another angle of view
Here is the result, she’s coming along. Upper limb is in foreground
Looking from lower downwards
Third session: heat correction (sideway) with heatgun for string alignment.
Hard to do meaningful pics, but you can hopefully see there is still a lot of problems in this stave. Both limbs are off, looking at the handle. A short measurement (bow in vice, back up) with a cord tied on one tip, aiming over the handle middle shows a results of 8 cm off at the other tip. The amount is about 50% at lower and 50% at upper limb. At both limbs the side bends are relatively sharp and at the fades.
I begin with the lower limb.
The stave is fixed in the vice, belly down, and gets heat from belly side. To control the amount of movement a standing yardstick works perfect. I stop the process when 4 cm are achieved with my adjustable support (a tool from drywall works).

The lower limb (in foreground) is corrected and looks quite good, the upper limb is still off.
The side view shows the reflex in upper and deflex in lower limb.
Fourth session: Just the same procedure as on the lower limb now on upper limb.
The only difference is, I will parallel heat out a part of the reflex in the same session. So we need two forces, a weight for moving the front profile down (string alignment) and rubber bands pulling parallel horizontally to reduce the reflex. (I will heat the lower limb later to reduce the deflex here later (sixth session) – in the end upper and lower limb should look balanced in the side profile).
Here is the set up, the black plastic clamp is for the standing yardstick. The rubber straps produce a horizontally force and second horizontally laying yardstick will show the amount of deflexing.
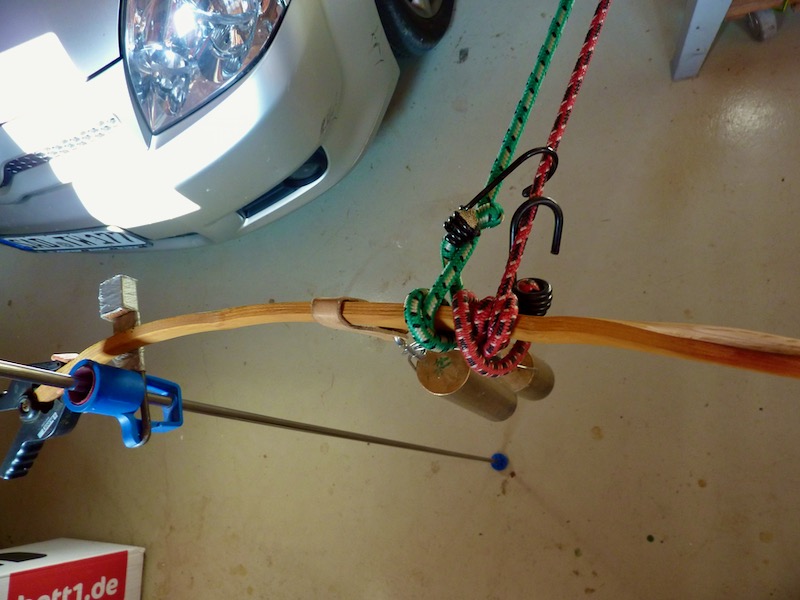
The same, just another angle

Photo after the heat corrections shows tips and handle good in line. If this would be a straight flat bow, I would leave it. But being a recurve I will correct the little sabre in both limbs, the portions are marked with masking tape.
Fifth session: Heating out the remaining rest of the sabre in both limbs.
About 2 cm in the upper limb and about 1 cm for the lower limb, both are located midlimb. Not a great deal. Bow is clamped sideways, weight load is now 2×10 lbs. The clamp sits already in the curve of the recurve, so one weights is hanging in line with the force line of the limb. The second weight (that with the brown leather loop) is farther away from the limb and will induce a light torsion for a little additional untwisting. Yardstick is leaning against the clamp and works as my reference (read 170cm now). And yes, the sabre needs to be bend out over the long side of the rectangle cross section, it needs just a bit longer heating with a bit lower heat.
Upper limb, 2 cm necessary
Lower limb 1 cm necessary
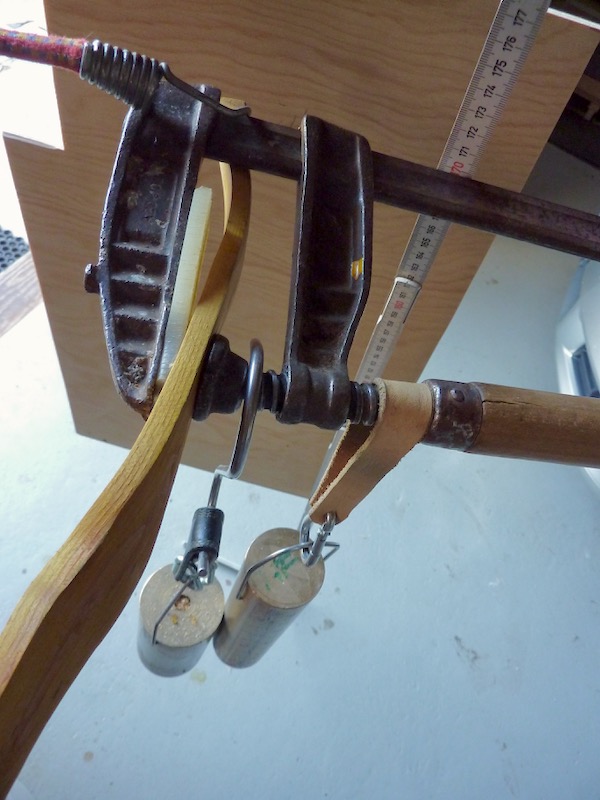
The set up with the different attached weights
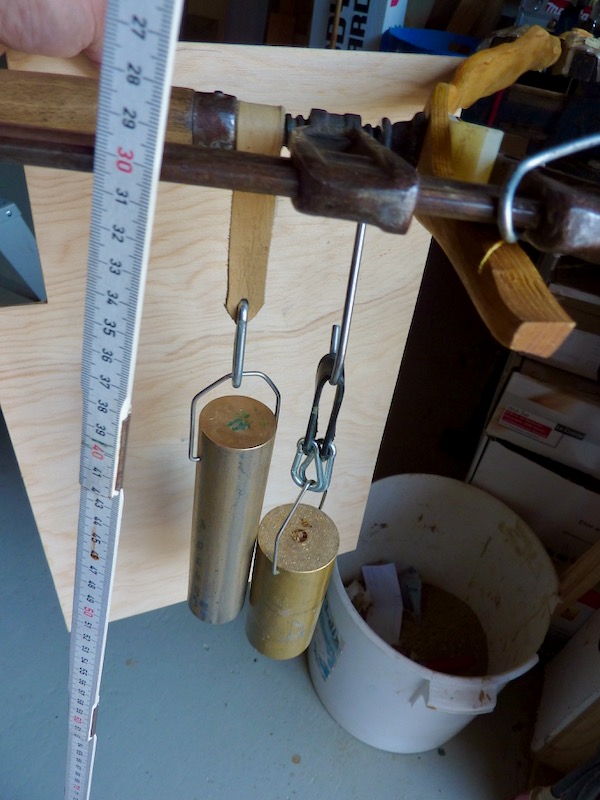
Set up, another point of view
Sixth Session: Heating in reflex (or reducing the deflex) in lower limb.
It’s off about 3”!! I will do the last bit of untwisting in the same session to get the recurves in line at the end. Set up is the same as in the fourth session.
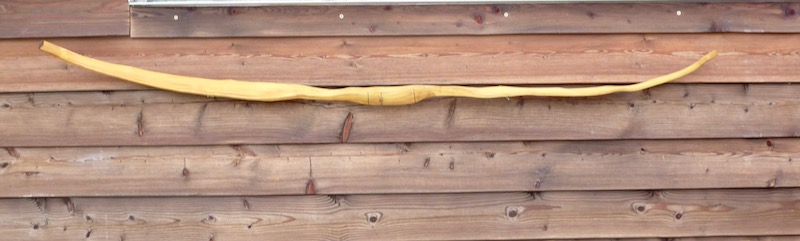
Here is the result:

Front view or back, upper limb is right
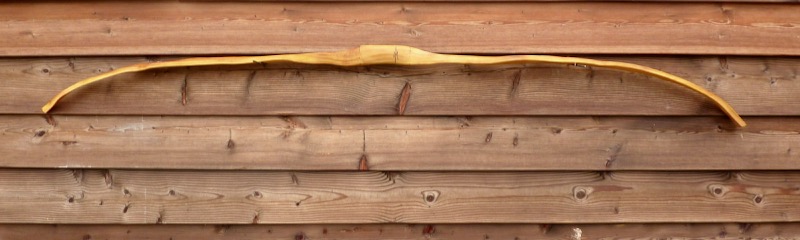
Side view, upper limb is right
Lower limb is in foreground

Lower limb is in foreground
Now let’s throw it into the fuming pipe for a week or so, then let evaporate the damps for another week.
The finished bow (No. 128) is here
2 Comments
What a great resource! Thank you so much for putting in the time to write all of this up. When I get a proper shop, those dry wall supports are going to be a must have.
How long did you wait between steaming and heat sessions? Did you check moisture?
-Rex
Hi Rex, thanks for your feed back! I#m glad you find it useful information.
I usually wait some hours after steaming or let cool out over night. After heating sessions wait at least 2 hours.
Moisture isn’t a problem, I never found an increasing moisture after the steaming.