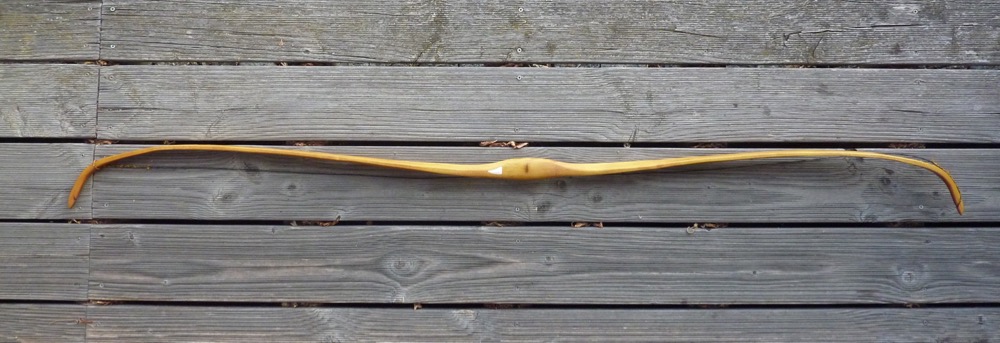
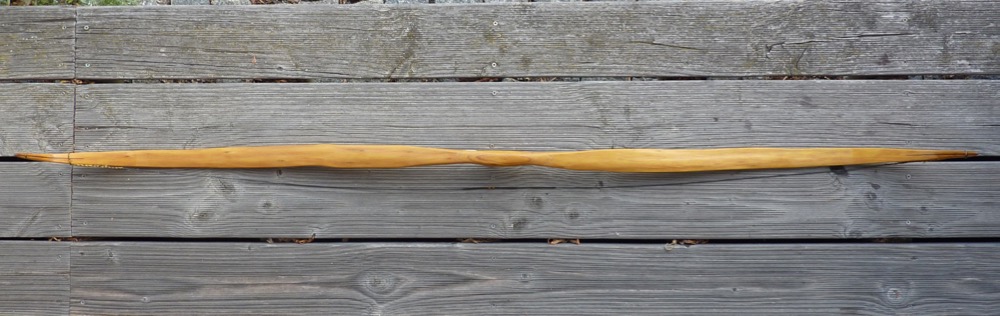
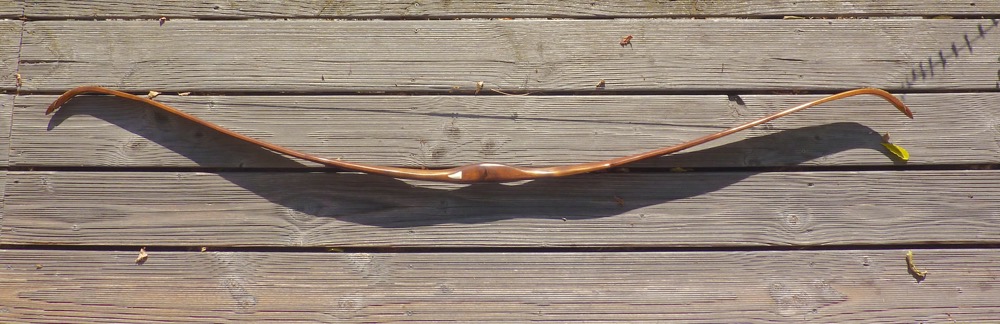
This is a longer (than my usual) recurve with deflexed fades. I will go for a fuming process, but with a (hopefully) faded two tone surface. In other words I will tape the tips and fades and remove portions of the tape while the fuming process. We will see what comes out.
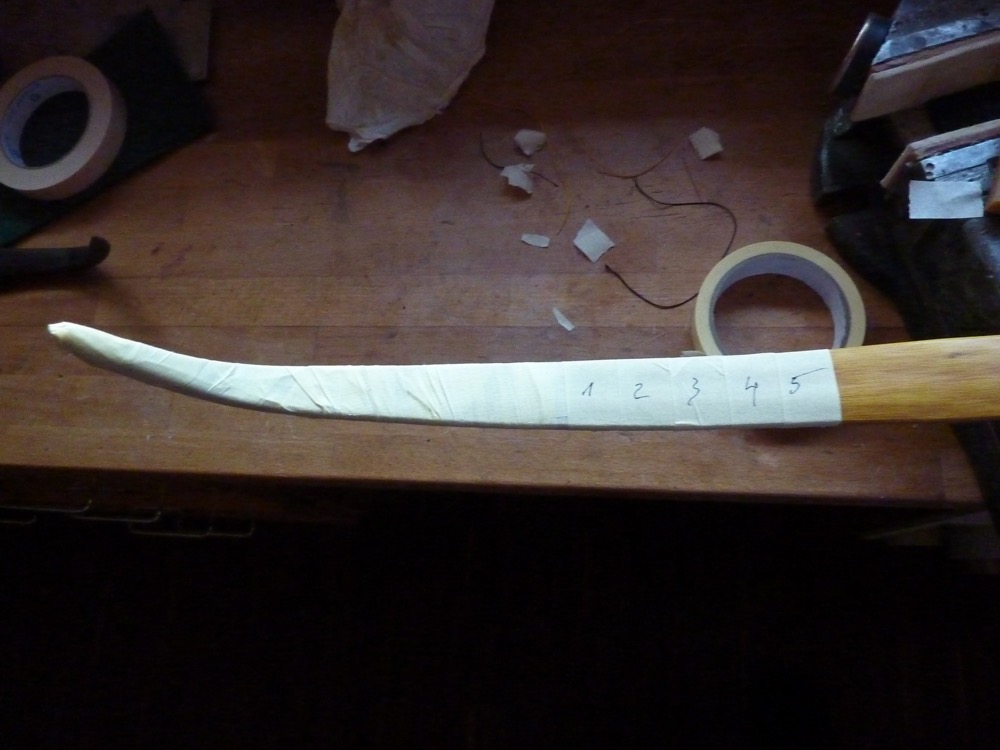
Below is a pic with the wrapped tips. My plan is to remove tape ring Nr. 5 after the first day, Nr. 4 after the second and so on. I know that the fuming damps vaporize somewhat under the the tape, so I suspect not a ring like (from dark to bright), but a gentle faded color. Hope you understand what I mean.
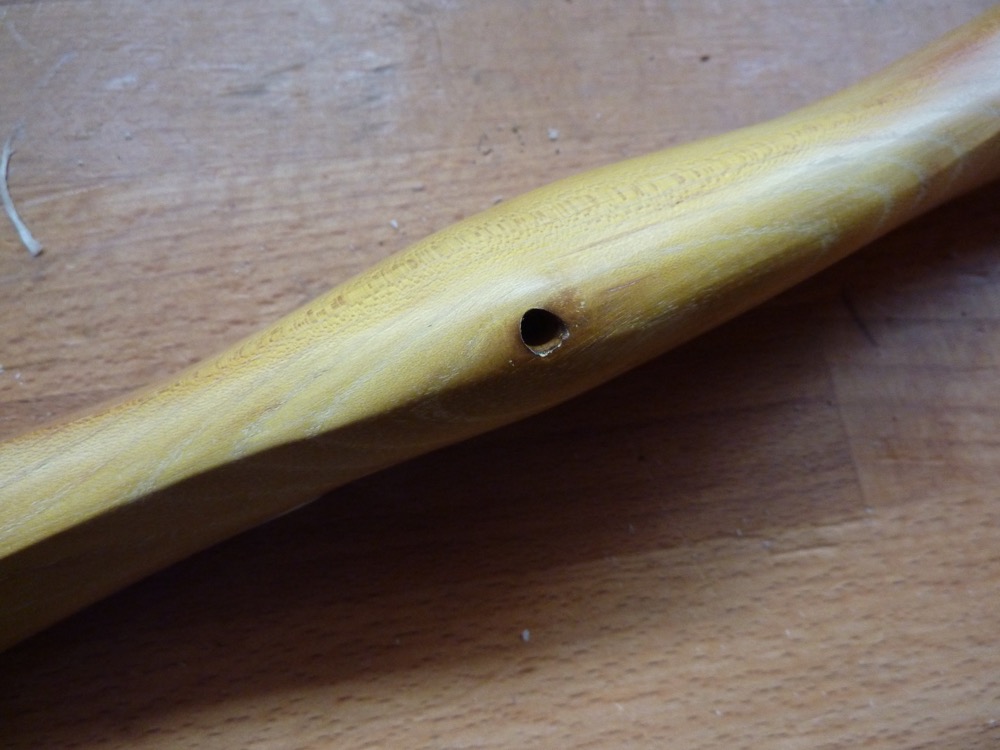
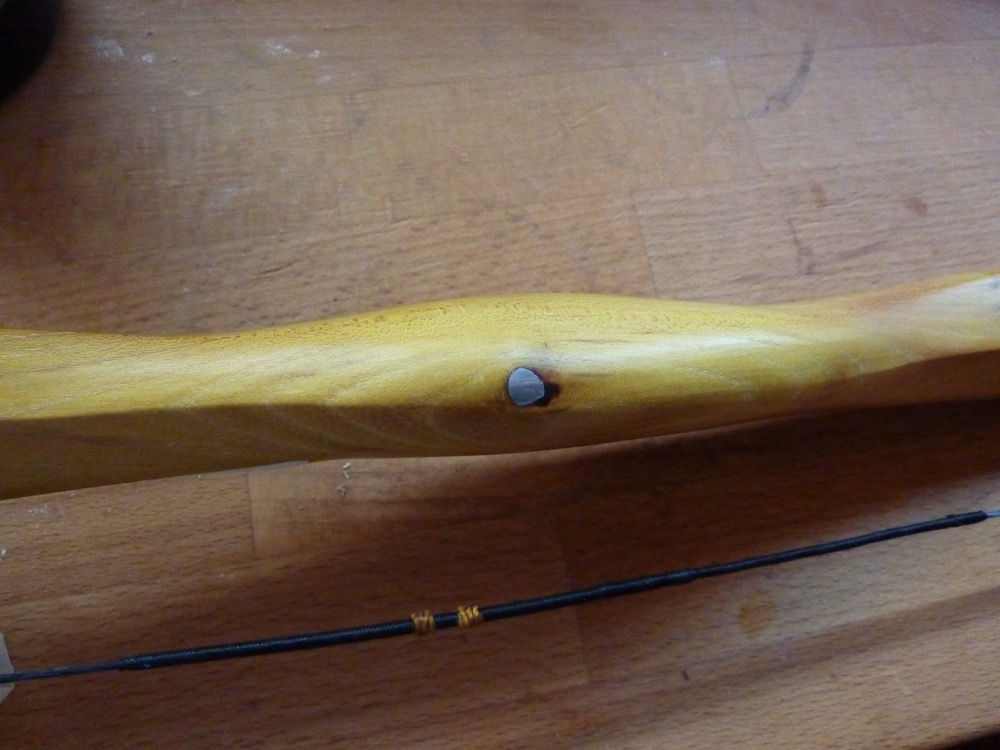
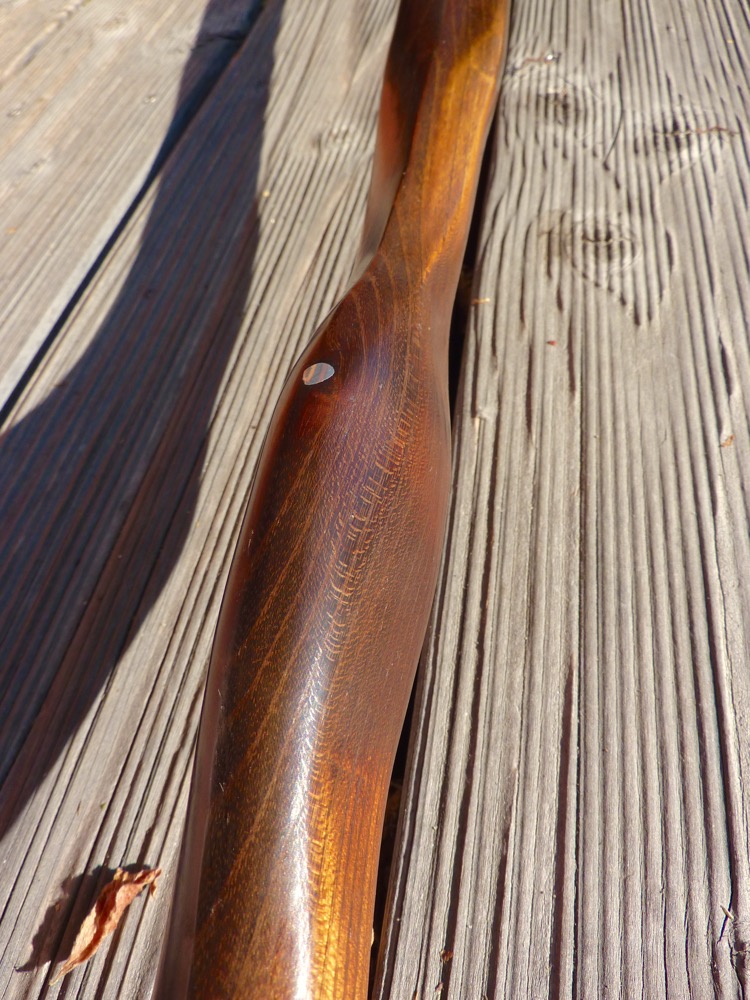
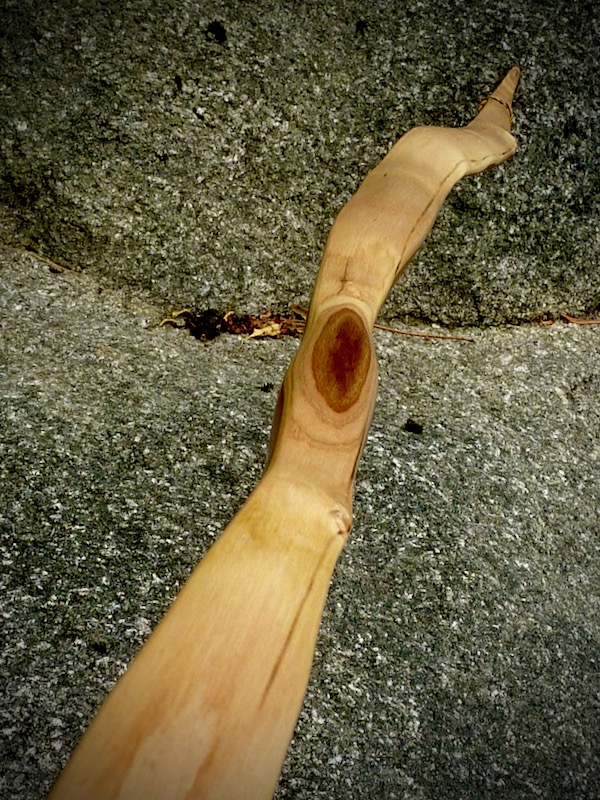
A knot hole at handle is filled with tin and sanded smooth.
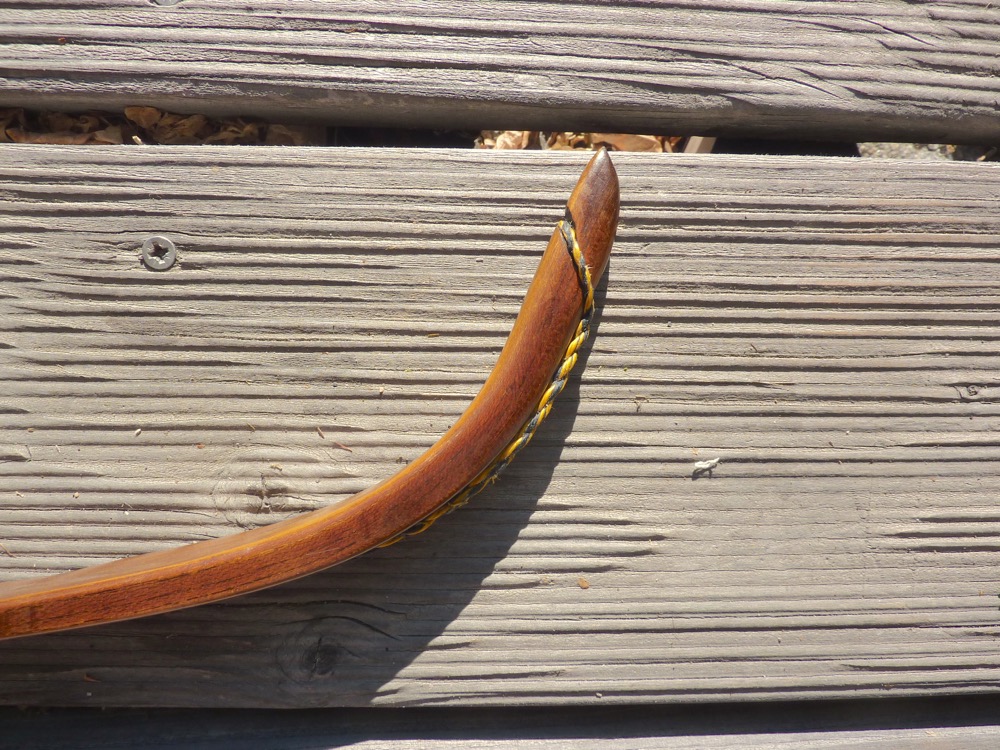
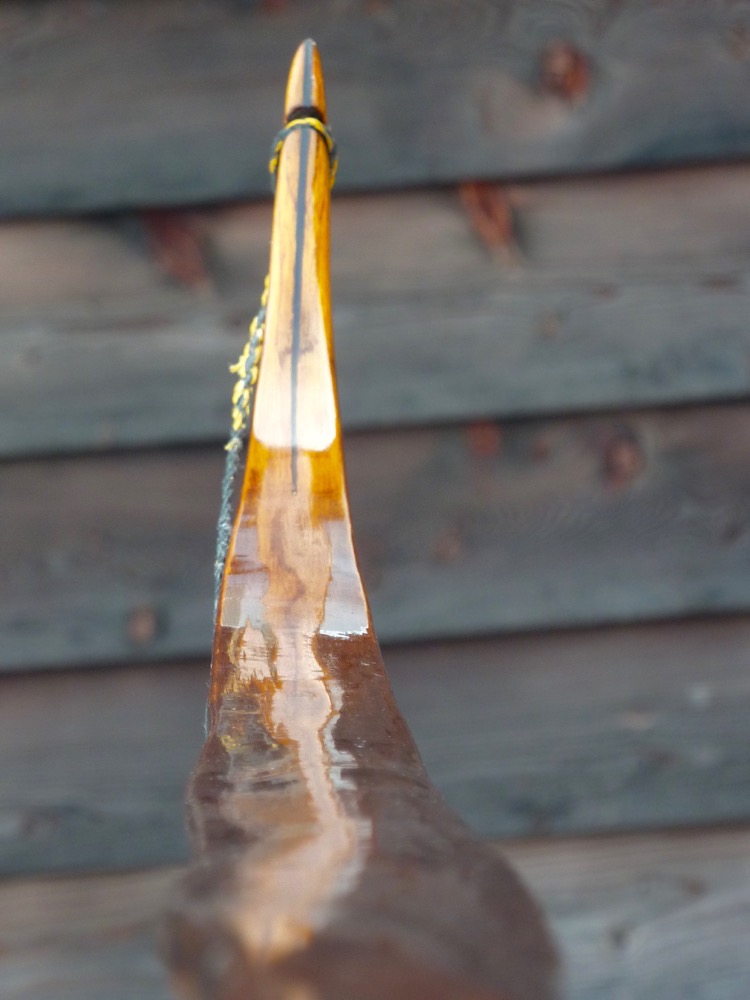
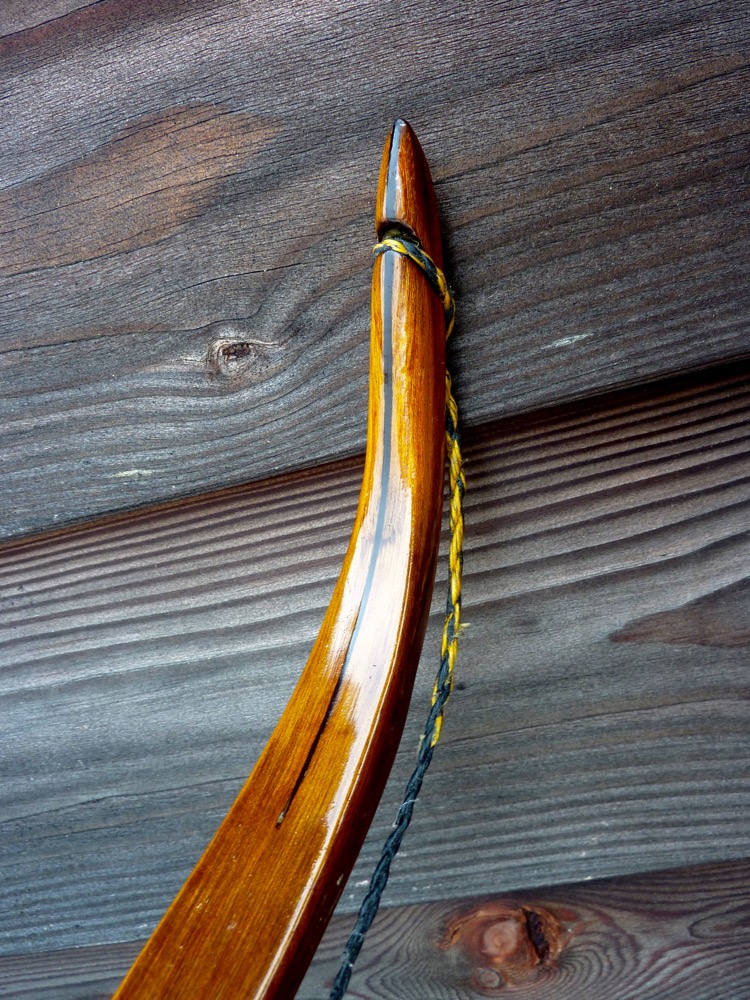
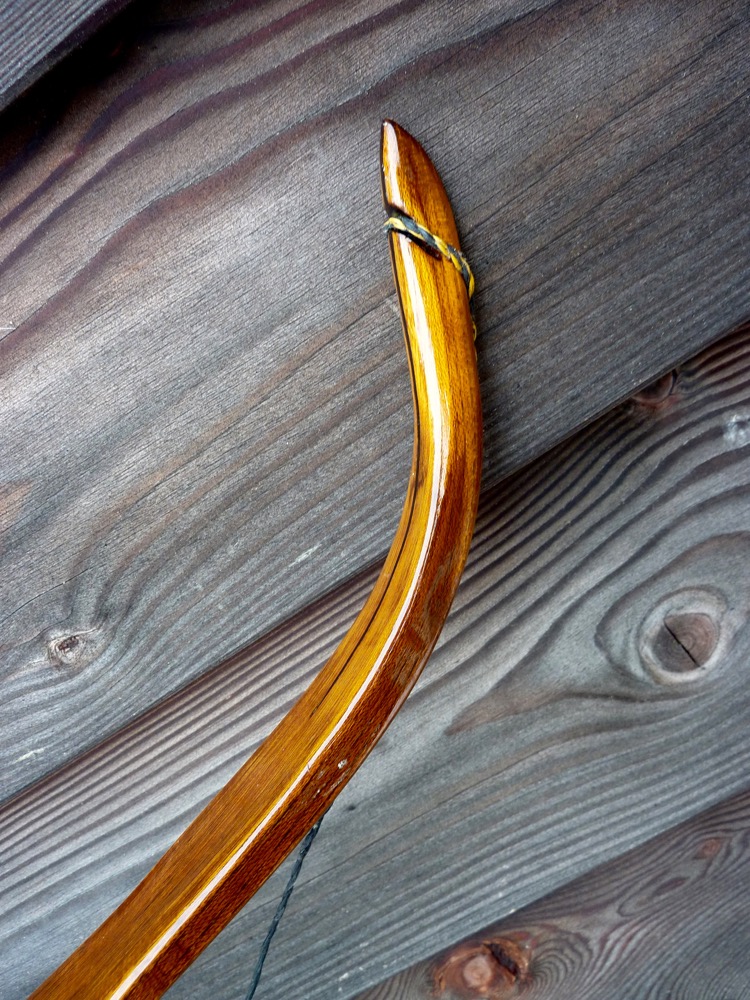
Tips are strengthened with a horn wedge insert.
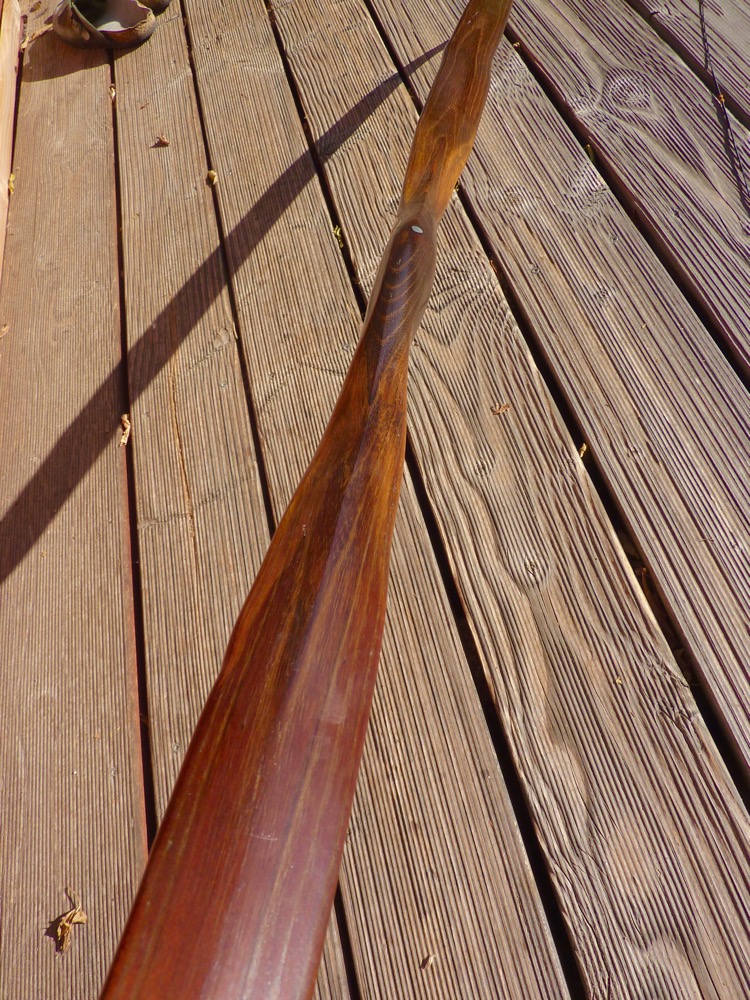
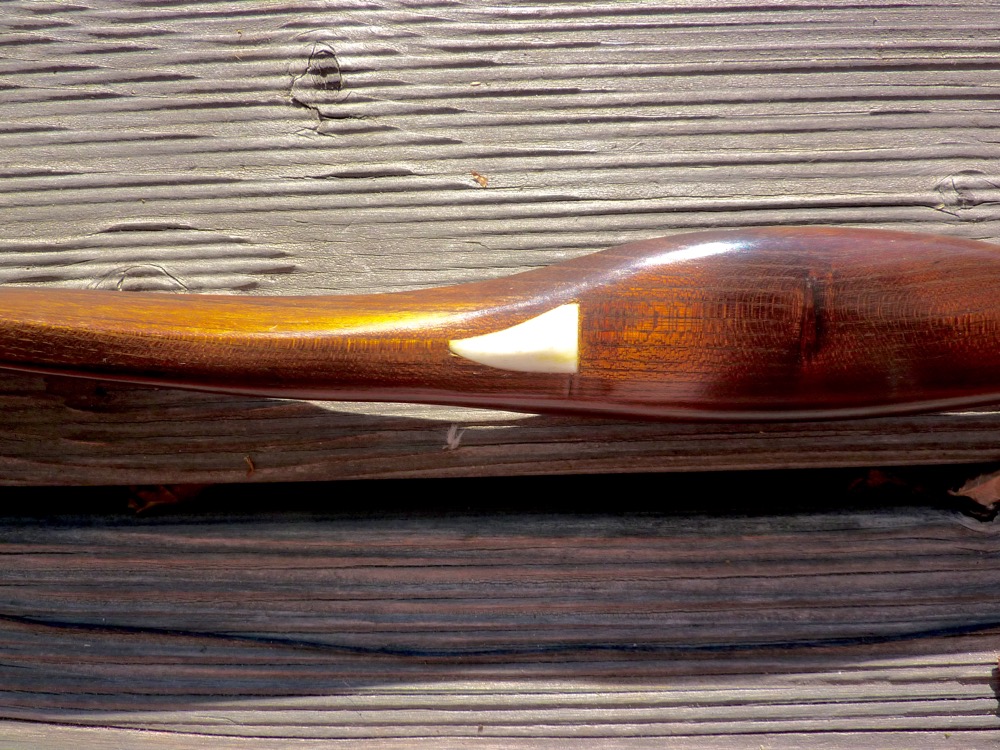
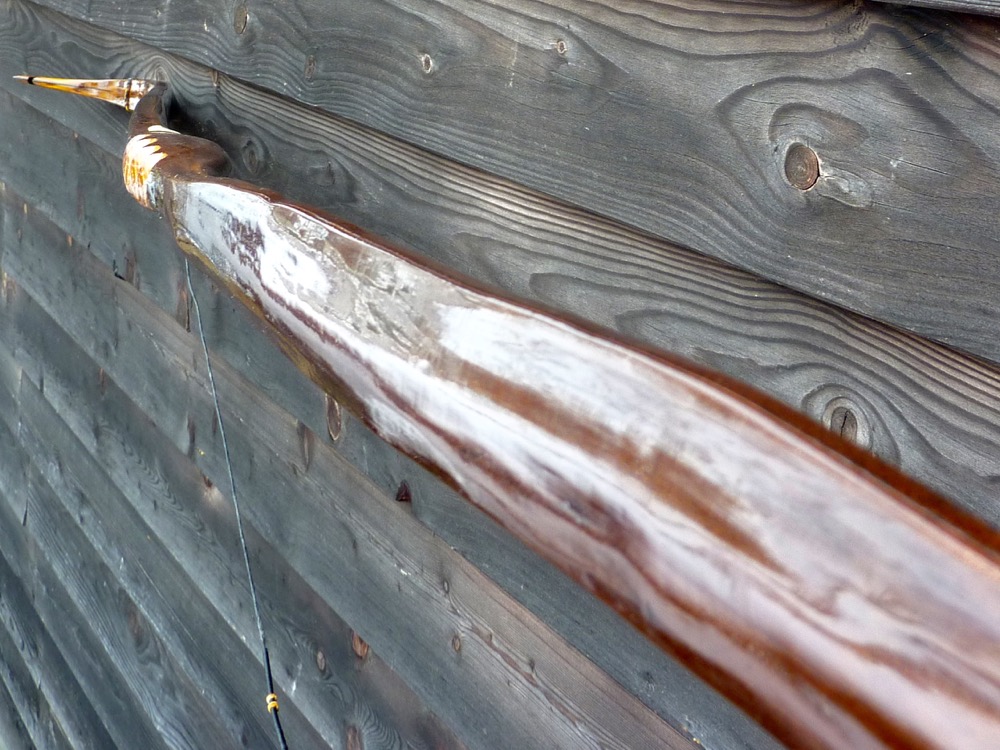
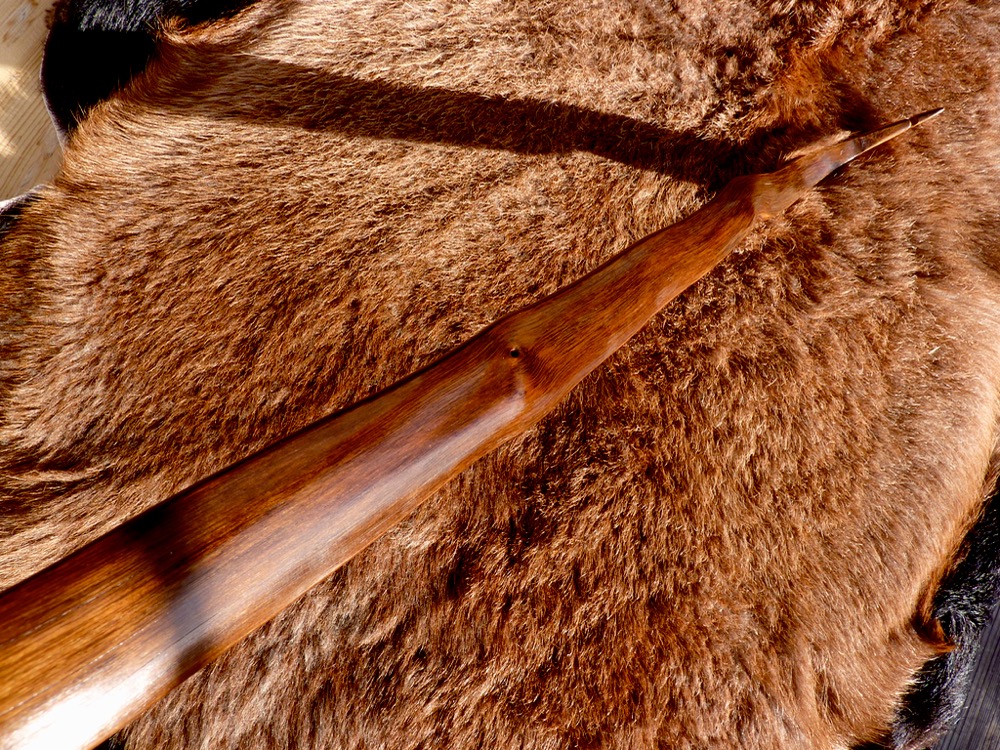
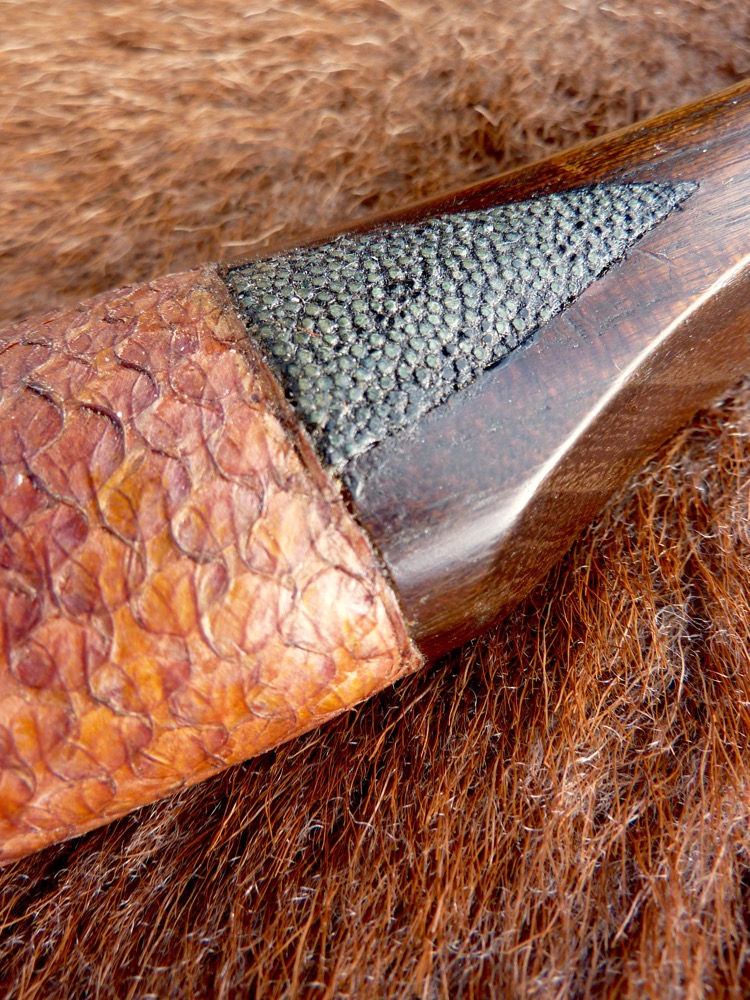
Arrow pass is a inlayed and in shape sanded predators tooth. I found the jaw in the woods, it’s probably from a dog.
More pics in about a week.
Ntn: 65″
Hmmm, next time I will try with film tape, or sealing with shellac.
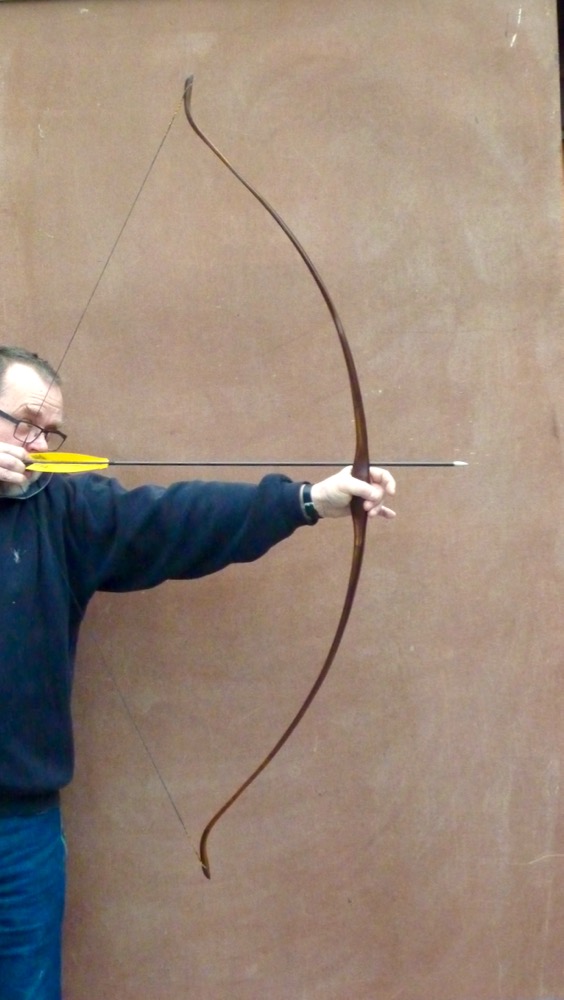
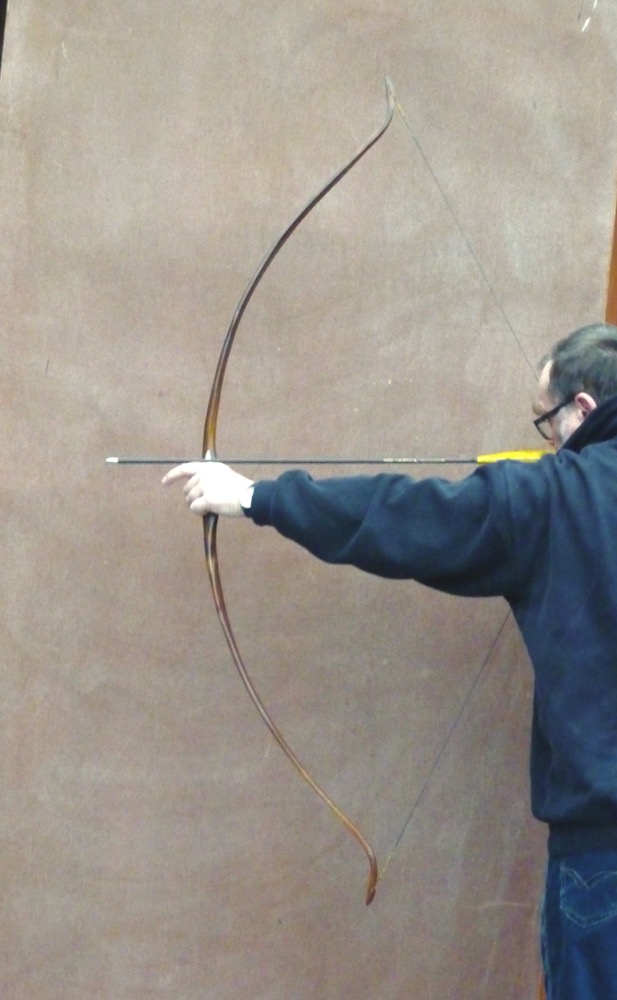
Anyway, I’m very pleased with the cast, she’s a fast bow.Front
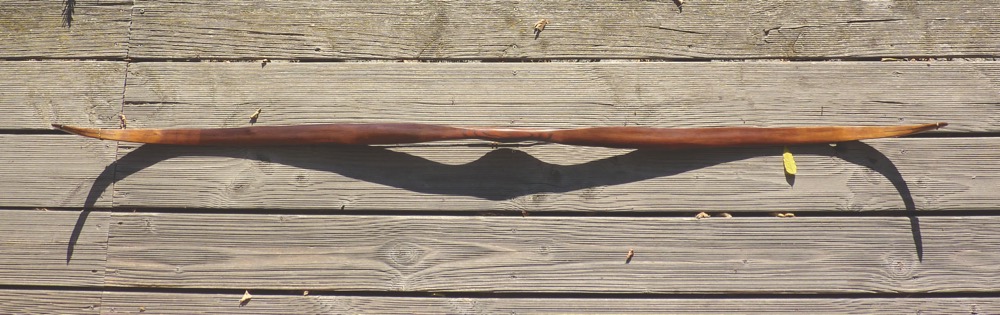
Side
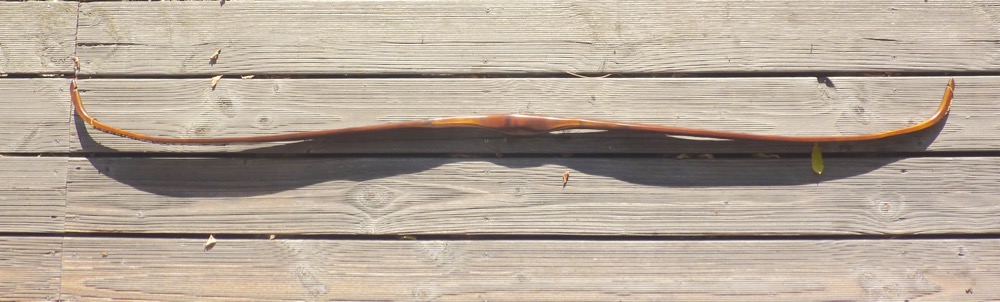
Braced
Tip side
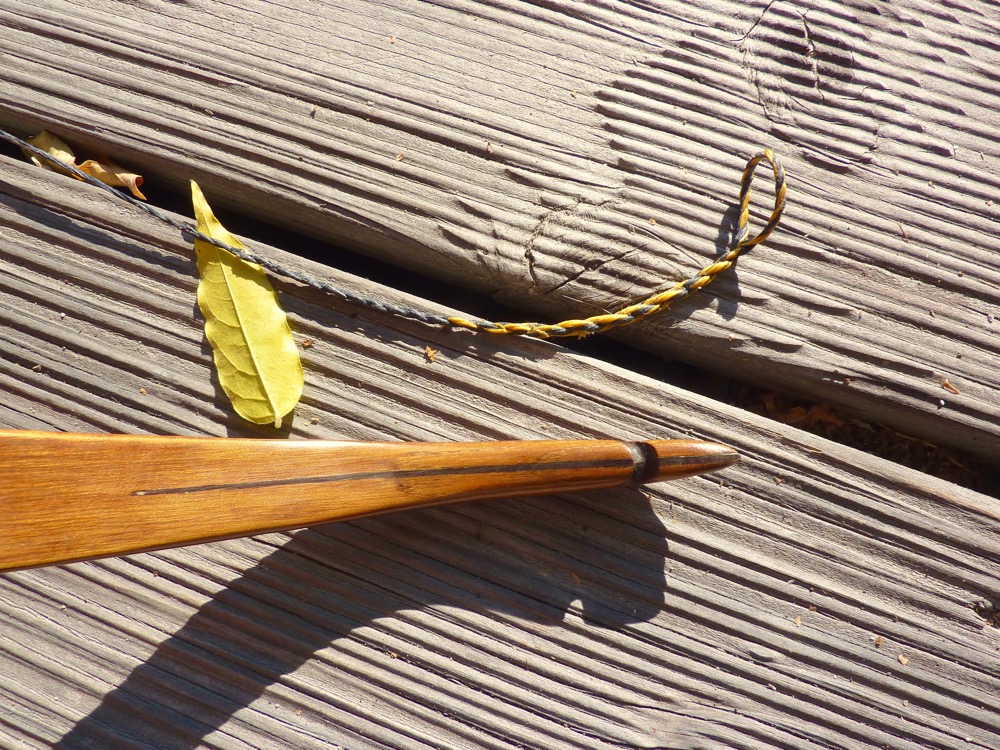
Tip front
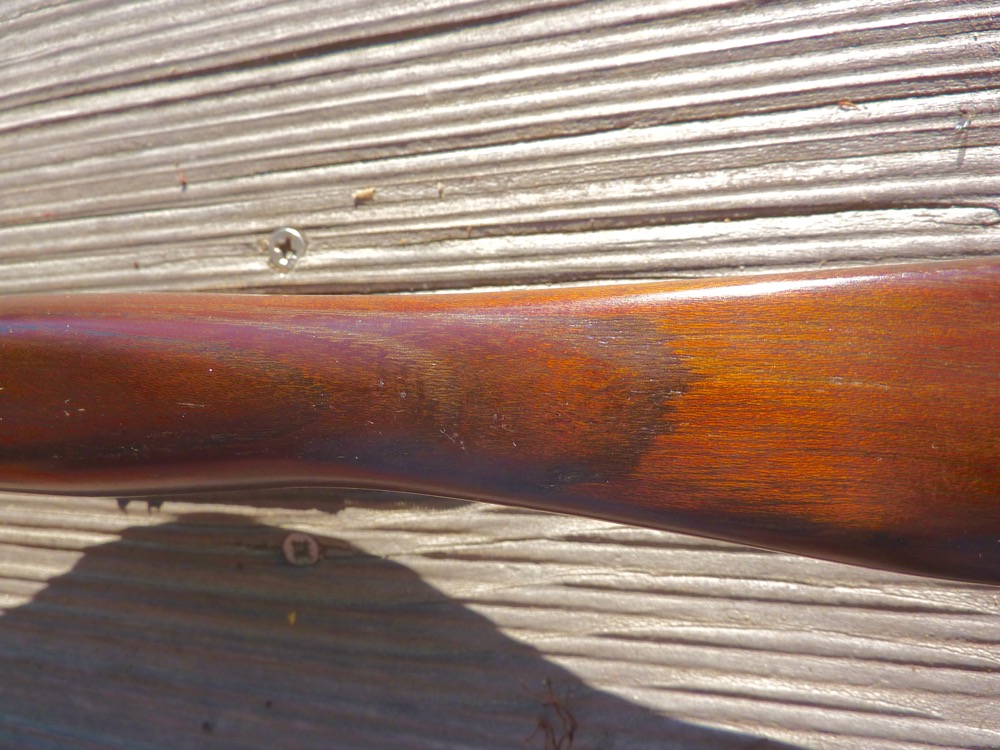
Handle belly

Handle back
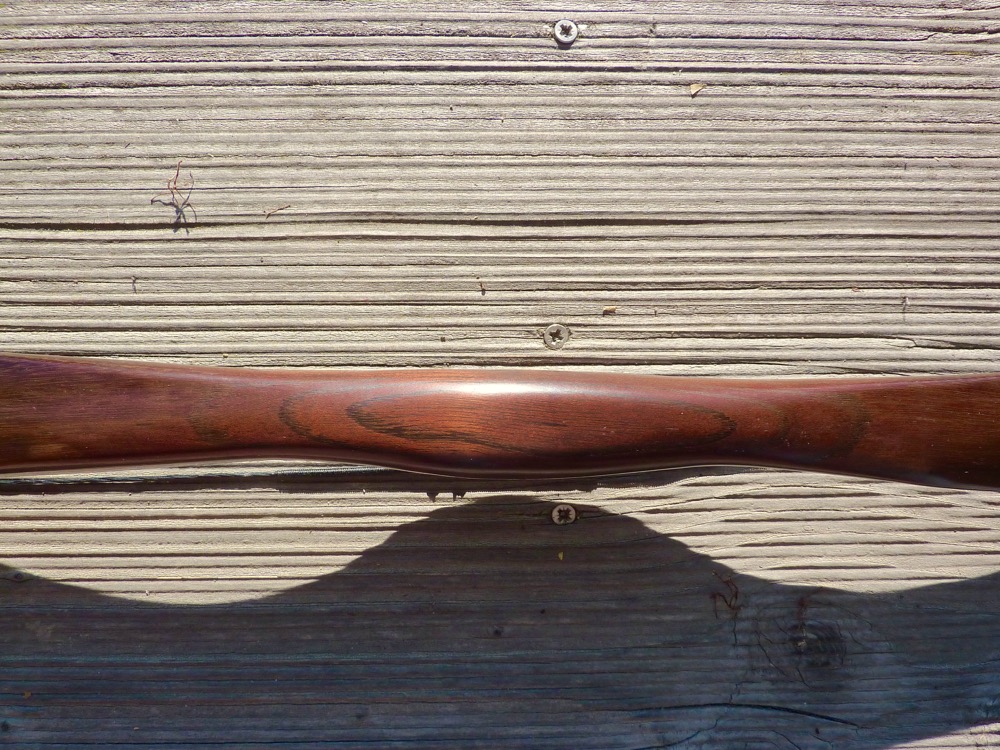
Add. rings on handle, detail
Detail arrowpass
The bow is already shot in and I finally got the f/d pics done. I’m very pleased with the cast of this bow.
Here are the f/d pics:
Well, I thought a glossy finish would look good. It brought out the colors a lot more intensively. Though I’m not sure leave it or not …
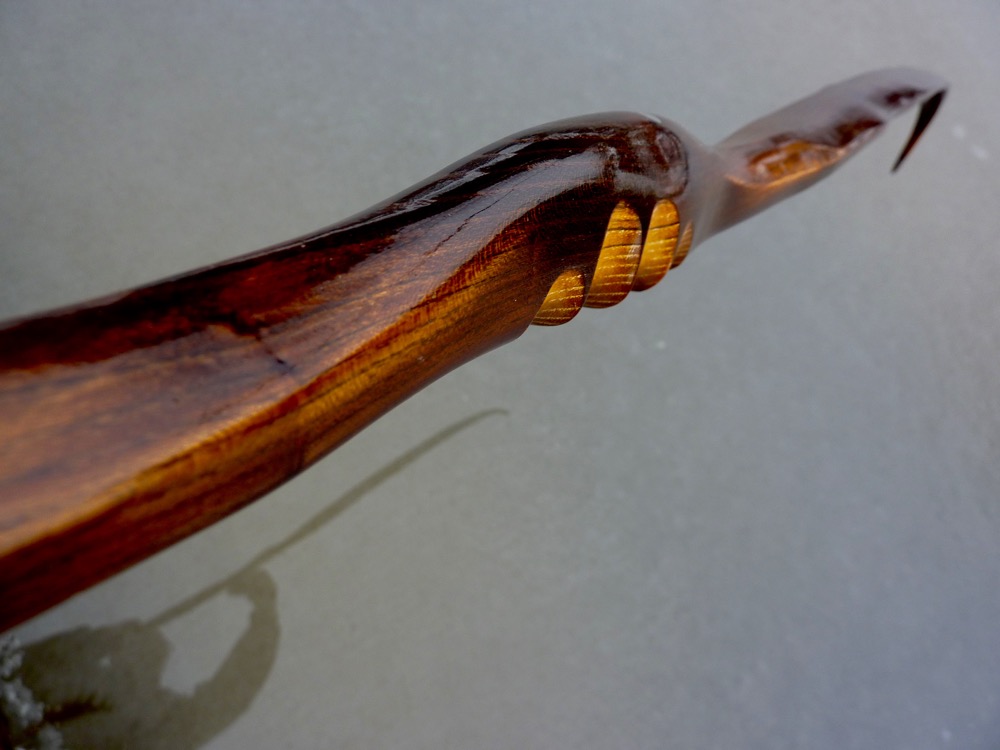
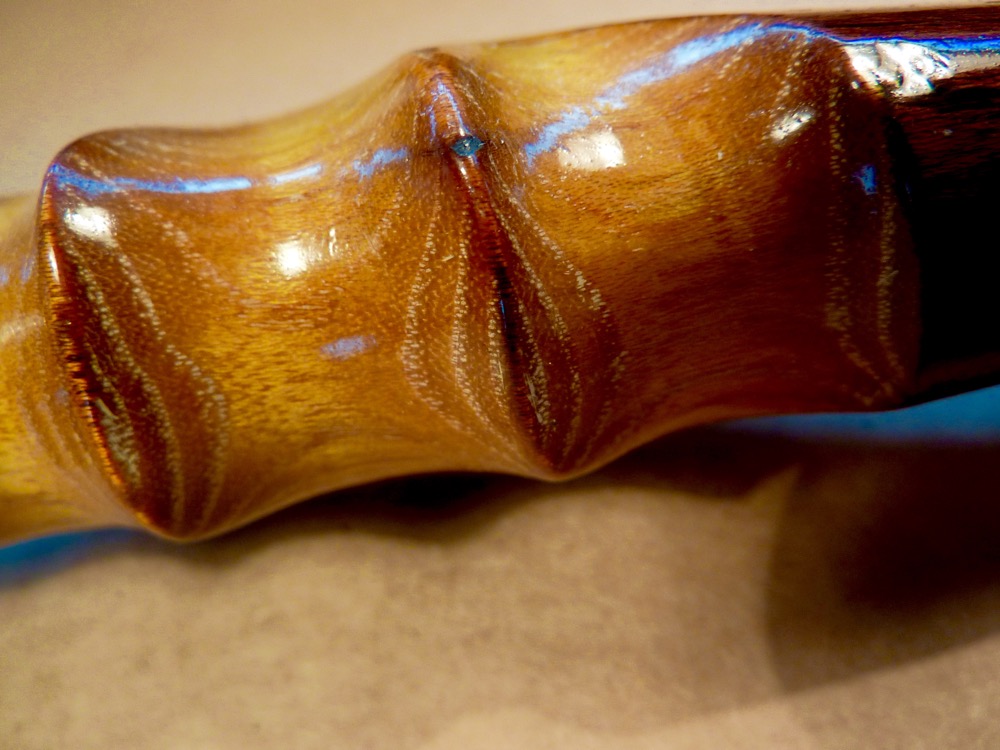
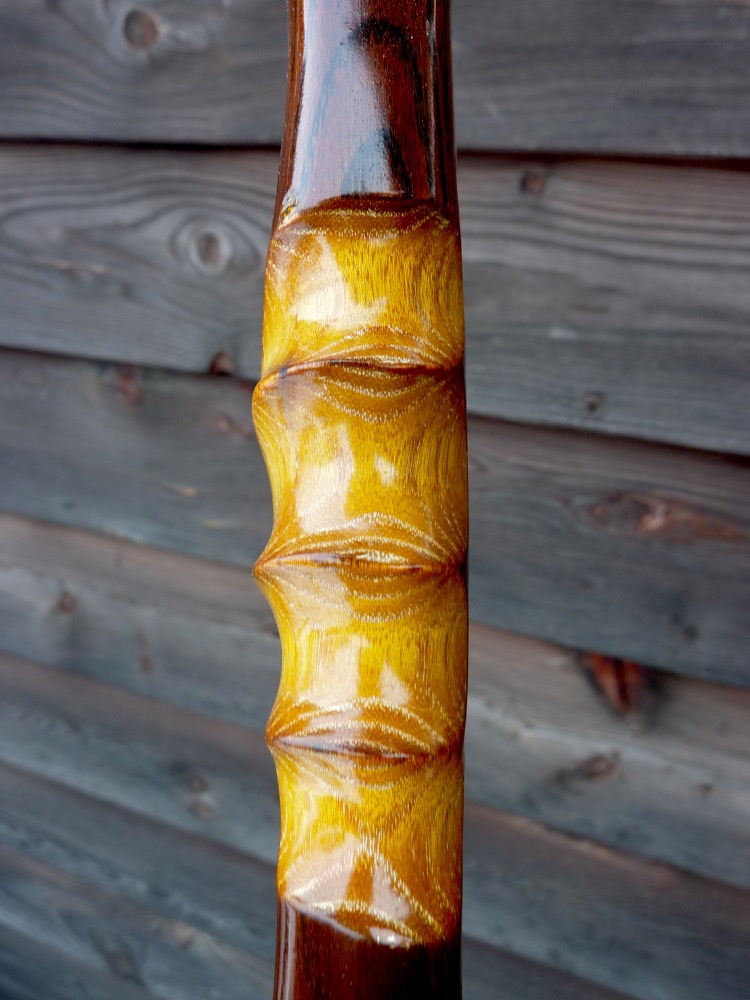
Perhaps you remember, I wasn’t really pleased with the contrasting colors on this one. (I did a fuming job with different long timbs at limb, tips and handle). I had three additional rings at the handle back so I decided to carve in some finger grooves to bring the more fresh yeller sage to the surface. I think it did good on the former a bit boring handle. If you look close you can see how the ammonia damps went into the wood. At handle the exposure was only one day.
Btw., in the background you can see my arrows growing: pseudosasa japonica
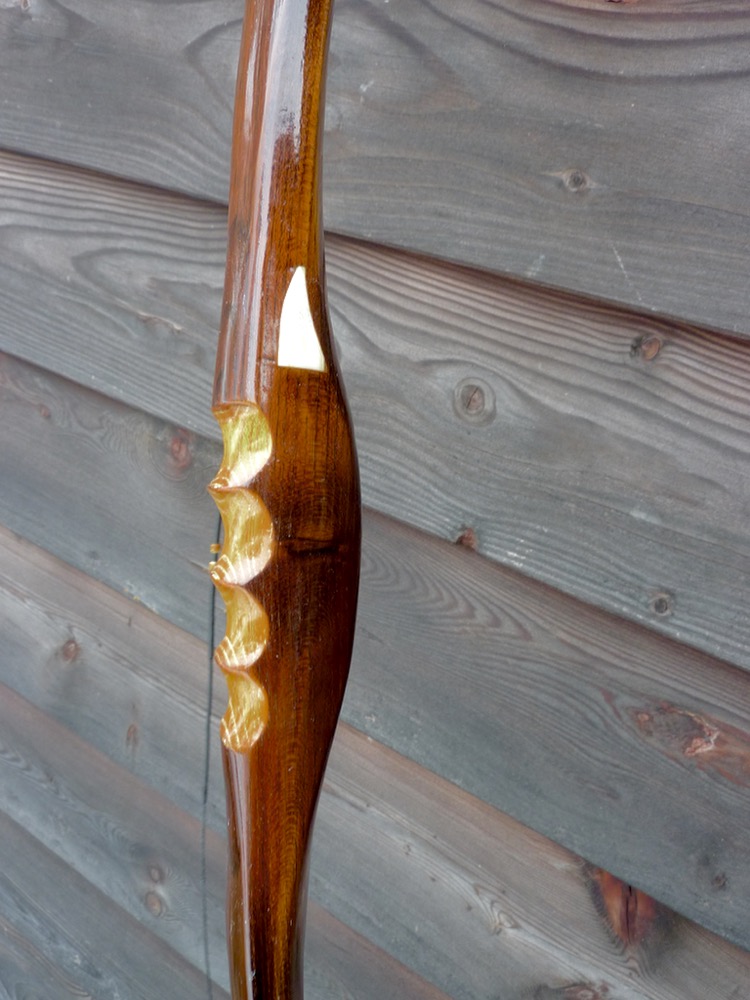
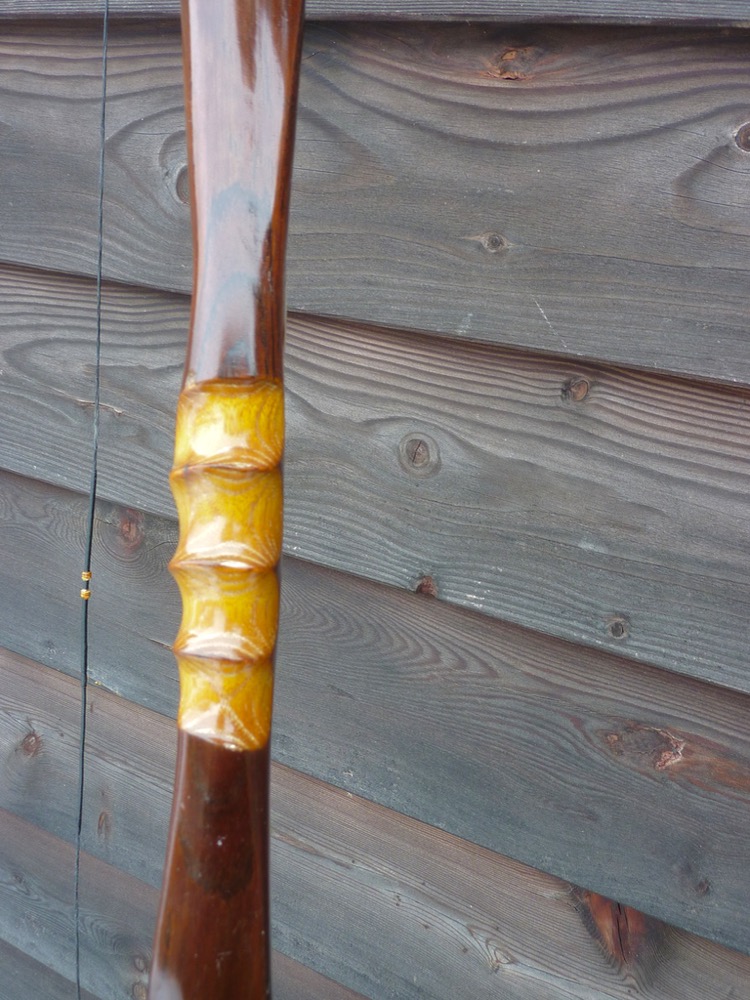
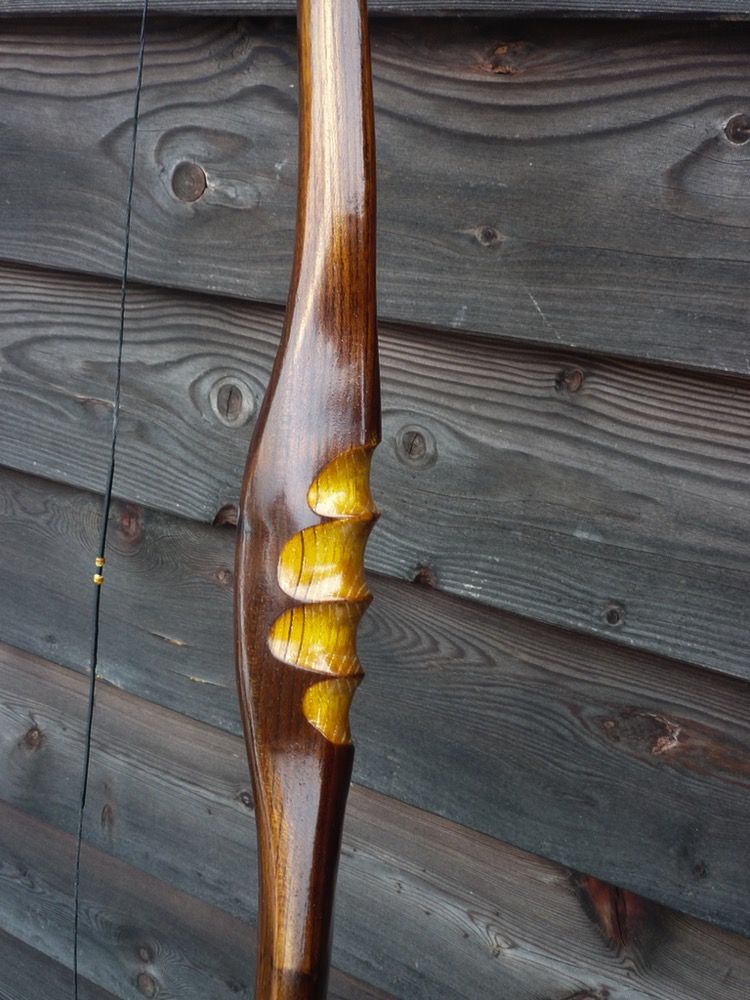
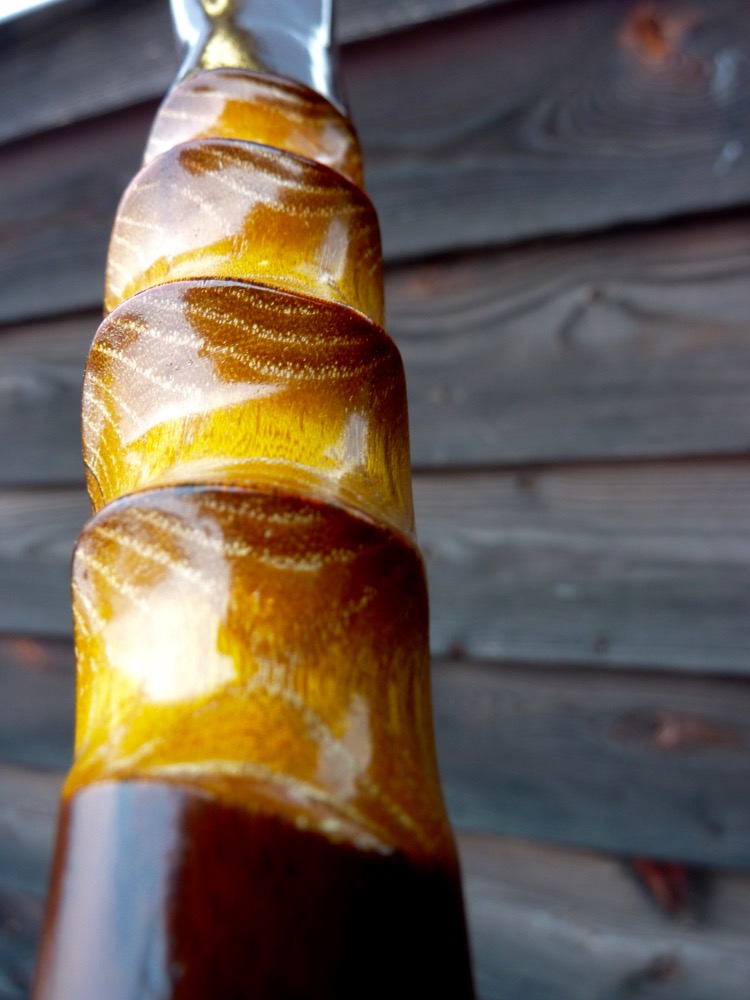
I rubbed some white pigments into the fresh carved fingergrooves, visible in the early wood rings.
4 Comments
Hi Simon,
This is a gorgeous bow! I like the finger grooves on the handle. The contrast is really beautiful and it looks really comfortable to grip. Did you measure the arrow speed?
Thank you Philipp. And no I haven’t measured the speed yet, I only have little access to a chrono, which I had to rent from a friend. But I estimate this bow over 175 fps with 10 gpp arrow.
I absolutely love your bowmaking. You have a true talent!!! I would like to ask about how the fuming process actually works..i want to try this. Also, i was wondering is you have the dimensions of osage bow 100. The handle length & fades. by far the nicest osage reflex deflex bow i’ve seen. Lastly what do you use for a finish coat. Varnish?
Thanks for your nice compliment, Jesse!
For further info for fuming please look here: http://primitive-bows.com/fuming-experiments/
Dimensions of bow no. 100: fade 4“ each, handle 4“
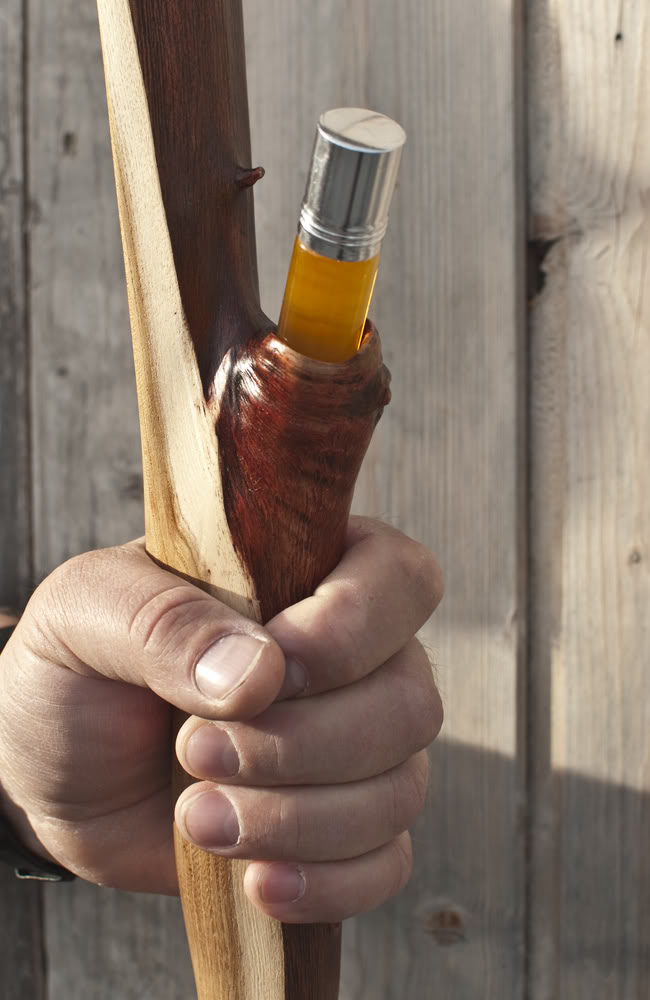
All my bows come with a 8x hardening oil finish., no varnish or laquer. It’s a homemade mixture from orange oil, bees wax, carnauba wax and some other ingredients (I always experiment with the recipe). It allows glossy and matte surfaces, belonging to the method of polishing. It dries out quite hard and has good water resistance.
I use it also for sinewed bows.
Simon